Beginner Tips for Starting a Calendar Project
There are many reasons to create a calendar. You may be working on a fundraising calendar project for your non-profit organization. Perhaps you want to showcase your photography and sell the calendars to make a little money. So where do you begin?
 1. Choose Your Audience
Are you giving them as gifts to your best customers or the parents of your school? Once you have determined who your audience is, you can start to choose the types of pictures you want to include in your calendar project.
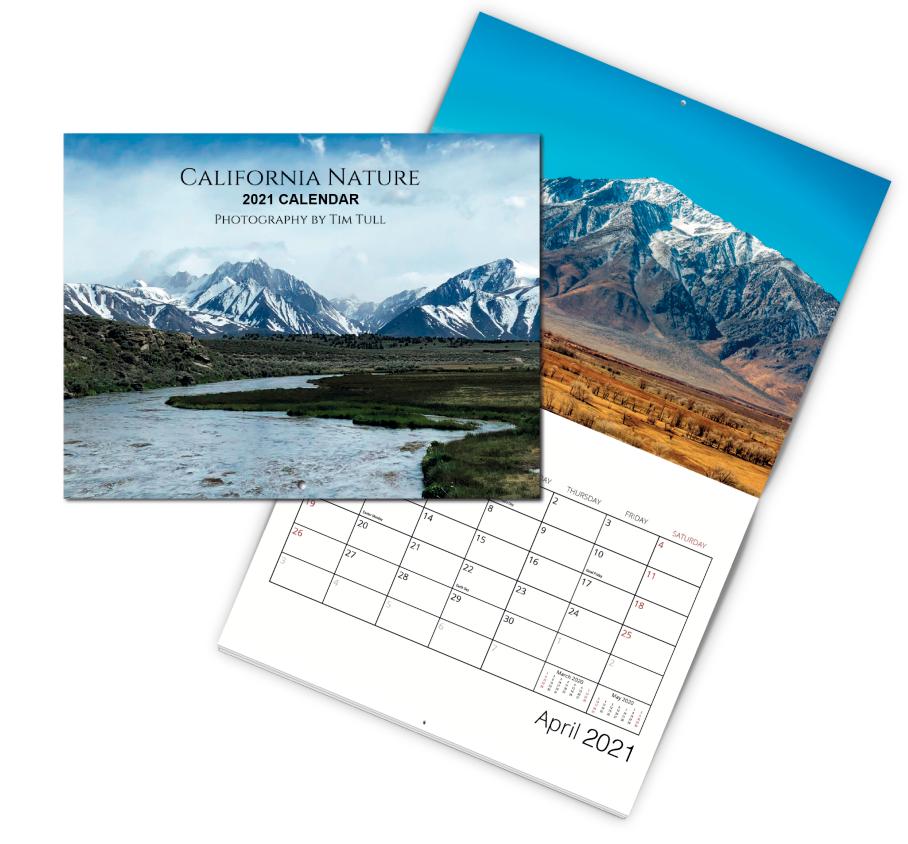
For example, The Highway 1 Project is an organization dedicated to raising money to improve Highway 1 in California and to protect parks along the Pacific Coastline. Their calendar features gorgeous scenic pictures. This entices people to purchase the calendars and it reminds them throughout the year that they supported a good cause.
2. Are You Going to Include Advertisements & Sponsors?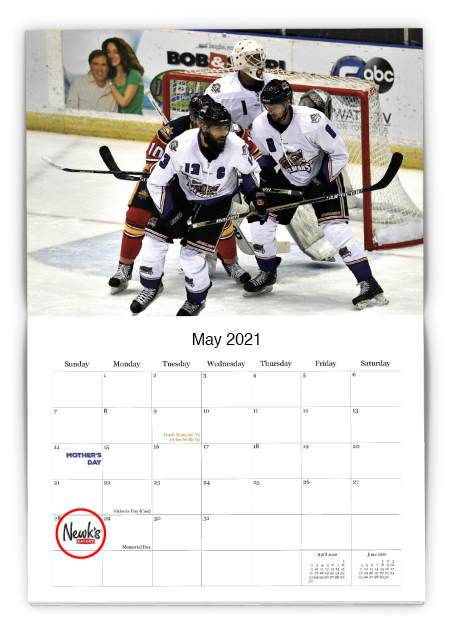
This will be a factor when you are designing you calendar because you will need to include space for the “thank-you” page and for advertisements throughout the grids. To learn more about calendar fundraising, click here.
The image to the right shows how the Knoxville Ice Bears Booster Club placed sponsor logos throughout their calendar on different dates in the monthly grids.
3. Choose Your Photos

One great way to choose photos for your calendar project is to first choose a theme. There are many themes to choose form, here are just a few to give you an idea:
- Picture or collage of photos on the top of each month – for example, September in a school fundraising calendar could say, “Welcome Back to School” and show a photo of the football team.
- Places or things that relate to your cause or organization.
- Pictures of peoples’ favorite animals.
- Photos from previous events or trips.
The possibilities are endless! Just remember, your pictures need to be high resolution for them to print looking clear. If your images aren’t at 300DPI (dots per inch), there is a chance that your images will appear pixelated when your project prints.
4. Time to Design!
 After you have chosen your pictures it’s time to start designing! You can design the calendar many different ways. Most calendars have one large, full-size image on the top half and the calendar grid on the bottom half. I have also seen calendars that have a collage of images or a single image with a nice background around it. The sky is the limit!
If you already have pictures and a project in mind it’s time to get down to work and actually start designing. You can design a custom calendar using programs like Photoshop, InDesign or Illustrator. If you don’t want to start from scratch, check out our templates to get you started. Using a pre-designed template will ensure that you have the correct size and will save you some time!
We also offer a free calendar online design tool. I love this tool because it makes it incredibly easy to put a calendar together. Just upload your pictures, drag and drop them into place and voila! A finished calendar design.
Remember –
To start designing a calendar you must first choose your audience. Decide what kind of pictures will appeal to them the most and design your calendar with your audience in mind.
When the time comes to put the calendar together either design online or use our free downloadable templates in a design software like Adobe Photoshop, InDesign or Illustrator.
If you are starting a calendar project and would like to speak with an expert, feel free to give us a call at 800-995-1555