


 Online Design Tool
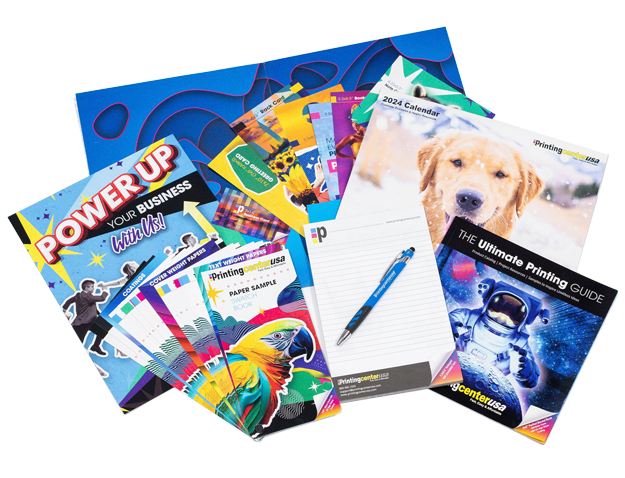
 Free Templates


Product Information
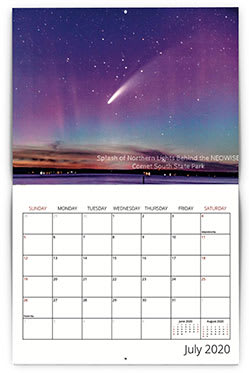
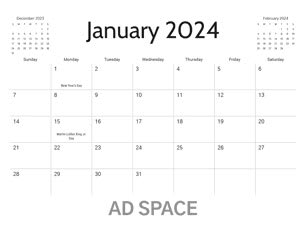
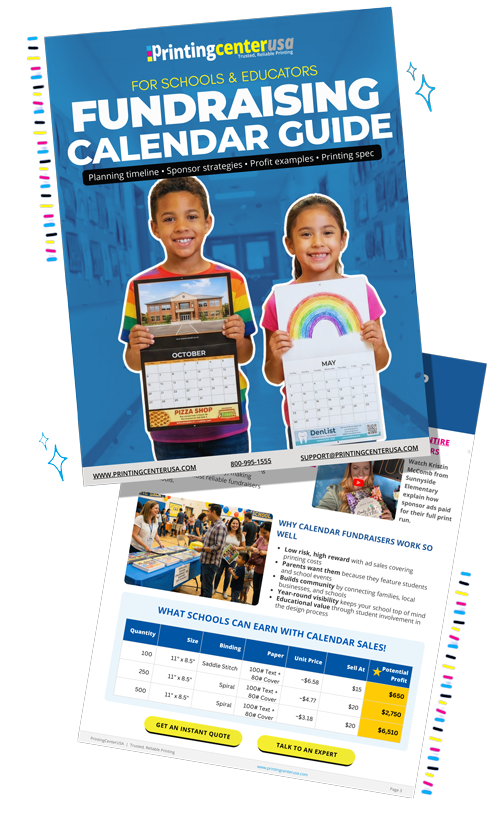
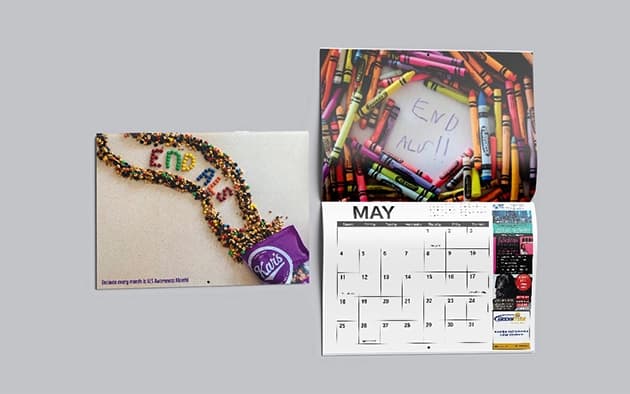
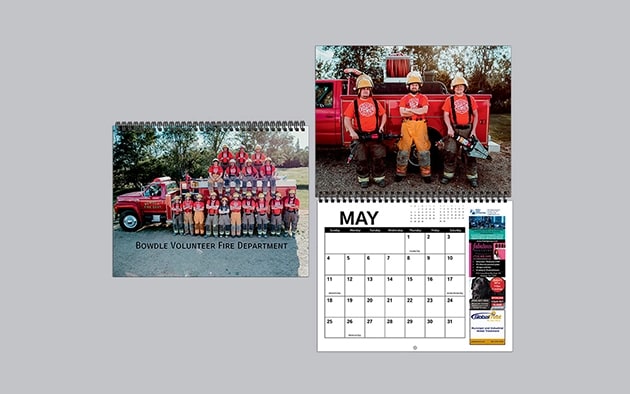
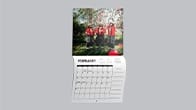
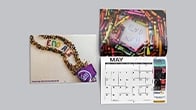
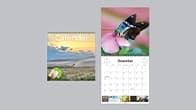
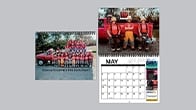
Our easy-to-use Calendar Fundraising Program allows you to create stunning, personalized calendars that showcase your organization's events and activities and help raise essential funds. With options for various calendars, including wall, desk, and photo styles, you can choose the perfect format to engage your supporters.