 Online Design Tool
 Free Templates


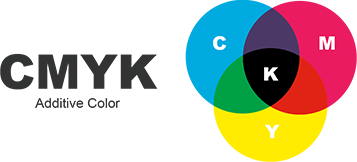
Color
Save your PDF in CMYK.
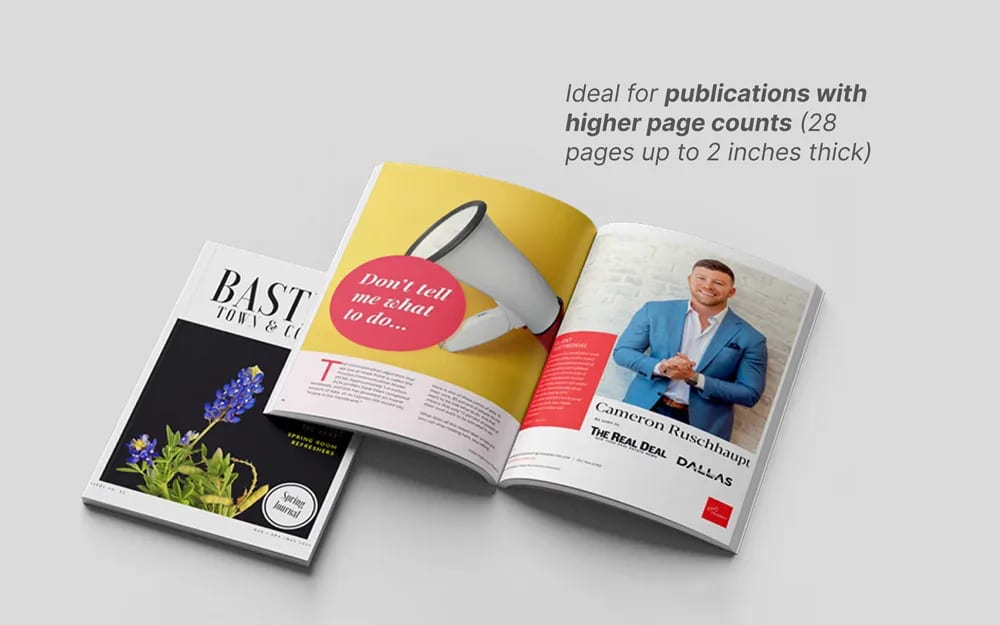
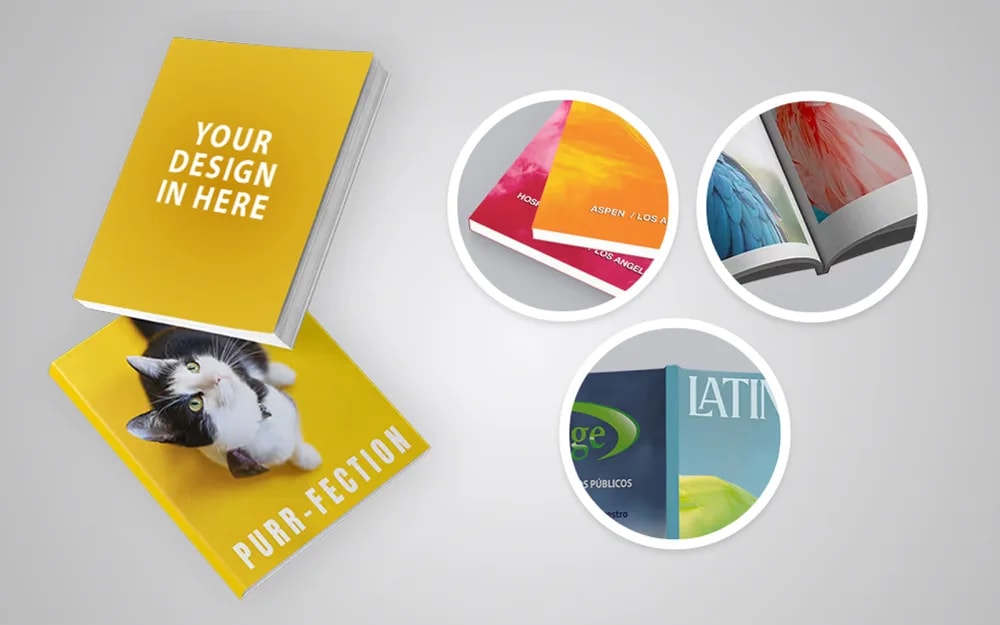
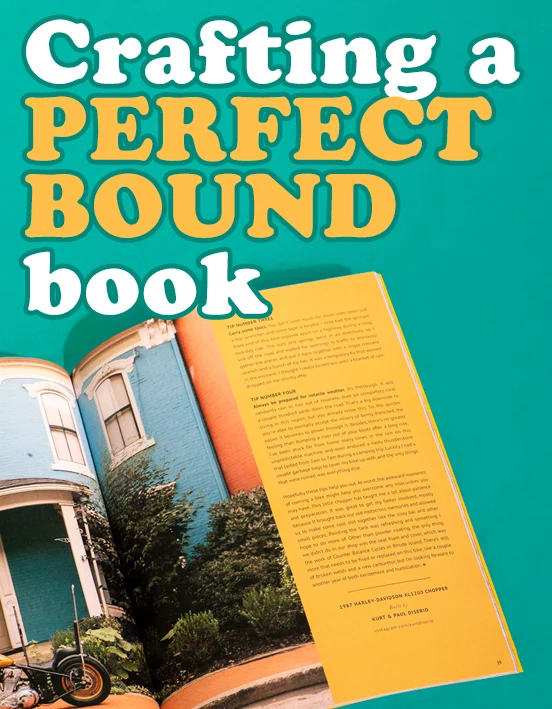
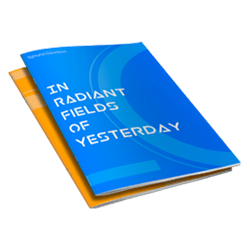
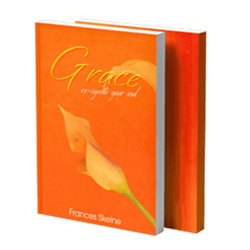
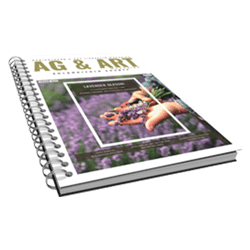
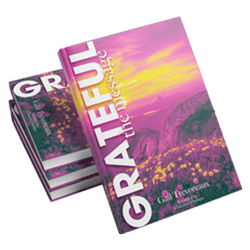
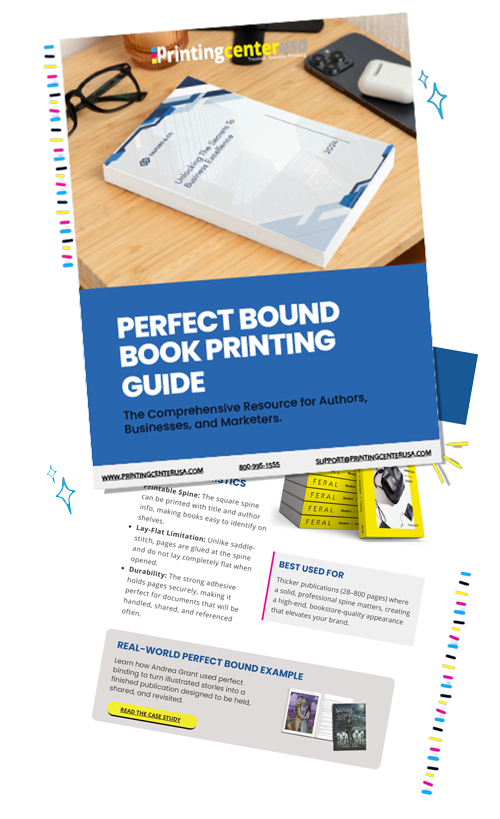
Perfect Bound Book Printing is the most popular type of softcover binding. Perfect binding offers a durable, high-quality professional look at an affordable price that can't be matched. Perfect binding creates a square spine that can be printed on, making it a standout option for shelving! They do not lay flat and have a minimum of 28 pages, up to 800 pages. They are great for catalogs, magazines, yearbooks, children books, art & photography books and more. You can order one copy or more and receive it as fast as 3 to 4 days after proof approval.
Create an instant quote and simply upload your print ready file. No design? No problem! Design your perfect bound book or booklet with our drag-and-drop design tool or free downloadable Adobe templates!
Explore our free collection of perfect bound case studies, and podcasts, to get inspired by success stories from people just like you. Who knows? Yours could be next!
Every order is printed on premium paper with vibrant color and backed by our reliable print expert's advice and our Satisfaction Guarantee!
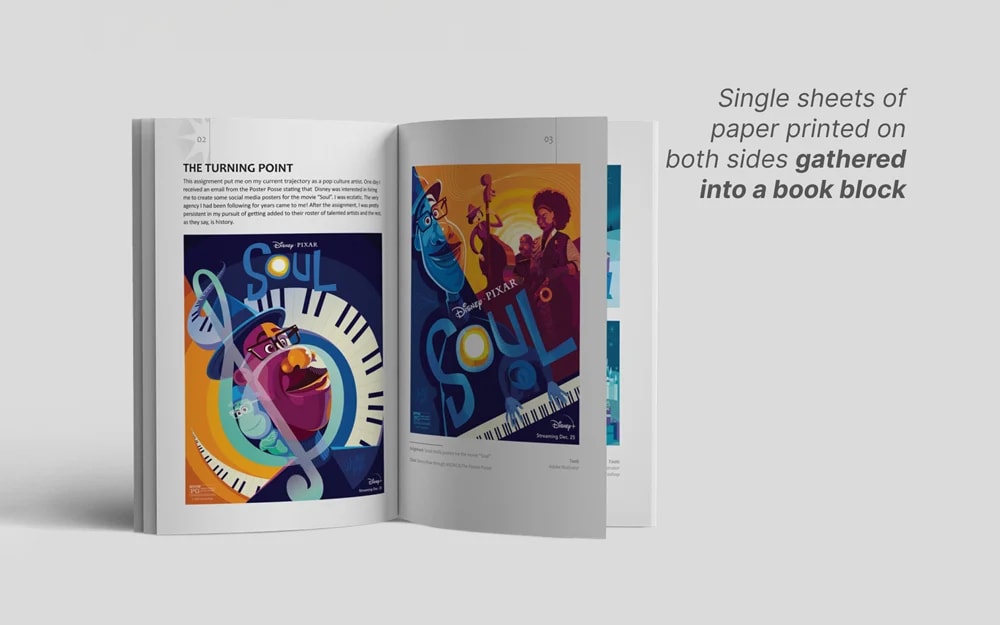
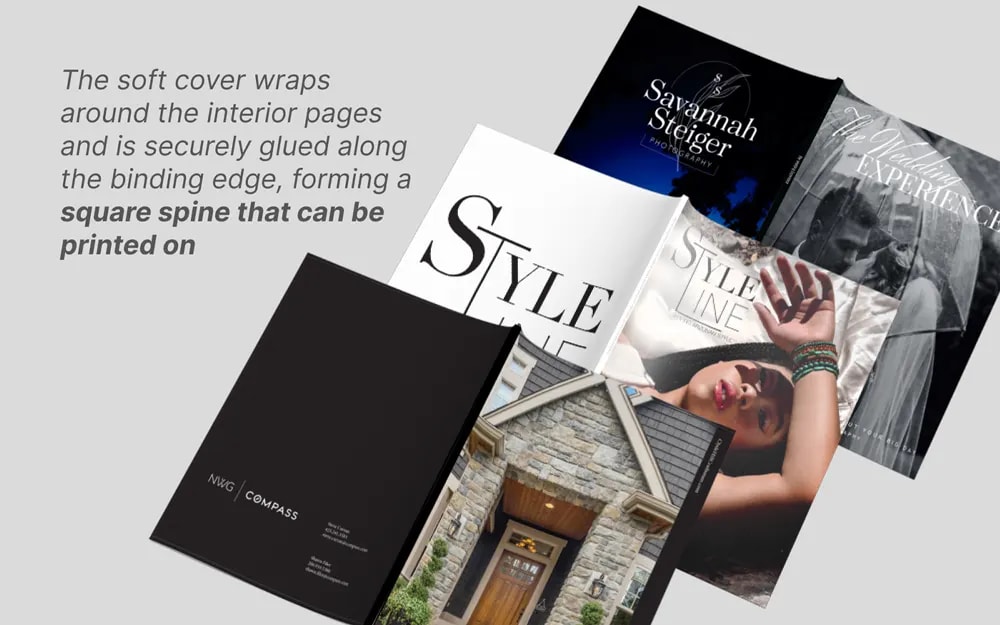
Perfect bound booklet printing is a method where individual pages are stacked into a book block and glued together along the spine with a strong, flexible thermal adhesive. The cover is then wrapped around the book block and glued to the spine, creating a clean, flat, and printable spine — similar to a paperback book.
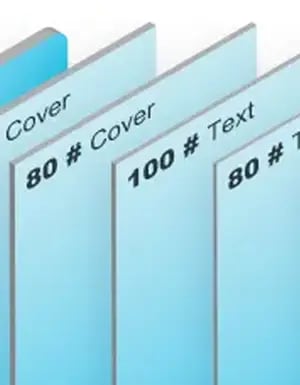
The weight and finish of paper you choose for your perfect bound book depends on the purpose of your product. For the cover, a heavier cardstock such as 100# or 120# is recommended for durability and a premium feel. For inside pages, options range from a lighter 70# or 80# text stock to a heavier 100# paper. We have a guide to help you understand the different options and choose the right paper for your perfect bound book.
Perfect bound books start at a minimum of 28 pages and can go up to 2” thick. Your total page count must be an even number, as each sheet of paper has two sides. Your front cover, inside front cover, inside back cover, and back cover are all included in the total page count.
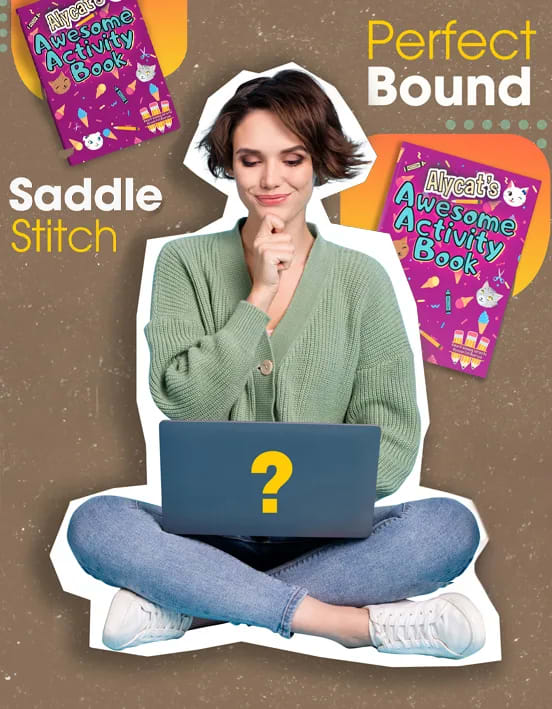
Perfect bound booklets are pages bound to a cover sheet with glue, can have as few as 28 pages up to 2” thick, and (if thick enough) allow you to design on the spine. Saddle stitched booklets are full sheets, folded and staple bound, can have as few as 8 pages, and lay flat when open. Perfect binding provides a more durable, professional, and book-like appearance.
We have an in-depth guide comparing perfect bound and saddle stitched booklets.
Arrange the pages for your perfect bound book in sequential reading order. For example, for a 32-page book (Cover + 28 Inside Pages + Back Cover):
Yes, you can print crossovers with perfect binding. However, a small portion of the image will be lost in the glued spine gutter. It is best to avoid placing critical details such as faces or small text directly in the center of a crossover spread to ensure the most important content remains fully visible.
The term “perfect” in perfect binding refers to the clean, precise, and perfectly squared-off spine that results from this binding method. The pages are trimmed flush with the cover, creating a smooth and professional finish that gives publications a polished, book-like appearance.
Perfect bound books do not lay completely flat on their own. The strength of the glued spine that makes them so durable also means the book needs to be held open when reading. This is a key difference from saddle stitch or spiral binding, which are designed to lay flat.
Delivery dates vary depending on the quantity and page count of your order, but our standard turnaround time is 3 to 4 days from proof approval, depending on the delivery time you choose. For faster turnarounds, select a delivery date in the pricing tool.
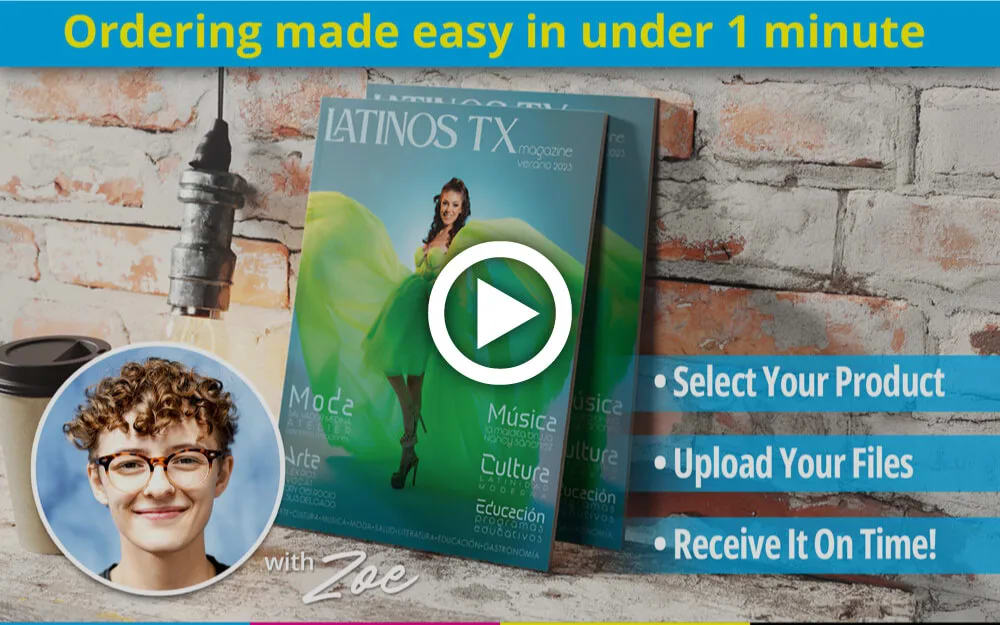
Upload your design - Our team is here to help if needed.
Receive a proof to ensure you are 100% satisfied.

Share your creation and impress the world!

At PrintingCenterUSA, sustainability is part of how we print, not an afterthought. For our book printing services, we combine efficient HP Indigo digital technology with responsibly sourced recycled paper to reduce waste and environmental impact.
Our HP Indigo presses enable printing and shorter print runs, which significantly cut setup waste and excess inventory. Instead of producing large quantities and risking unused materials, you get exactly what you need—every time.
We also offer book printing on 100% post-consumer recycled paper, supplied by partners like Sustana Solutions. This paper is made from reclaimed materials rather than virgin wood fiber and produced using a low-impact manufacturing process. The result is premium book quality with a smaller environmental footprint.
Premium books. Lower waste. Better for the planet.
Monday to Friday: 7am to 6pm MST
We offer the best quality printing at competitive printing prices paired with live personal service and support.
Call Us
Drop Us a Line
Save your PDF in CMYK.
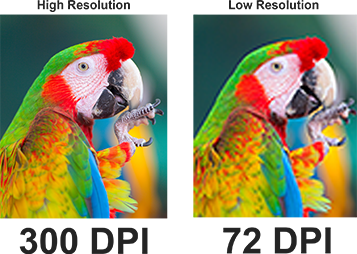
PrintingCenterUSA recommends that the resolution of your images and document be 300 dpi or more.
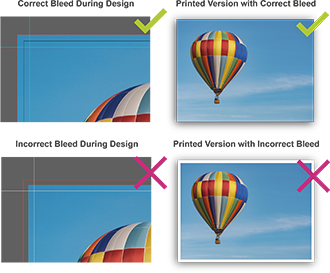
Bleed is an extra 1/8” of image that extends beyond the trim area of your printed piece. The project is printed on an oversized sheet that is cut down to size with the appearance that the image is “bleeding” off the edge of the paper.
More detailed information available in our Help Center.
Everything you need to print smarter