 Online Design Tool
 Free Templates


Page Count
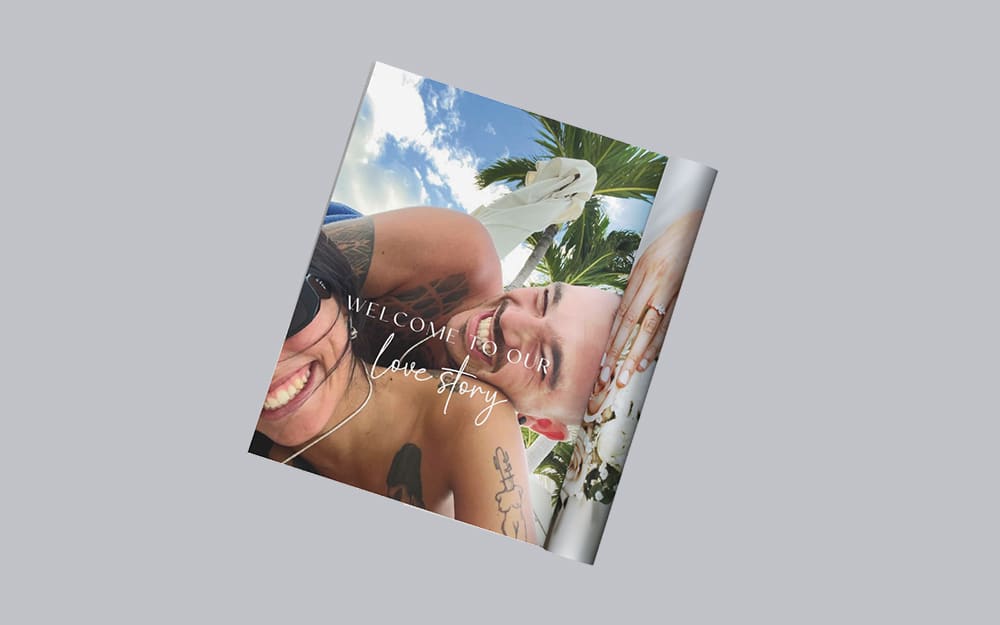
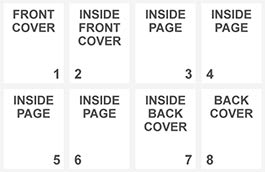
We require that any multi-page PDF files be sent as single page images, not spreads. In the files, page 1 should be the front cover and the last page should be the back cover (see left). Learn More
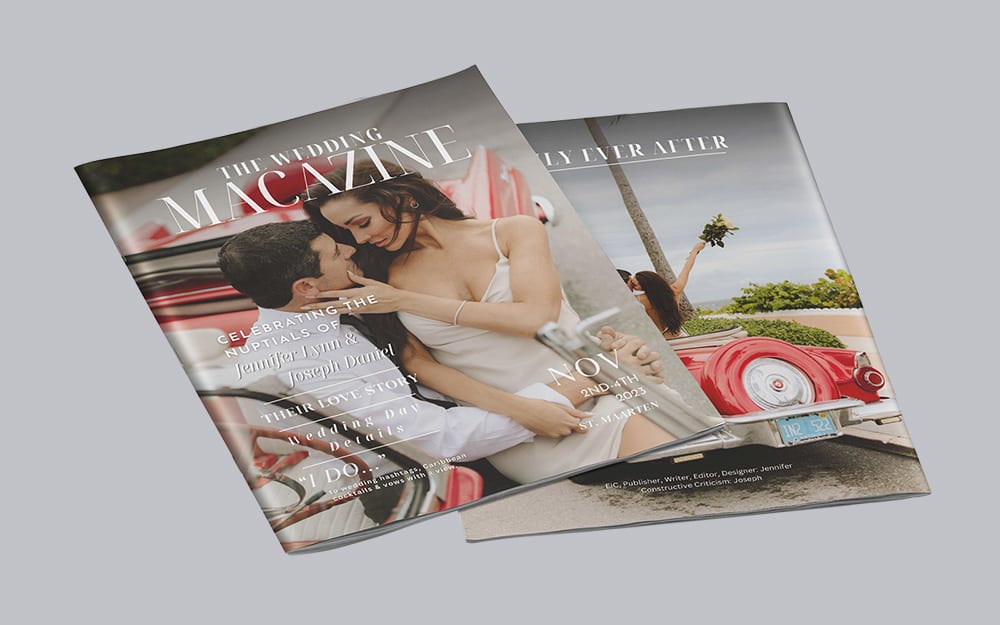
Rated #1 for best wedding program printing services. Print wedding booklets, save-the-date programs, program invitations, wedding photo books, wedding magazines, and more in vibrant full color on premium gloss or matte paper delivered to your doorstep as fast as 3 to 4 days from proof approval. Our use of short-run digital printers for smaller quantities and our bulk offset options for larger orders will save you money due to our investment in the latest state of the art printing technology and equipment.
We accept your print-ready PDF files or offer our easy-to-use free online wedding program maker online design tool, free blank templates, & layouts. Satisfaction Guarantee!

Upload your design - Our team is here to help if needed.

Receive a proof to ensure you are 100% satisfied.

Share your creation and impress the world!
If you are ready to place your order, then follow these steps.
Once you are logged in to your PrintingCenterUSA account, go to your desired product page and fill out the pricing tool on the right.
Be sure to drop down the “Estimate Shipping” tab above the “Order and Upload Files” button on the pricing tool to enter your zip code and view your shipping options. The price in the estimating tool is based on zip code only. In final checkout, the full address is used and this may cause your shipping cost to change. Click “Order and Upload Files” to continue.
Upload your Print-Ready PDF. Click Continue
You can create your own Print-Ready PDF using our free booklet templates. Click here to learn more. If you designed your project on PrintingCenterUSA’s online design tool, then you can simply click “Proceed to Checkout.”
For the most accurate program quote, use our pricing tool. Enter the specifications of your program to get an instant quote. If you would like to get a shipping estimate, click on the button that says, ‘Estimate Shipping & Delivery Date’ and enter your zip code.
It’s fast, easy, and affordable to print your own custom event, recital, wedding, or any other program with PrintingCenterUSA. Simply create your program with our online booklet design tool or upload your print-ready PDF to our pricing tool. Then, depending on your printing time, you can get your programs as quickly as 3-4 days from proof approval. Click here to learn more on how to create a Print-Ready PDF.
Although it’s not mandatory for a wedding to have a wedding program, we do believe that they make treasured mementos for guests and the happy couple. You are able to list who is in your wedding party, thank you parents and other important people in your life, and go more in-depth to any traditions that you may be including in your wedding ceremony. For more inspiration on a great wedding program, see our case study ‘Wedding Program with a Theme: A Spring Love Story’.
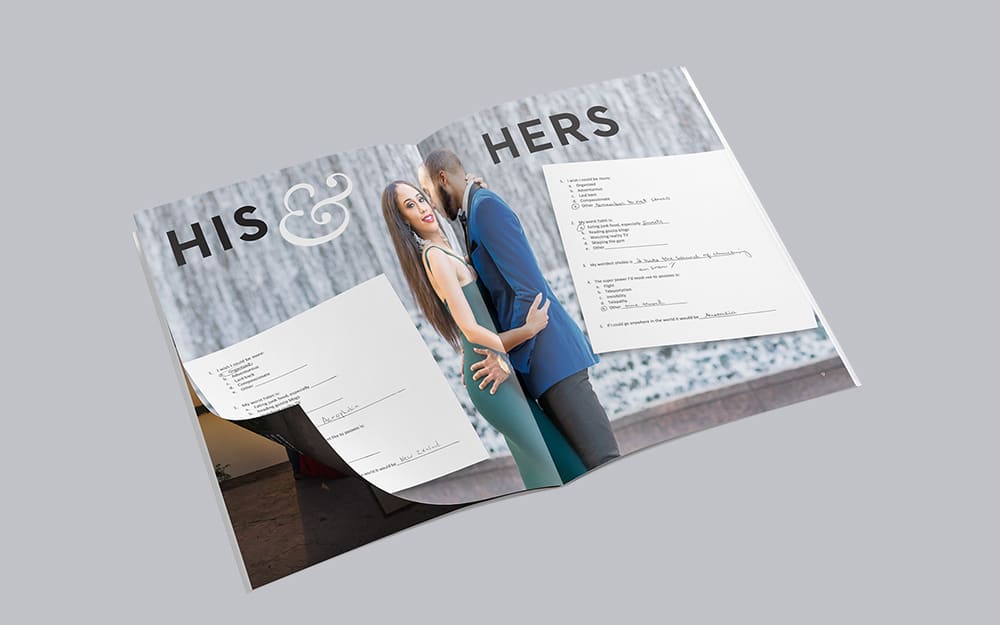
When designing your event program, there are a couple of necessities that you should be sure to include. You will have to include an introduction (whether that is a director’s note, or a welcome page), a thank you page, information about your event, organization, milestones, and mission, information about the participants of the event (like the cast of a show), testimonials, upcoming events, items for sale, and advertisements. Click here to go to Our Guide to Entertainment Program Printing.
The key is to show that advertising in your event program will benefit all parties involved and that it’s a great way to advertise their business. Make sure that the sponsor sees how they can benefit from the partnership and convince them that buying advertising space in your event program is a great marketing decision for their company. Click here to learn more on Program Fundraising, Advertising Ideas, & Sales Tips.
We require that any multi-page PDF files be sent as single page images, not spreads. In the files, page 1 should be the front cover and the last page should be the back cover (see left). Learn More
Save your PDF in CMYK.
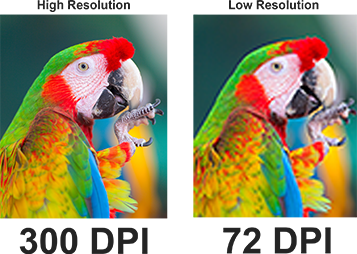
PrintingCenterUSA recommends that the resolution of your images and document be 300 dpi or more.
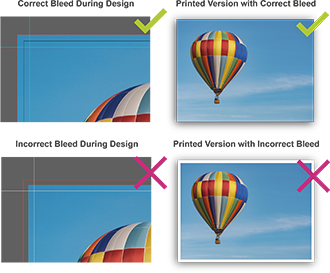
Bleed is an extra 1/8” of image that extends beyond the trim area of your printed piece. The project is printed on an oversized sheet that is cut down to size with the appearance that the image is “bleeding” off the edge of the paper.
More detailed information available in our Help Center.