


How to Make and Print a Fashion Catalog in 4 Easy Steps
What is a Fashion Catalog?
Fashion catalogs have a rich history going all the way back to the 15th century when royal families used them to select fabrics for their clothes and furniture. Catalogs are still an important tool used today. Buyers use fashion catalogs to find inspiration and information on the product. Let’s learn how to make a fashion catalog that stands out from the rest.
1. Fashion Catalog Design
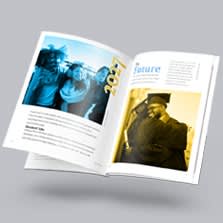
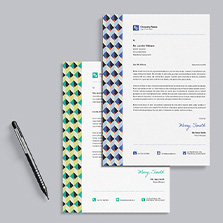
A great fashion catalog reflects the collection’s inspiration. Did your designs come from a trend board? Something you saw? Use those same visuals and themes to influence your catalog’s layout. The right font choices are crucial. Minimalist font goes hand in hand with modern designs, while fun, playful fonts work well for trendier lines. A fashion catalog with a clean, precise design will elevate the perception of your entire brand and boost sales.
Click here to get the Top Tips for Catalogs that Sell!
2. Decoding Color for Print
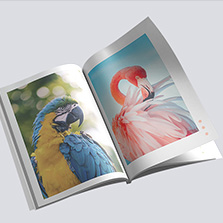
Color is one of your most powerful tools in fashion catalog design! It will set the mood, show off your products, and compel a visually cohesive look.
- RGB: Use for screen visuals like tv or web. This is rarely used in print media. Some colors in RGB are very vibrant, and oftentimes print out inaccurately.
- CMYK: Use for print media. Always design using the CMYK color profile for printed material. This ensures the color will print accurately and the book will match the photos.
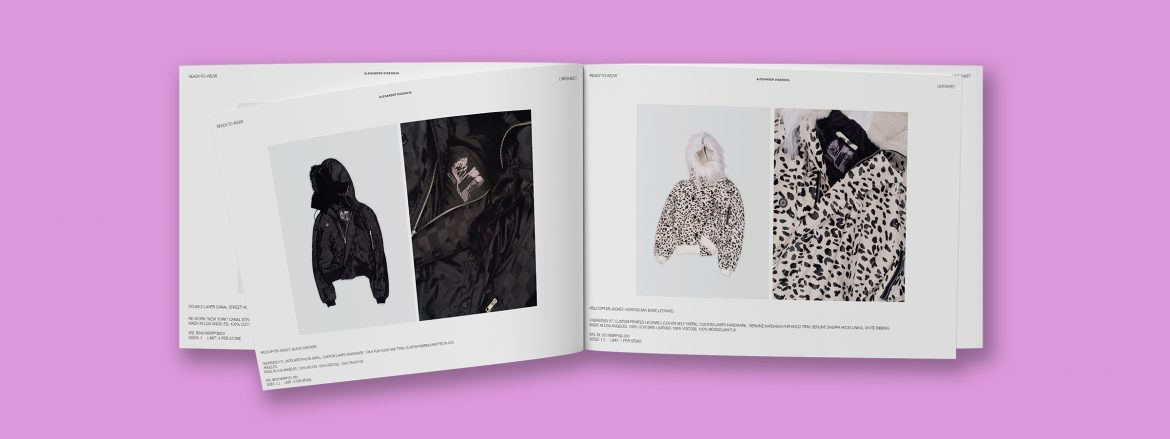
3. Next Level Photography for Fashion Product Catalogs
High-quality photography makes your fashion product catalog irresistible! When done right, quality photography speeds up the design process and makes your brand look polished and professional.
What to look for in a photographer…
- Your photographer should be able to take images with a DPI of 300 or higher. RAW original files should also be available.
- The color and lighting of the product shots and model poses featured should be clear and flattering.
- Being able to direct a model and/or show the product in the best possible light should be basic knowledge for your photographer.
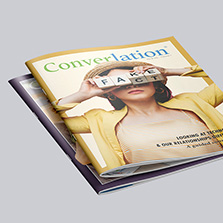
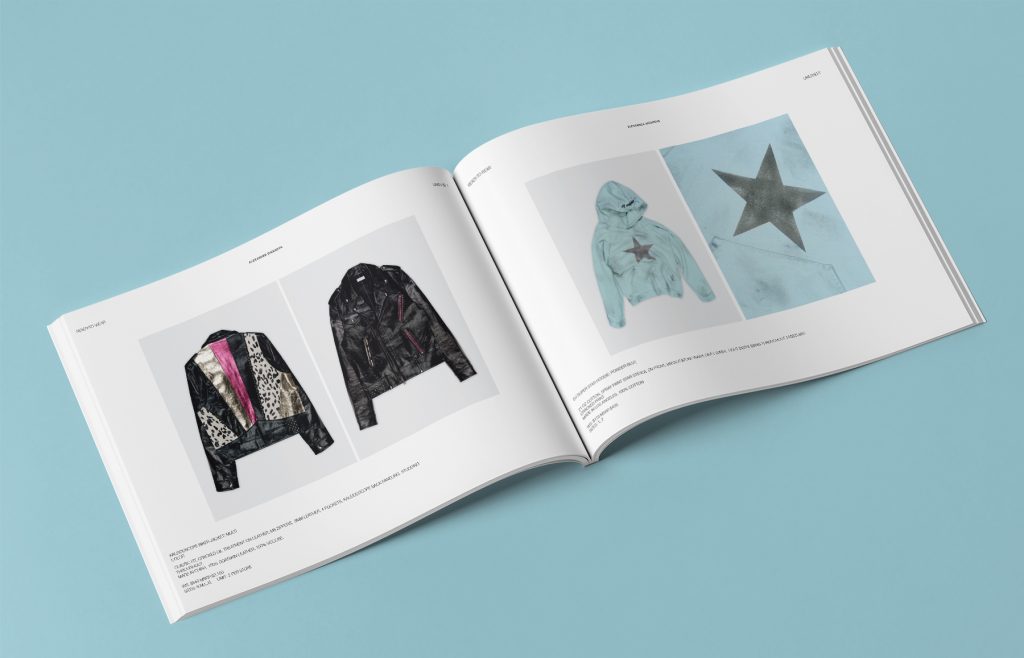
4. Catalog Layout Shortcuts
Templates are a great way to jumpstart your fashion catalog design, no matter your experience level. They provide a pre-made layout that ensures everything looks balanced and is easy to read. Here are 10 fashion catalog templates for your business from FlipHTML5 for any business profile. From minimalist to summer fashion, they have unique templates sure to save you time so that you can channel that energy into the creative aspects of your catalog like choosing the perfect photos.
How to create a fashion catalogue?
Love PrintingCenterUSA? Did you know we have free downloadable Adobe templates to give you a jumpstart on your fashion catalog? These templates are super easy to use. Simply find the template you would like to use and save it to your computer. Then open the file in your favorite Adobe app and start making the template into your own fashion catalog. If you don’t use Adobe products use our free online design tool from our website to get your creation off the ground and into the hands of customers! Our templates speed up your design process by pre-setting essential industry standard specifications like bleed, margins, and sizes so you can focus more on creativity and less on the technical details. Just choose your binding style and size then start your design!
[Digital Flipbook of a Fashion catalog created w templates or free online design tool if we can]
Conclusion
Being able to have a printing partner that can offer endless options and great quality is invaluable for any start-up or company. Reduce the amount of work your business faces when creating catalogs with PrintingCenterUSA’s helpful resources and services!