


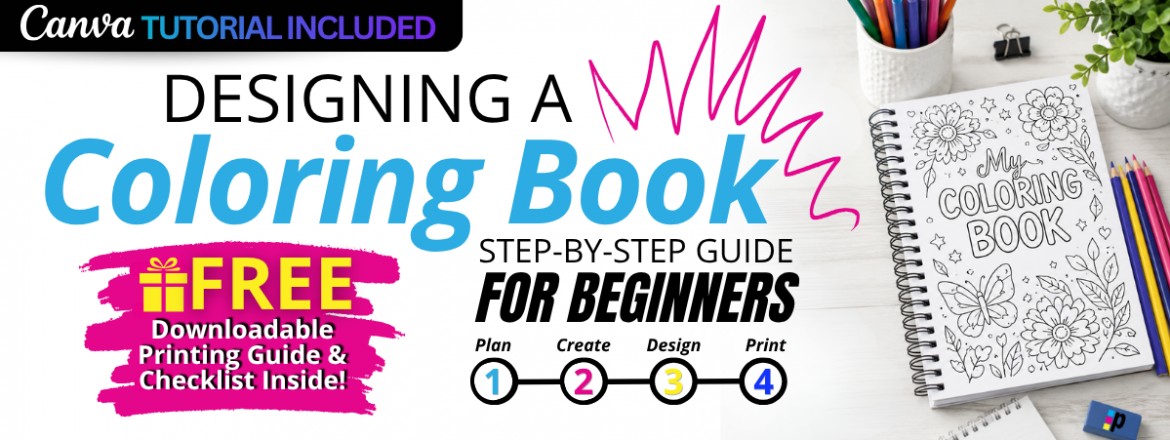
How to Design a Coloring Book: The Ultimate Guide
Coloring books have made a serious comeback! From common retailers to gas stations. adults use them to de-stress, teachers use them in classrooms, nonprofits sell them as fundraisers, and small businesses print them as branded gifts. Whether you want to create one for personal use, sell it online, or give it away at an event, the creation process is simple.
Let’s cover what’s in the guide from picking a theme to preparing your files for print. Design your coloring book today and if you want to follow along visually, grab our free downloadable coloring book design guide below.
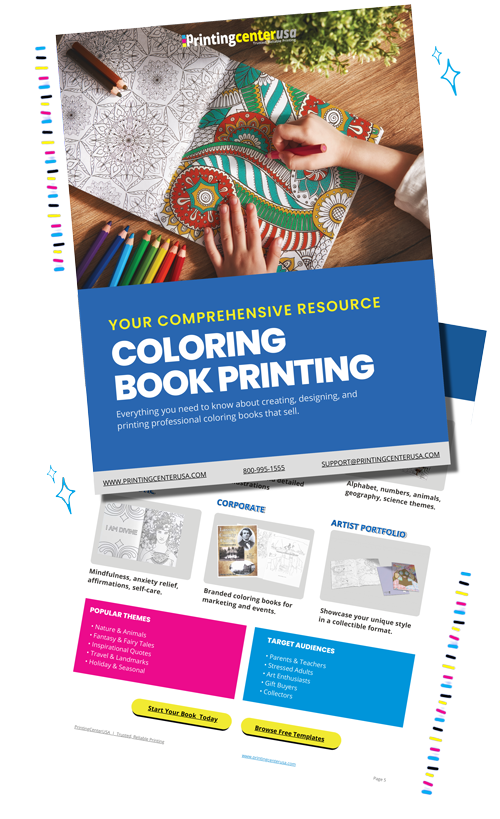
Download the Free Coloring Book Printing Guide Here!
Quick Answer: How Do You Design a Coloring Book?
Design your coloring book by selecting a theme, finding your target audience, create the line art, set up your files, and export with print-ready PDF files. Most beginners design in Canva or Adobe Illustrator. Once your file is ready, you can print a professional copy through a professional printing service like PrintingCenterUSA. Get your book in as little as 4 days, explore your options!
How to Plan a Coloring Book
First choose a theme for your coloring book. Deciding on a theme can expand the creative expression of your coloring book which will speak for itself on the shelf. Get your audience excited with clear themes that keep your book cohesive and easier to market or gift!
Here is a list of the most popular themes to include in your coloring book:
- Animals and nature
- Seasonal or holiday designs
- Educational content for kids
- Mandalas and patterns for adults
- Branded or custom artwork for businesses
Can’t pick just one? Make your theme “spontaneous” and pull together pages from everything you love. When you design your own, there are no rules. Even try making a colorful reverse coloring book for artists and illustrators alike!
Next identify your audience! Your audience can actually help you create the perfect product. A coloring book for kindergartners needs simple, open shapes with thick lines. A book for adults can handle more intricate detail. Think about whether you’re designing for kids, adults, classroom use, fundraising, or as a branded business item. Visit a local outlet and ask for opinions or use Google Forms to conduct a survey online for your area.
Decide on Your Book Size
| Size | Best For |
|---|---|
| 5.5″ x 8.5″ | Small activity books, giveaways |
| 8.5″ x 11″ | Most common coloring books |
| 11″ x 17″ | Large-format designs and poster sheets |
The most popular choice is 8.5″ x 11″. At PrintingCenterUSA, our most popular option for coloring books is our saddle-stitched booklets. Saddle-stitched booklets are pages printed on 11″ x 17″ sheets, folded in half, and stapled in the center to create a booklet.
Coloring Book Page Count Recommendations
One of the most common questions creators ask is, “How many pages should a coloring book have?” The answer depends on your audience, theme, and budget. While there is no single correct page count, the following guidelines can help you create a coloring book that feels complete without overwhelming your readers.
| Audience | Recommended Page Count | Why It Works |
|---|---|---|
| Preschoolers (Ages 3–5) | 16–24 pages | Short attention spans and simpler designs |
| Children (Ages 6–12) | 24–48 pages | Enough variety to stay engaged |
| Teen Coloring Books | 40–60 pages | More detailed illustrations and themes |
| Adult Coloring Books | 50–100+ pages | Intricate designs designed for extended use |
| Educational Activity Books | 24–64 pages | Space for coloring pages and learning activities |
| Fundraising or Promotional Coloring Books | 12–32 pages | Affordable and easy to distribute |
Pro Tip: If you’re publishing your first coloring book, an 8.5″ x 11″ book with 24–48 pages is often the easiest and most cost-effective option.
Step 1: How to Create Your Coloring Pages
Design Clean Line Art
Coloring book art can be really unique. Use consistent line thickness, keep outlines clean and closed, and avoid filling in areas that are meant to be colored. Think about how much white space you’re leaving for the person coloring. Use white space to your advantage to add text, puzzles, or customization options.
Use High-Resolution Artwork
Export or scan all artwork at 300 DPI minimum. Anything lower will look blurry or pixelated when printed. Because coloring books are in black and white only using lines, the pixilation will look amplified to the user compared to a small blurry image in a large magazine full or clear copy.
Leave Room for Coloring
This sounds obvious but gets missed often. Large open areas are satisfying to fill in. Overly detailed designs can feel overwhelming, especially for kids or casual colorists. Save the complex designs for enthusiasts and explore their niche before jumping in.
Step 2: How to Organize Your Book Layout
Once your pages are ready, organize them in a logical order. Consider grouping by difficulty, theme, or category. Then build out your front matter:
- Cover (yes, you can make your cover colorable too)
- Title page
- Copyright page
- Brief instructions if needed
- Color swatch testing page
The cover is your first impression. Make it count, even if the whole point is that someone else colors it.
Best Paper Types for Coloring Books
The paper you choose can dramatically affect the coloring experience. Different coloring tools require different paper weights and finishes.
| Coloring Tool | Recommended Paper |
|---|---|
| Crayons | 70#–80# Uncoated Text |
| Colored Pencils | 70#–100# Uncoated Text |
| Markers | 80#–100# Uncoated Text |
| Gel Pens | 80#–100# Uncoated Text |
| Mixed Media | Heavier Uncoated Paper |
Why Uncoated Paper Is Best
Uncoated paper provides a slightly textured surface that helps crayons, colored pencils, and markers grip the page. Glossy paper may look attractive, but it can make coloring difficult because many coloring tools won’t adhere properly.
Recommended Setup for Most Coloring Books
✅ Interior Pages: 70# or 80# Uncoated Text Paper
✅ Cover: 100# Cardstock Matte
✅ Binding: Saddle Stitch or Perfect Binding
Ask your CSR about our new paper specifically for coloring books!
Quick Reference Graphic
✏️ Colored Pencils → Excellent on Uncoated Paper
🖍️ Crayons → Excellent on Uncoated Paper
🖊️ Gel Pens → Good on Uncoated Paper
🖍️ Alcohol Markers → Better on Heavier Uncoated Paper
🚫 Glossy Paper → Not Recommended for Coloring
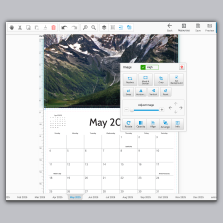
Step 3: How to Design a Coloring Book in Canva
Canva has become one of the most common tools beginners use to layout coloring books, and for good reason.
Why Canva Works
No design background required. You can set a custom document size, upload your artwork, drag pages into order, and export a print-ready PDF in one sitting.
How to Set It Up
- Open Canva and create a custom document at your chosen size (8.5″ x 11″ is standard)
- Upload your line art files
- Place each image on its own page
- Add your cover, title page, and any text elements
- Export as PDF Print with crop marks and bleed
Watch our step-by-step Canva tutorial to get the best results!
Step 4: Prepare Your Coloring Book for Printing
This is where a lot of first-timers get tripped up.
Check Your Page Count: Saddle-stitched booklets must be printed in multiples of four. If your page count doesn’t land on a multiple of four, add blank pages to even it out.
Review Margins and Bleed: Set up at least 0.125″ bleed on all sides and keep important content at least 0.25″ from the trim edge. Anything too close to the edge risks getting cut off.
Export Print-Ready Files: Save as a PDF/X-1a or high-resolution PDF with bleed and crop marks included. If you’re using our free Adobe Illustrator or InDesign templates, the correct specs are already built in.
Order a Proof Copy: Before printing a full run, order a single proof. Colors and line weights can look different on paper than on a screen, and catching issues early saves time and money.
Common Coloring Book Design Mistakes That Matter
- Using low-resolution images (anything under 300 DPI will print poorly)
- Overly complex artwork that leaves no room to color
- Ignoring margins and bleed, which causes content to get cut off
- Forgetting to check page count against binding requirements
- Not ordering a proof before printing a full run
When finished: ✓ Download as PDF Print ✓ Review all pages ✓ Confirm page order ✓ Verify image quality ✓ Check margins ✓ Export with CMYK ✓ Flatten your design before exporting
How to Design a Coloring Book in Canva: A Step-by-Step Guide
Canva makes it easy to create a professional-looking coloring book, even if you’ve never designed one before.
Step 1: Create a New Document
Choose your final trim size before you begin.
Popular sizes include:
• 8.5″ x 11″ (Most Common)
• 5.5″ x 8.5″ (Portable)
• 8″ x 8″ (Square Coloring Books)
Step 2: Upload Your Artwork
Upload black-and-white line drawings with clean outlines and high resolution. For best print quality, use artwork that is at least 300 DPI.
Step 3: Build Your Page Layout
Place one illustration per page whenever possible. Leave generous white space around the artwork so users have room to color comfortably.
Step 4: Design Your Cover
Your cover should immediately communicate the theme of your coloring book. Include a title, subtitle if needed, and an eye-catching illustration.
Step 5: Export a Print-Ready PDF
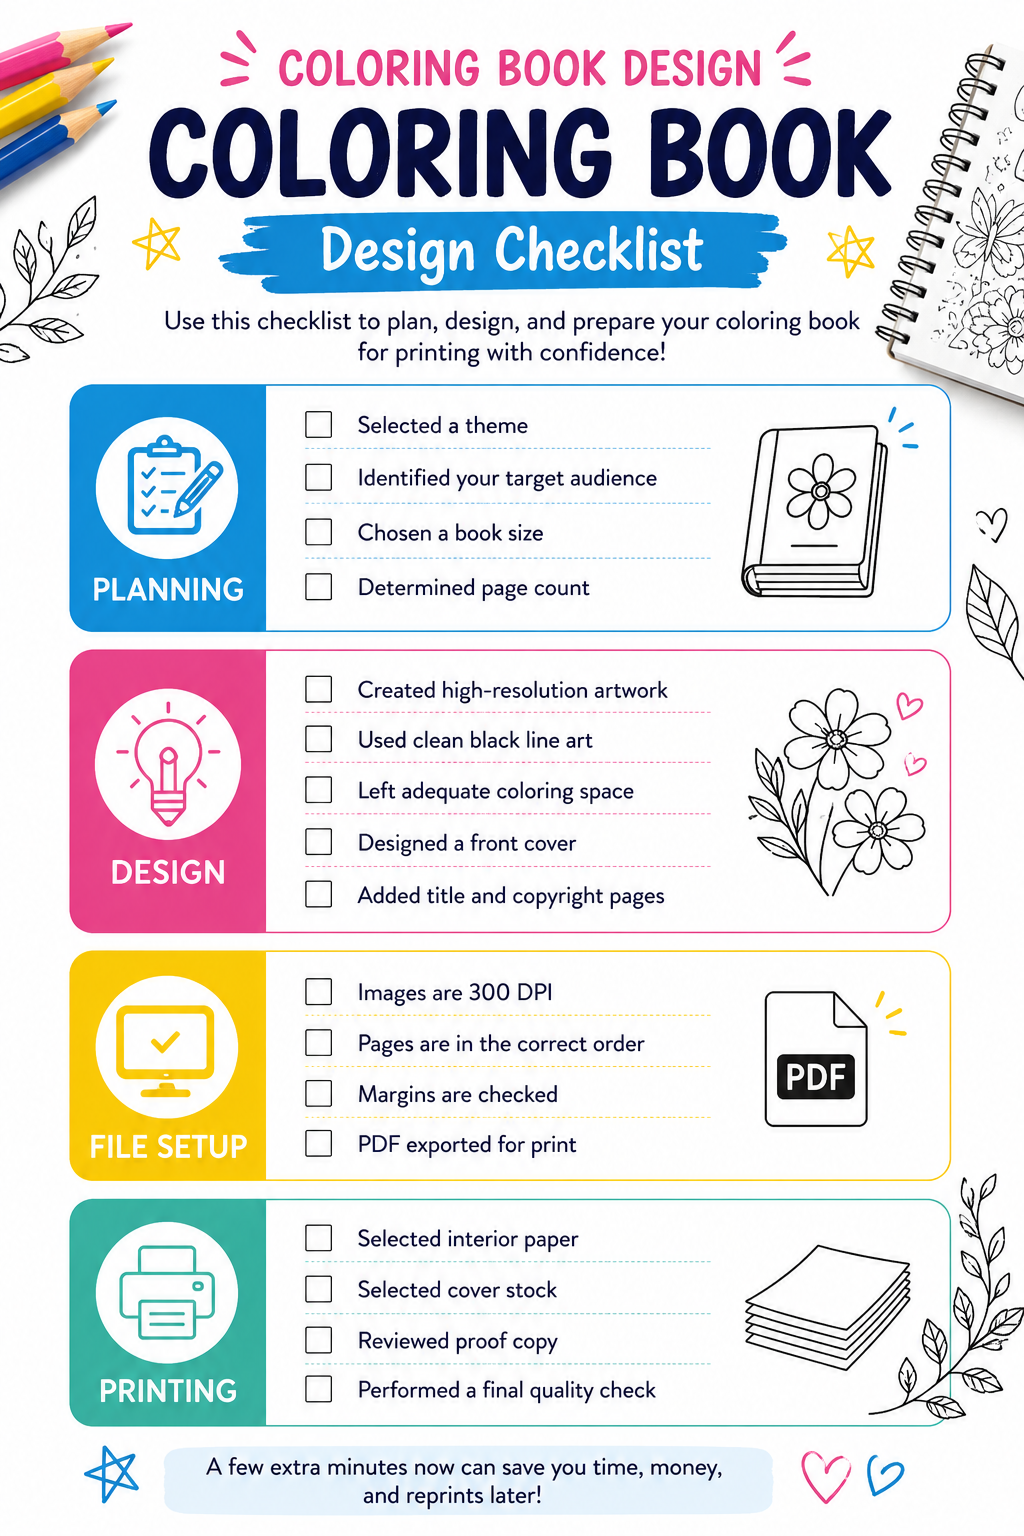
Get your Free Downloadable Coloring Book Checklist HERE!
Coloring Book Printing Requirements
Designing your coloring book is only half the process. Preparing files correctly helps ensure your final product prints exactly as expected.
Resolution: Use 300 DPI images for sharp, clean line art. This is printing industry standard.
Color Mode: Black-and-white line art typically produces the cleanest coloring pages and keeps printing costs lower. Use 1/1 for the inside ink selection.
Margins: Keep important artwork at least 0.25 inches away from the trim edge unless your design bleeds off the page.
Page Count: Most printed coloring books work best between 24 and 100 pages, depending on audience and purpose. Find yours and optimize.
File Format: Export your final project as a high-quality PDF for printing with CMYK color codes.
Before You Order
Always review a digital proof and double-check: Page order, artwork placement, margins, cover design, and spelling and grammar.
A few extra minutes spent reviewing your files can save time, money, and reprints later!
Download Our Free Coloring Book Printing Guide
This guide covers file setup, design tips, page count recommendations, and a full printing checklist. Everything you need in one place before you place your order. Click here to get yours!

Ready to Turn Your Print Projects Into Rewards?
If you’re a creator, author, designer, or growing business, did you know the PCUSA Creator & Partner Network was built for you? Share your work, tell your story, and earn Boss Bucks (print credit) or even cash just for participating! Programs like the Creator Spotlight, Success Stories, Partner Referrals, and the Affiliate Program let you get featured, grow your reach, and earn up to $650 in rewards at no cost to join. It takes just a few minutes. Get started now!
Frequently Asked Questions
What size should a coloring book be? The most common size is 8.5″ x 11″. It fits standard paper, works well on a desk, and gives plenty of room for detailed artwork. Smaller sizes like 5.5″ x 8.5″ work well for activity books or giveaways.
How many pages should a coloring book have? Most coloring books run between 24 and 48 pages. For saddle-stitch binding, your page count must be a multiple of four. A good starting point for a personal or small-run book is 24 pages.
Can I design a coloring book in Canva? Yes. Canva works well for beginners. Set up a custom document at your target size, upload your artwork, arrange your pages, and export as a PDF Print file. See our full Canva tutorial above.
What file format should I use? PDF is the standard for print. Use PDF/X-1a or a high-resolution PDF with bleed and crop marks. Avoid sending JPEGs or PNGs for a full booklet.
What paper works best for coloring books? 60 lb or 70 lb uncoated text paper is the most popular choice. It accepts colored pencils and markers well without excessive bleed-through. Avoid glossy coatings, which make coloring difficult.
How much does it cost to print a coloring book? Cost depends on page count, quantity, size, and paper stock. Use our instant pricing tool to get a quote in seconds.
Ready to Print Your Coloring Book?
Printing your coloring book is the easy part. Upload your file, get an instant quote, and have professional copies in your hands faster than you’d expect. We’ve been printing booklets since 1971, and we’re ready to print yours!