


Essential Techniques for Nondestructive Editing in Photoshop
Photoshop, the industry standard of image editing, offers a plethora of tools and techniques to enhance and modify images. Among these, nondestructive editing stands out as a crucial skill for any digital artist or photographer. This allows you to make changes to an image while preserving the original data, ensuring that image quality remains intact. Let’s take a look at the various ways you can employ nondestructive editing in Photoshop.
Nondestructive Editing Techniques
1. Adjustment Layers
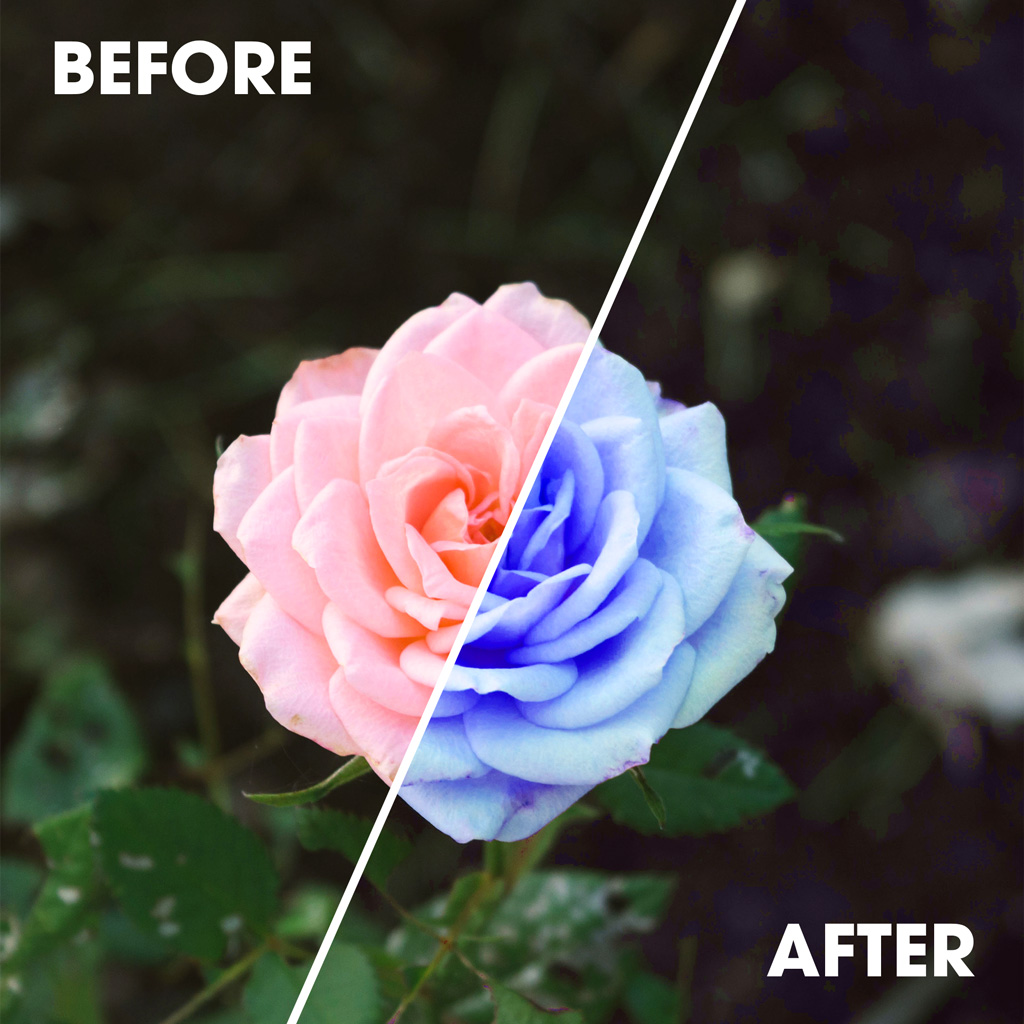
Adjustment layers are a cornerstone of nondestructive editing. They enable you to apply color and tonal adjustments without permanently altering the pixel values. This flexibility means you can tweak your settings any time without degrading the image quality.
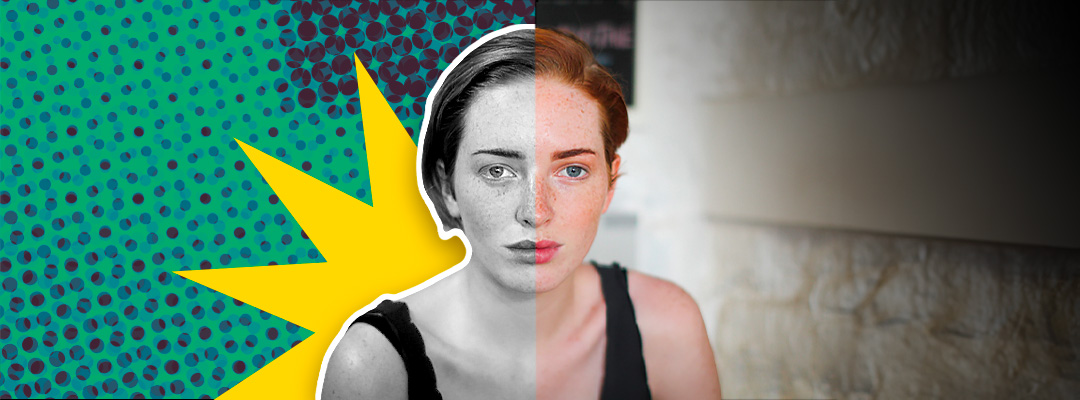
Whether you’re affecting the color of an image, the contrast, or creating visual interest by converting to black and white, utilizing adjustment layers guarantees that you maintain the freedom to choose how your image looks until you are ready for the final render.
2. Using Smart Objects
Smart Objects are a game-changer in Photoshop. They allow nondestructive scaling, rotating, and warping of images. By converting a layer into a Smart Object, you ensure that any transformation you apply can be adjusted or reversed without any loss of image quality. Smart Objects are the key to longterm image lifespan in Photoshop.
Learn more about how to use smart objects here.
3. Filtering with Smart Filters
Filters are an easy way to make creative tweaks to your images quickly. From blurs to halftones, filters can be a game changer in crafting the right image for your design needs. However, applying filters to a native file in your project locks you into that style for good, unless you work with smart objects.
When you apply filters to Smart Objects, they become Smart Filters. This functionality allows for nondestructive filter effects. You can adjust, reorder, or remove these filters without permanently affecting the image.
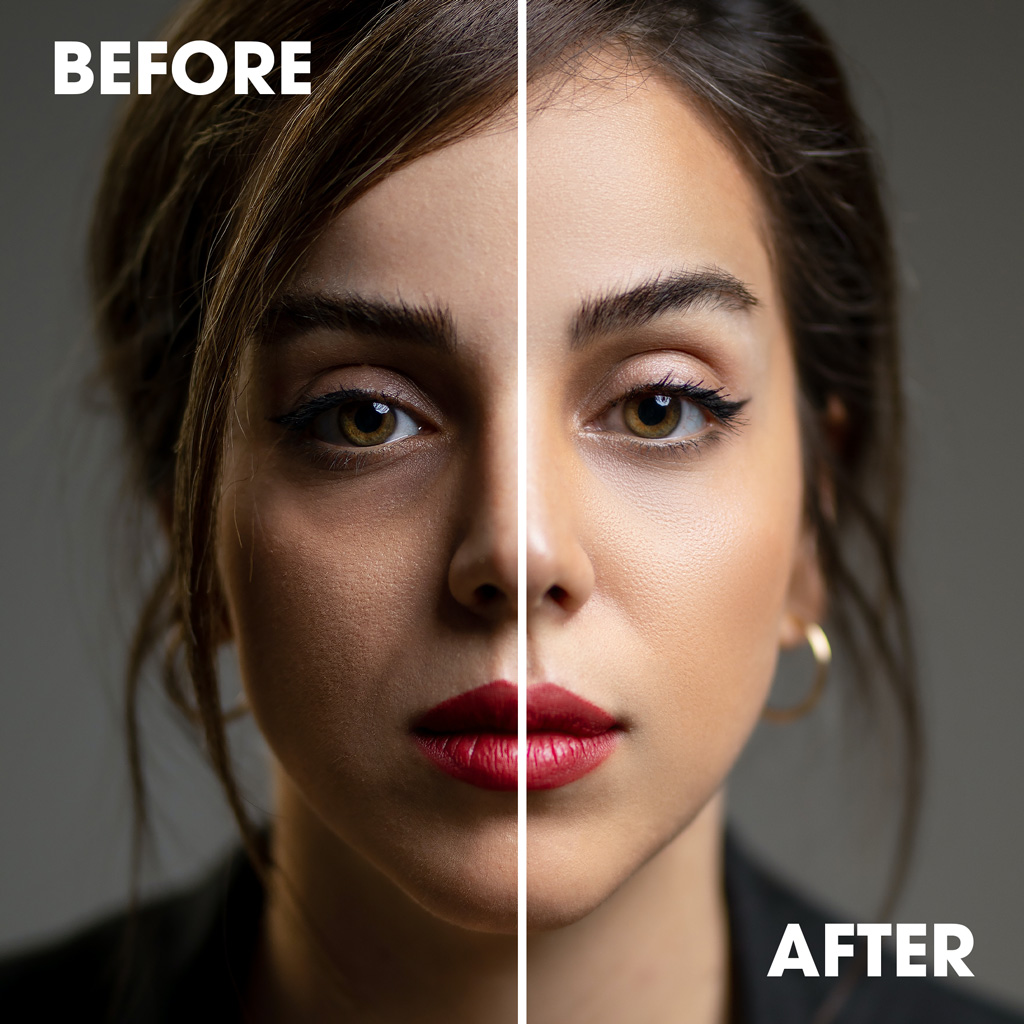
4. Retouch Your Image on a Separate Layer
Tools like Clone Stamp, Healing Brush, and Content-Aware Move can be used nondestructively by retouching on a separate layer. Ensure to select ‘Sample All Layers’ to allow these tools to reference the original layers while working on a new one. This approach offers the ability to discard any unsatisfactory retouching easily.
As soon as you make changes to the original image, you are locking yourself into the adjustments you’ve made. Utilizing additional layers for your adjustments maintains the integrity of your images and gives you the flexibility to make changes time and time again, without the need to start from scratch by reimporting your images.
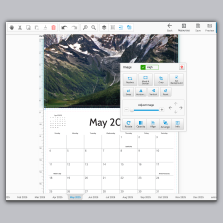
5. Editing in Camera Raw
For raw, JPEG, or TIFF images, adjustments in Camera Raw preserve the original image data. This feature is particularly useful for batch editing, as it stores adjustments separately, ensuring the original files remain unaltered. And for even more post-processing flexibility, editing Camera Raw files in Photoshop as Smart Objects allows you to revisit and adjust Camera Raw settings at any time.

7. Nondestructive Cropping
Cropping is a great tool in a designers toolkit for crafting composition, but it is often that your first crack at composing your design doesn’t end up being right for the final render. Utilizing the ‘Hide’ feature in Photoshop’s Crop tool will help you maintain flexibility throughout the life of your project.
Using the Crop tool’s ‘Hide’ option, you can crop images nondestructively. This feature preserves the cropped area in a layer, allowing you to restore it at any time, providing great flexibility in composition and framing.
8. Masking Instead of Erasing
When you are trying to remove part of an image it is often that the first step people take is to erase the parts that they don’t want visible. While this does accomplish the task at hand, it is risky business, since you are removing pixel data from the original image when you erase, and if you save and come back to that file your original image no longer has any of the erased sections left to work with. That’s where masking comes in.
Layer and vector masks are essential for nondestructive editing. They allow for the re-editing of masks without any loss of pixel data. Filter masks also enable masking out the effects of Smart Filters on Smart Object layers.
Learn more about using layer masks here.
Make Your Images Work for You Every Time
In summary, nondestructive editing in Photoshop not only preserves your original image data but also offers an efficient workflow, allowing for easy revisions and adjustments. Utilizing nondestructive editing techniques guarantees that you maintain the freedom to choose how your image looks until you are ready for the final render…and the second final render with the extra notes you received.
By mastering these techniques, you can ensure your digital creations maintain the highest quality while remaining versatile and editable. Embrace these methods to elevate your Photoshop skills to new heights.
Need help getting started with your print project design? Check out PrintingCenterUSA’s selection of Free Templates to get you started.
Already working on a booklet or calendar design? Make sure that your files are print ready with a Free File Check.