


6 Affordable Booklet Printing Tips
Printed materials are a part of every well put together marketing strategy. Having a reliable B2B online printing service is vital to the key to your marketing success and well-placed resources. If you’re considering your next big printing project or starting for the first time, price is always a considerable factor. But it can be easy to forget that printing does not have to be expensive. Instead, it’s important to make smart decisions during the planning stages before printing begins and understand how each decision you make for your booklet will affect its overall costs.
Understanding your Printing Needs
Everyone knows in the corporate world, projects consist of multiple people, meetings and possibly departments. Before starting with the details and getting the most cost-effective options, plan out what your team is doing. This goes without saying but it can be easy to assume you know everything on the plate and want to get a head start and jump in. It’s important to have a clear start to finish.
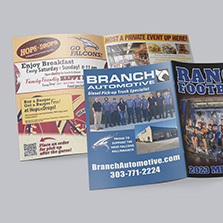
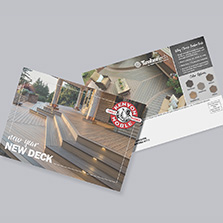
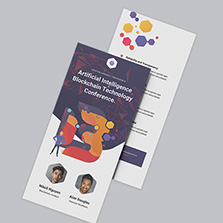
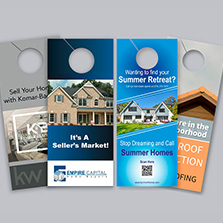
- What product are you looking for? A magazine, catalog, booklet, program, brochure, rack card, postcard? Printing specifications vary between products so having a clear idea will make sure you are internally discussing the right options, like binding type, paper and finishing options.
- Who is your audience? Is this internal? Is it going to clients? This will help figure out the distribution strategy and quantity needed.
- What is the purpose of the project? This will help pick out the right quality and design options.
- What is the turnaround time needed? If you’re working on a deadline, turnaround time varies printer-to-printer. This will help determine the right printer, their file requirements, design needs, and delivery dates. Rush orders cost more. Choosing a printers standard turnaround is one of the easiest ways to keep costs down without changing anything about your project specifications. Plan ahead and give yourself enough lead time
PrintingCenterUSA offers wait & save production timelines to save even more!
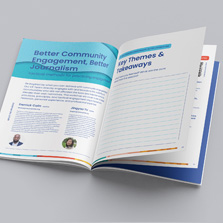
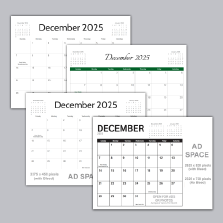
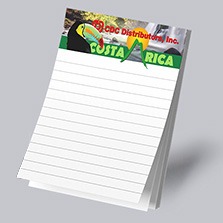
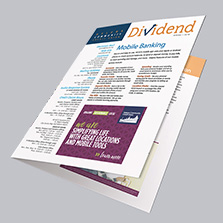
Tip 1. Standard Booklet Sizes
When starting your printing project, deciding on the size of your booklet should be your first step. Choosing a standard size will always save you money because it produces less waste in the production process. The paper standard and most common print sizes are 8.5” x 11” and 5.5” x 8.5” and these sizes offer the best value for just about any booklet project. Smaller sizes or half size booklets will always be more affordable to print than full size booklets They require less paper, smaller run size sheets and can be produced more economically for short runs.
- Portrait orientation refers to a book that has a width dimension smaller than its height dimension. This looks like a straight up vertical rectangle and is the most common for printed book projects. Printers also call it “long edge bind” because the spine of the book runs along the longer of the two sides. 8.5” x 11” and 5.5” x 8.5” offer the best value and is the most economical choice you can make for your booklet project.
- Landscape orientation refers to a book that has a width dimension larger than its height dimension. The landscape format has a horizontal shape and is not as common as the portrait style. It is also known as a “short edge bind” because the spine of the book runs along the shorter of the two dimensions. Landscape books require bigger run size sheets of press paper and are more costly to produce. The common sizes you will see are: 11” x 8.5”, 9” x 6”, 8.5” x 5.5”
- • Square orientation refers to a book that has width and height dimensions that are equal. Square size booklet costs will be higher than standardized portrait size.
If none of these sizes fit your printing needs, most printing centers offer custom sizes, although this option is going to cost more. It is important to keep in mind that a custom size can have huge impact on your overall price, even when the difference is as small as ¼” off of a standard size. It is very appealing to choose a unique size to stand out from the crowd, but if cost savings are a huge concern, weigh out the pros, cons, and savings options.
It’s best to stay with standard sizes to keep costs low. If you are set on a custom or unique size, know what you want beforehand to budget properly.
Tip 2: Best Paper for Affordable Booklet Printing
Printing companies offer a variety of paper options to choose from and they vary printer to printer. It’s a whole new world. Picking the right type can be confusing. Its important to note that the heavier and more premium the paper is, the more expensive it’ll be. If its eco-friendly or uncoated vs coated are all cost factors but its not always necessary.
The most affordable option is a self-cover booklet. Self cover means the cover and inside pages are all the same paper weight, Our recommendation is using 100# text for both. It’s not flimsy and looks professional. Its commonly used for event programs, conference booklets, and internal handouts. If you want a thicker cover, cardstock options are available. The extra thickness adds durability, thickness and makes your booklet feel better to hold and flip through. We recommend 80# cover paired with 100# text for the inside pages. The 80# cover is a nice medium, it’s not thick or thin and won’t flex when moving the booklet.
Paper is either coated or uncoated.
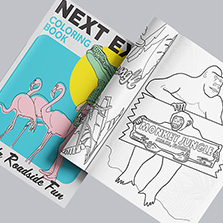
- Uncoated paper is non-reflective, like standard at-home copy paper and is commonly used for coloring books, guides, activity books, or any project where writing needs to be done. This is the most affordable paper option.
- Coated paper can be gloss or matte. Gloss adds a nice shiny finish and makes colors pop. Matte is more refined and less shiny. It’s recommended for any projects that have a lot of text so its easier to read.
BONUS PRO TIP: Request a free sample pack from PrintingCenterUSA and receive a paper swatch book with our different paper types to feel in person, plus our ultimate printing guide with more print tips.
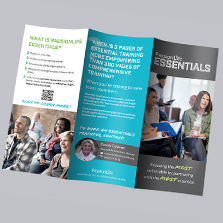
Tip 3: Choose saddle-stitch binding
There a few binding options for booklets: saddle-stitch, perfect-bound softcover, wire-o, and spiral.
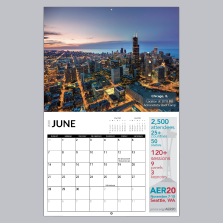
Saddle-stitch is the most common and uses staples in the middle of the spine. It lays flay when you flip through it and is most used for magazines, programs, catalogs, calendars and more. It’s the most economical, with the fastest turnaround time, lightweight and works best for page counts between 8 and 92 pages. Saddle-stitch booklets require page counts in multiples of 4. So your options are 8, 12, 16, 20, and so on. Plan your content around this from the start to avoid surprises and wrong budgeting.

For higher page counts, perfect binding is the next step up. It’s a softcover that uses glue to bind the pages to the cover and creates a clean square spine. It costs a little more than saddle-stitch but gives a professional finish. The minimum page count for perfect binding is 28 pages up to 800.

Spiral and wire-o binding are best for workbooks, training manuals, and anything that needs to lay completely flat or be written in. This is the most expensive.
Tip 4: Choose black and white greyscale printing
When it comes to cost, color vs black and white printing are very comparable. However, black and white printing will still win in the end if cost savings are the ultimate end goal. Color printing is made up of 4 inks to get the right saturation and hues: CMYK. Which is cyan, magenta, yellow, black (key). This means that it uses more ink. Black and white uses just one: black (key).
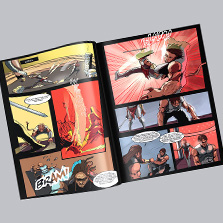
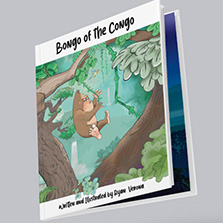
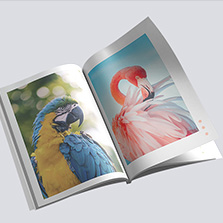
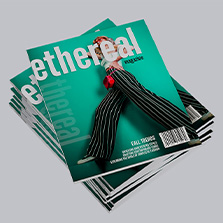
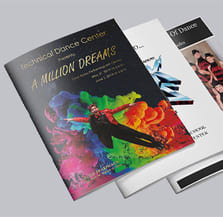
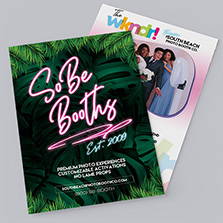
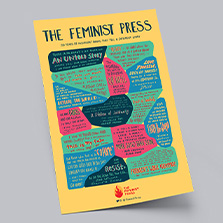
However, black and white is not always the best call. Color has its pros: it draws attention and enhances visuals. It is the best choice for photo books, lookbooks, children’s books, art books, and anywhere else where pictures carry the project.
The good thing is you are not stick with either color or black and white. For the best balance, opt for color on the covers and black and white printing for the inside pages.
Cost comparison for B&W vs color printing
- Size 8.5 x 11 (8.5 x 11 Inch)
- Quantity: 50
- Binding Saddle Stitch
- Pages:12 Pages (Cover + 8 Inside)
- Cover Paper 100# Gloss Text
- Inside Paper 100# Gloss Text
- Binding Edge Left Edge
- B&W: $119.60
- Color: $173.07
Tip 5: Order in Larger Quantities
If possible, order a larger quantity at once. Ordering more booklets at once equals a lower cost-per-booklet. This can be dependent on the type of printing offered. There is offset and digital printing.
What is Offset Printing? Offset printing is the old-school classic method. It uses printing plates and becomes more cost efficient at higher quantities because the setup cost gets spread across more pieces.
Offset printing is best for:
- Large print runs
- High color accuracy
- Specialty inks
What is Digital Printing? Digital printing transfers files directly to the press. Since there are no plates, the set-up time is little to none and is ideal for tight deadlines and last-minute projects. Digital printing is cost-effective for small amounts. However, it becomes more expensive per piece as volume increases.
Digital printing is best for:
- Short print runs
- Tight deadlines
- Prototypes and test quantities
For most short run booklet orders, digital is the more affordable path. Once you go up to the 1,000 quantity or more mark, offset becomes the better value option.
Tip 6: Build a Long-Term Printing Partnership
The relationship between you and your printer is sacred. They are one of the key assets in your brand image and the materials you send out to your audience. A good printer knows you, your company, and your project by name and can adapt to your changing marketing and business needs. Once your printing partner knows your project, it will be easier for them to think outside the box and proactively reach out to you with suggestions. If you’re looking for a new printer, consider the volume of your printing, cost, turnaround times, quality, and customer service.
Getting in touch early can help avoid any last minute specification discussion that can save a lot of back & forth and money later on.
“The quality was great, the price was reasonable, the online ordering was easy. After I approved the proof they sent, everything went exactly according to the timeline they laid out. They kept me informed of when the order started printing, when it was ready to ship, etc. I received the order on time and overall it was a great experience!” – Georgette Y. Read more PrintingCenterUSA reviews here.
Quality Considerations when cutting costs:
We all love saving but with printing, cutting costs should not come at the expense of quality
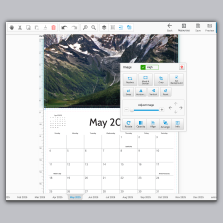
- Use high-quality resolution images. Always use high-resolution images to maintain a detailed and professional visual presentation. For the best photo resolution, 300 DPI is key. Anything below this can be blurry when printed.
- Proofread carefully: Don’t skip a proof. Most printers offer free PDF proofs that allow you to preview your project file before it prints. Thoroughly check for any errors like typos, alignment issues, low resolution images, or missing content so there are no reprints needed. If your files have to be re-submitted it slows down your turnaround time and can add costs. Submit your print-ready file as a PDF, 300 DPI, individual pages instead of spreads, and with bleed.
- Color set-up: If choosing color for your booklet, design your file in CMYK from the start. RGB is the standard for screens and will need to be converted for the printing process. This can result in unexpected color shifts.
- Prioritize designs: Be intentional with your design and what content gets included. More pages equals a higher cost per booklet. Choose smart design choices like QR codes in place of lengthy text areas. Typography can be added as a visual element instead of pictures without the additional space.
Frequently Asked Questions About Booklet Printing
What is the cheapest way to print a booklet? Choose a standard size, go with saddle-stitch binding, use a self-cover with 100# text, and print inside pages in black and white. Order the highest quantity your budget allows to bring down the cost per piece.
How much does booklet printing cost? It depends on size, page count, paper, binding, color, and quantity. The best way to get an accurate number is to use PrintingCenterUSA’s instant quoting tool. Most short run digital booklets start at a few dollars per piece and goes down as quantity increases.
What is the minimum page count for a booklet? For saddle-stitch, the minimum is 8 pages and page counts must be in multiples of 4. For perfect binding, the minimum is 28 pages.
What size should my booklet be? 8.5″ x 11″ and 5.5″ x 8.5″ are the most common and most affordable sizes. Portrait orientation will always be more cost effective than landscape or square.
What file format should I submit for booklet printing? Submit a print-ready PDF with 300 DPI images, CMYK color, individual pages (not spreads), and bleed included.
How do I keep my booklet printing costs down? Plan your page count in multiples of 4, stick to standard sizes, choose saddle-stitch if your page count allows, and avoid rush turnaround times when possible.
What is the difference between saddle-stitch and perfect binding booklets? Saddle-stitch uses staples and works for 8 to 92 pages. It lays flat and is the most affordable option. Perfect binding uses glue to create a square spine and works for 28 pages and up. It costs a little more but has a more polished, book-like finish.
Your Next Booklet Project Starts Here
At PrintingCenterUSA, we’re here to make this whole process feel easy while staying within your budget. With over 54 years of printing experience, trust us to delivery the highest level of quality and customer service.
To get started, download a free booklet Adobe template, submit your file for a free file review, or connect with a professional through our Find a Designer service. However you like to work, we have an option that fits for you and your needs!