


Full Bleed vs No Bleed Printing: What’s the Difference?
Ever been confused by printing terms? You’re not the only one. Words like “full bleed” and “no bleed” can sound tricky, but they’re actually pretty simple. In this article, we’ll explain these key terms in plain language, guide you through the benefits of each, showcase examples and even provide a step-by-step instructions on how to set up your files for perfect prints. By the end of this article, you’ll have a clear understanding of why these terms matter for your printing project.
Now, let’s crack the code.

What Does Full Bleed Mean?
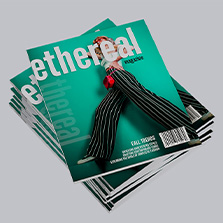
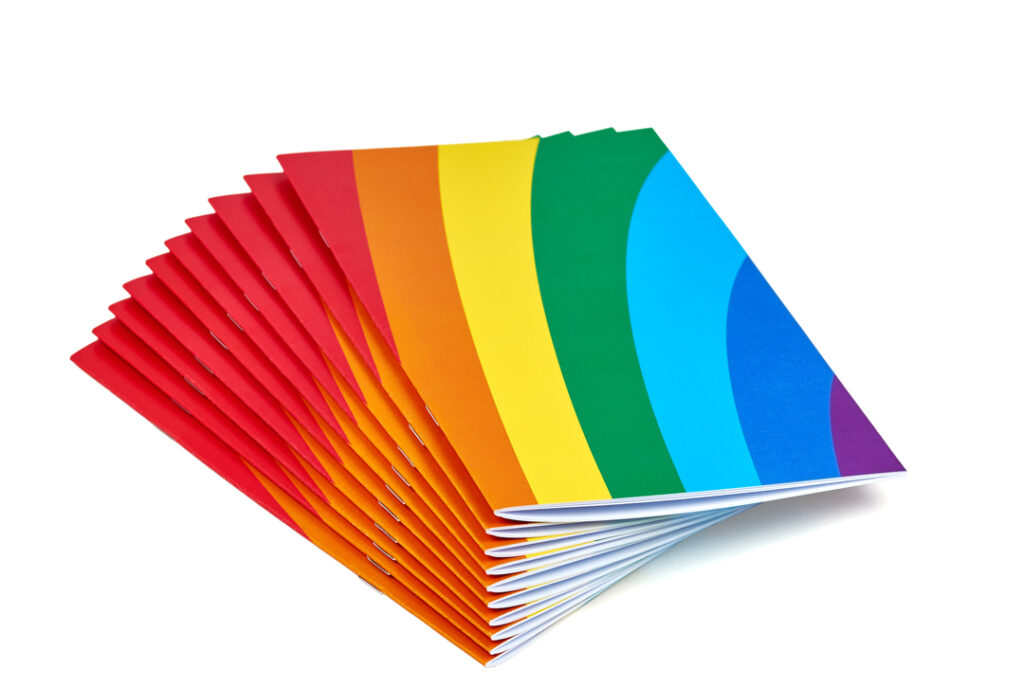
Full bleed printing refers to the process where the design or image stretches out to the edge of the paper. This ensures there is no unprinted margin or border around the artwork. During the printing process, the design is printed on a larger sheet of paper and then trimmed down to its original size, ensuring the image reaches the very edge of the page. This technique is often used in magazines, brochures, and posters to give a more immersive and professional look. Get fast, easy and reliable printing with a free file review!
Why Use Full Bleed?
Full bleed printing offers a dynamic canvas for your designs, allowing them to stretch from edge to edge without restraint. This powerful technique immerses viewers in your content, leaving a lasting impression and ensuring your message takes center stage. Full bleed vs no bleed offers these benefits:
- Engaging Aesthetics: Presents a cutting-edge look, capturing and retaining viewer attention.
- Optimal Space Use: It maximizes the paper surface, making every inch count.
- Versatility: Ideal for materials like magazines, brochures, and posters.
What is an Example of Bleed vs No Bleed?
Explore real-world instances to grasp the visual distinction between these two printing techniques.
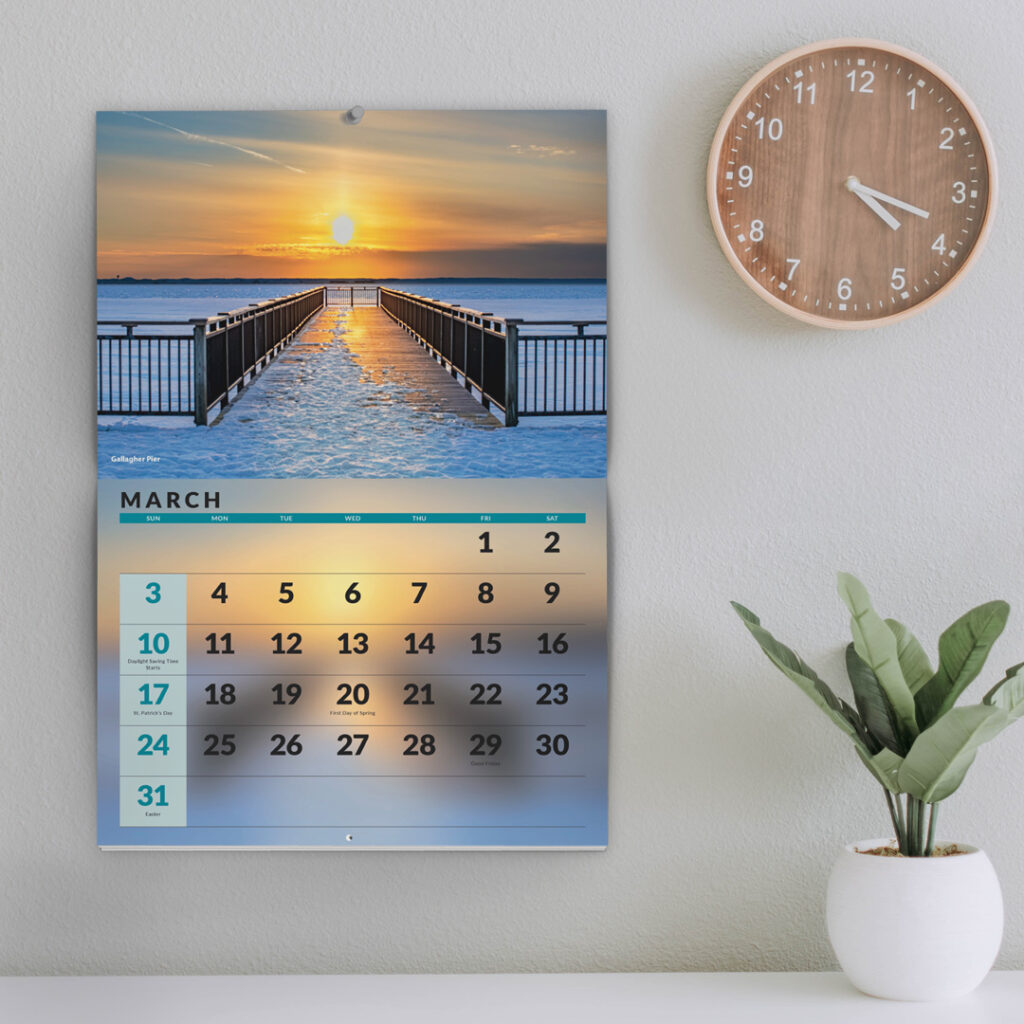
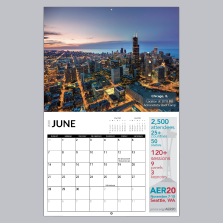
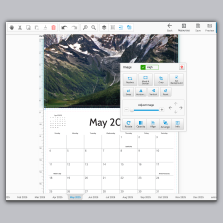
Imagine a beautiful calendar showcasing panoramic landscapes. Those breathtaking scenes, stretching end-to-end, give readers an unbroken visual treat.
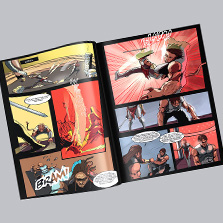
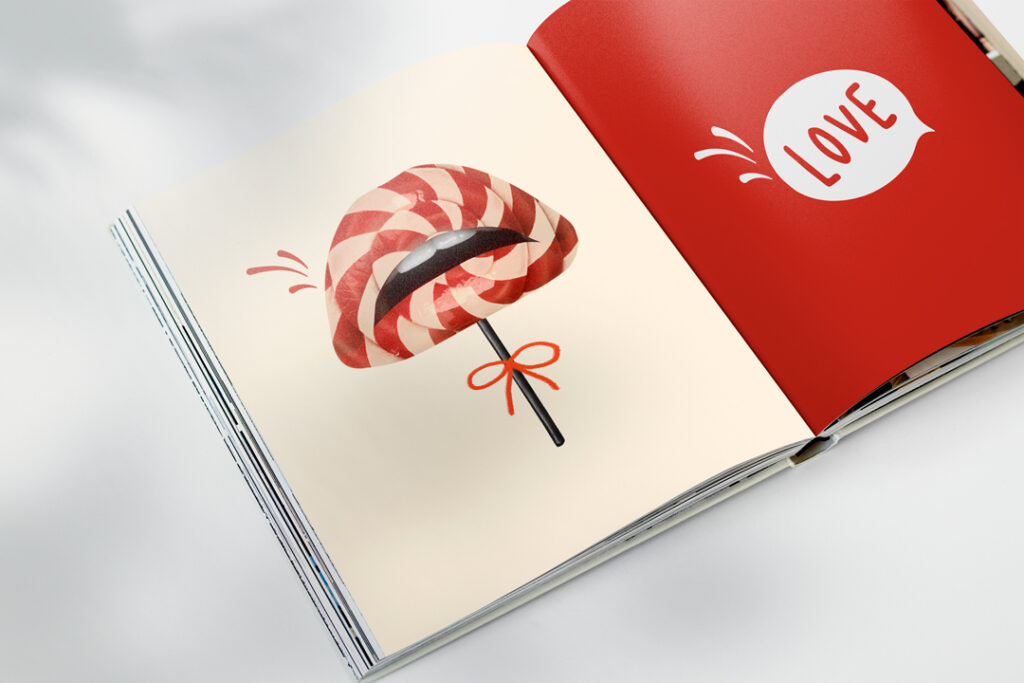
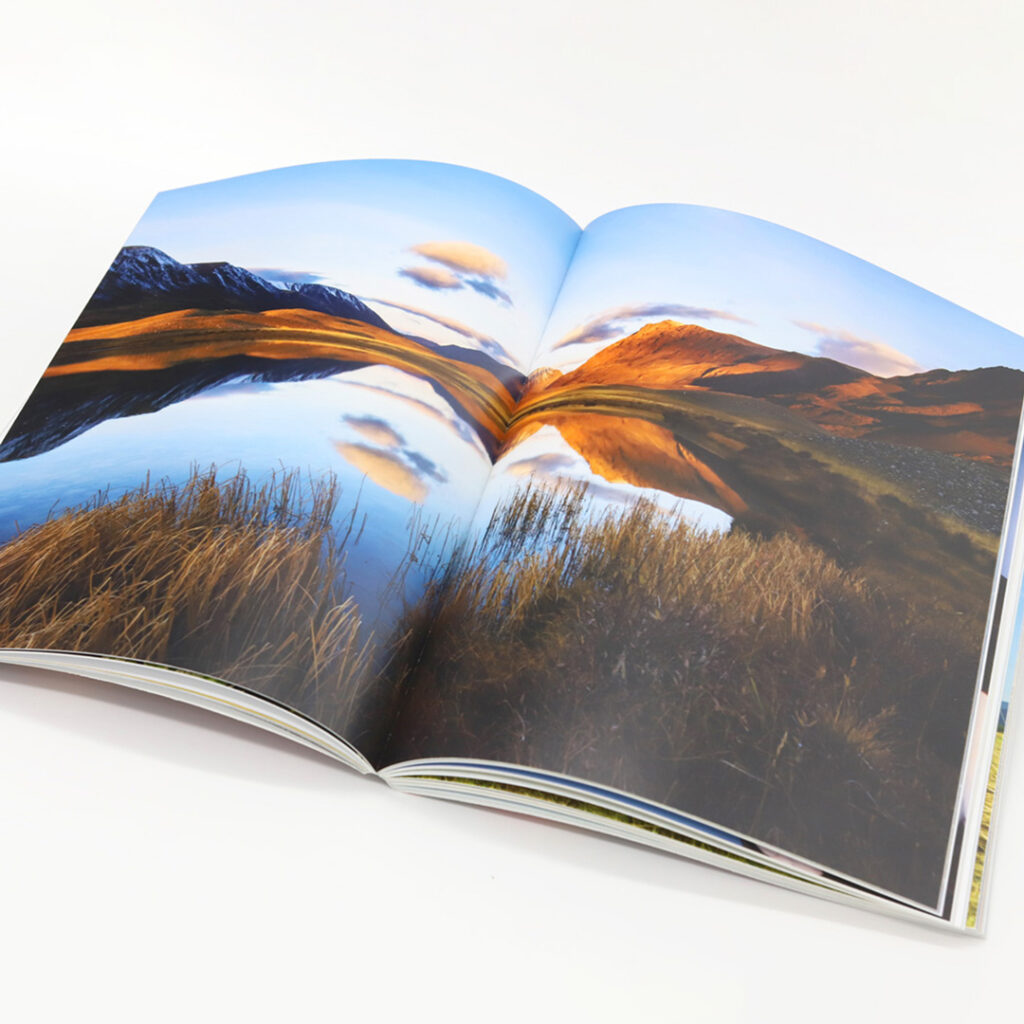
Think about a coffee table book full of nature photos. Those majestic landscapes stretching across the entire page without borders truly transport the reader to another world.
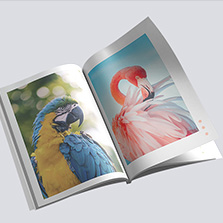
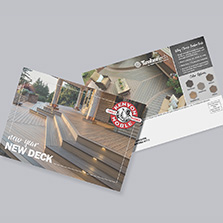
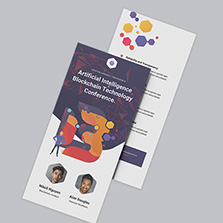
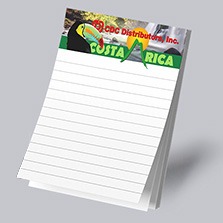
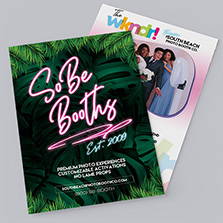
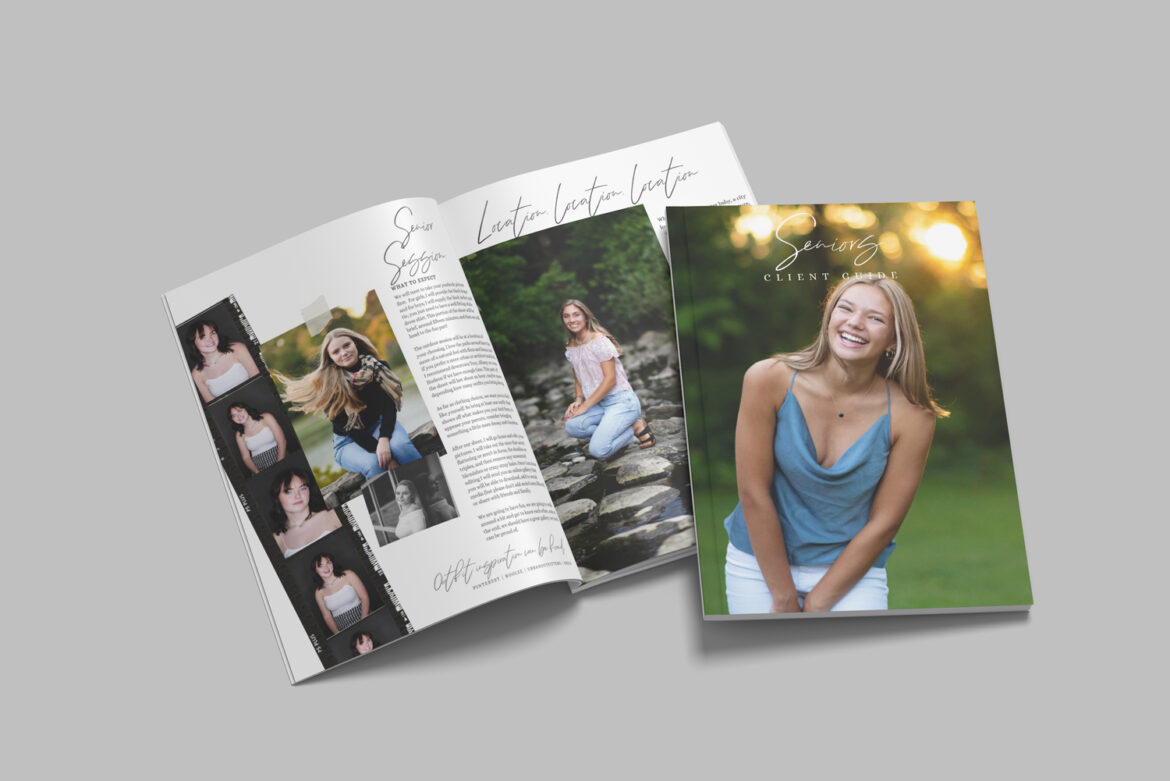
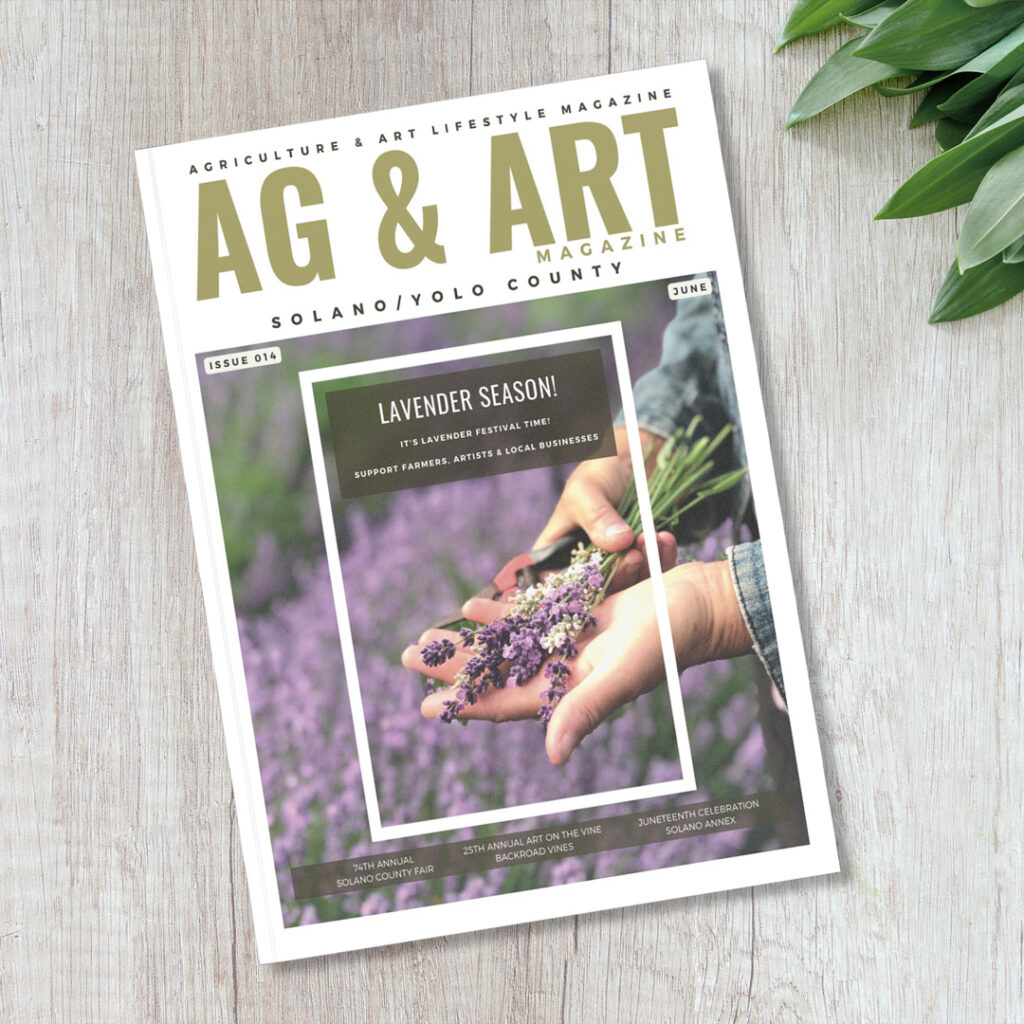
Imagine a travel magazine showcasing a serene beach scene with waves crashing onto the shore. In a full bleed print, the waves and the sand would extend all the way to the edge of the paper, without any white borders interrupting the view.
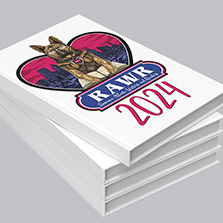
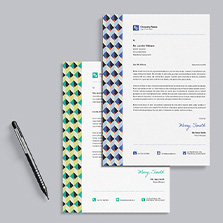
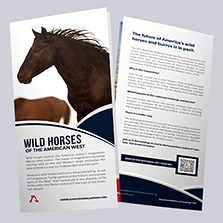
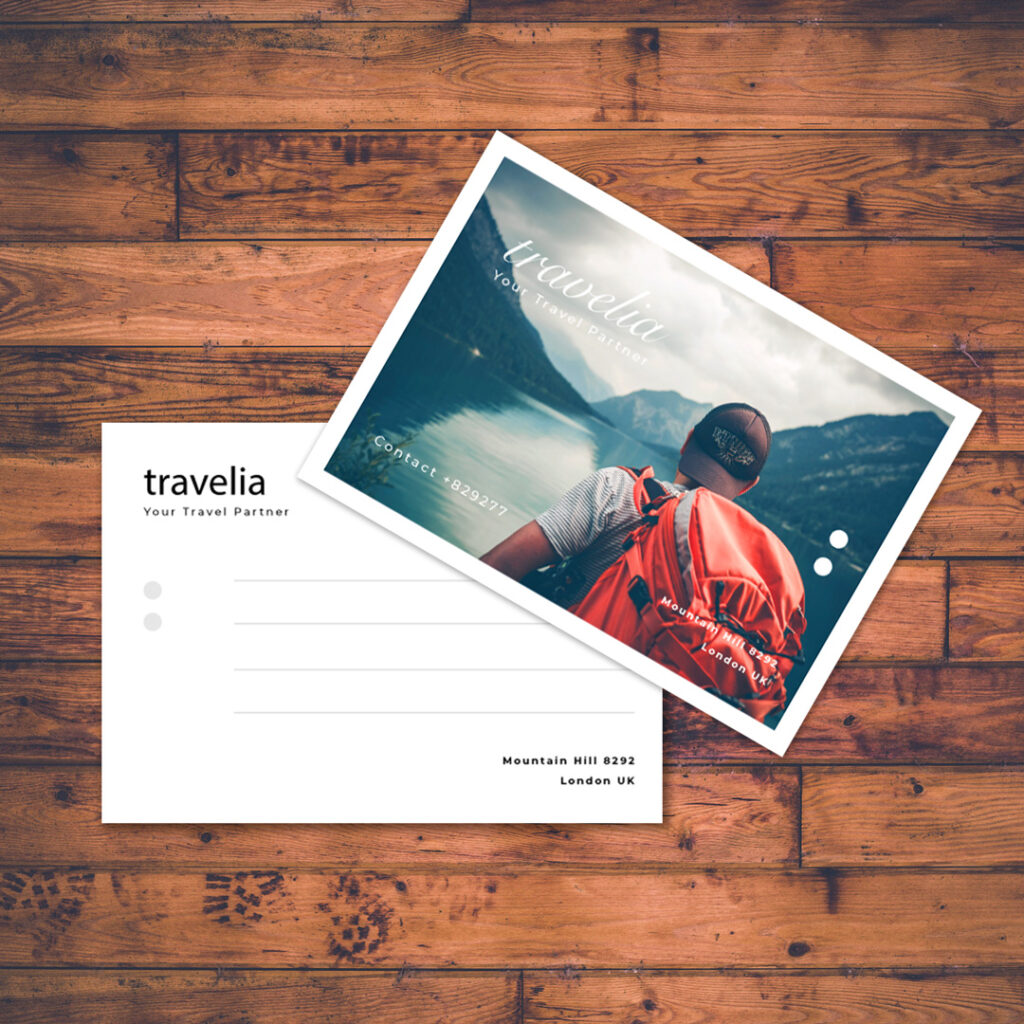
Consider a classic postcard. Postcards with a white border are reminiscent of vintage postcards. You can features travel images, illustrations, or promotional messages within the border.
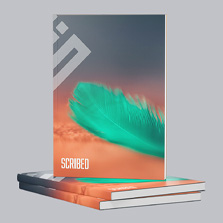
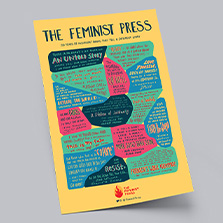
When showcasing book covers, a white border can give a classic bookshelf appearance and help keep your title and image the focal point.
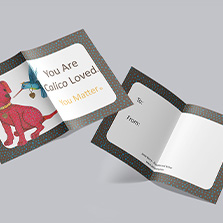
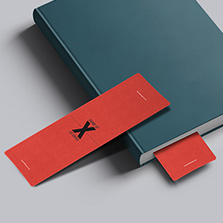
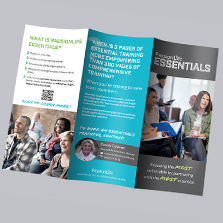
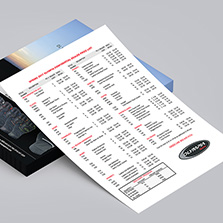
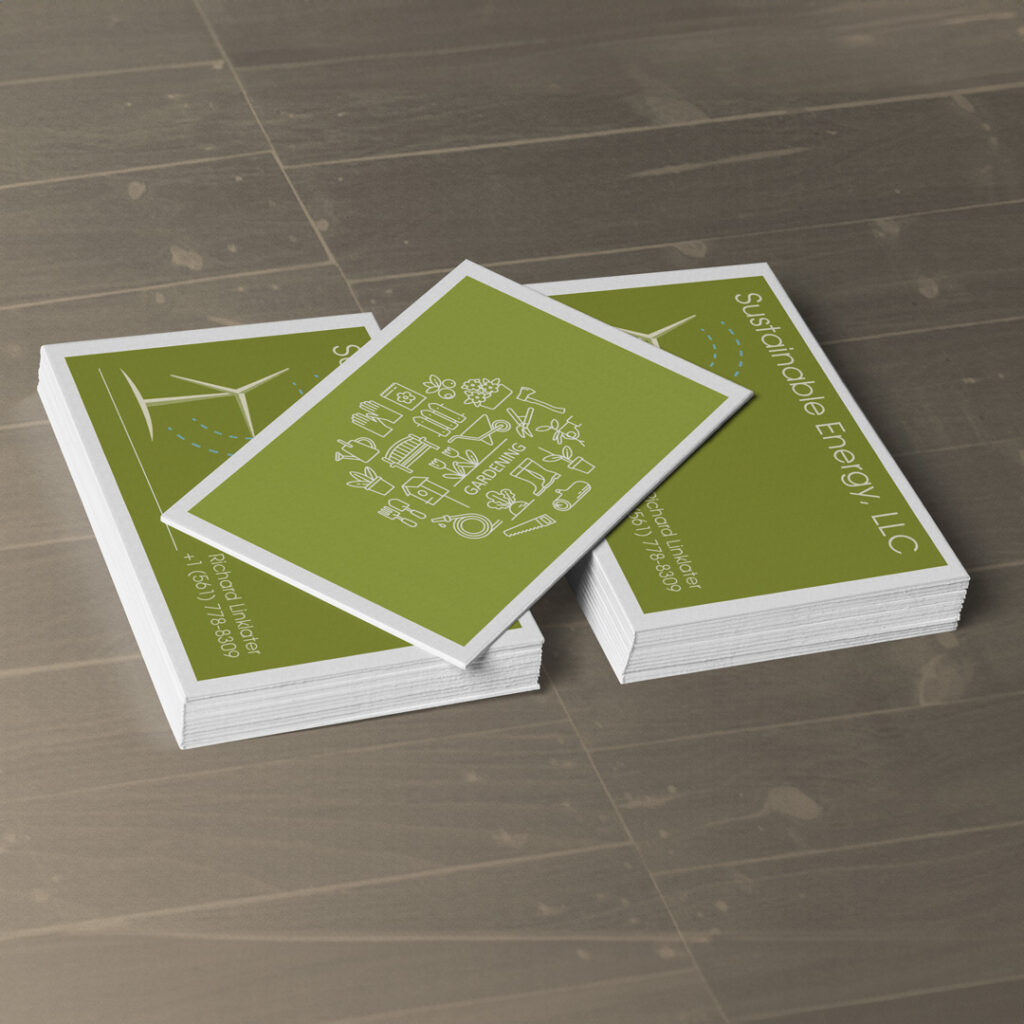
A no bleed business card with a white border is a traditional and structured look. You can place essential contact information and a logo within the bordered area.
How Do I Set Up My Print File Properly for Full Bleed Printing?
Achieving the ideal full bleed requires more than simply expanding your design to the edge of your document. It’s about understanding and implementing the right measurements to ensure the final print looks impeccable. Let’s break it down step-by-step:
- Document Size: The first thing to determine is your intended final size. If you want an 8.5″ x 11″ brochure, that’s your target document size.
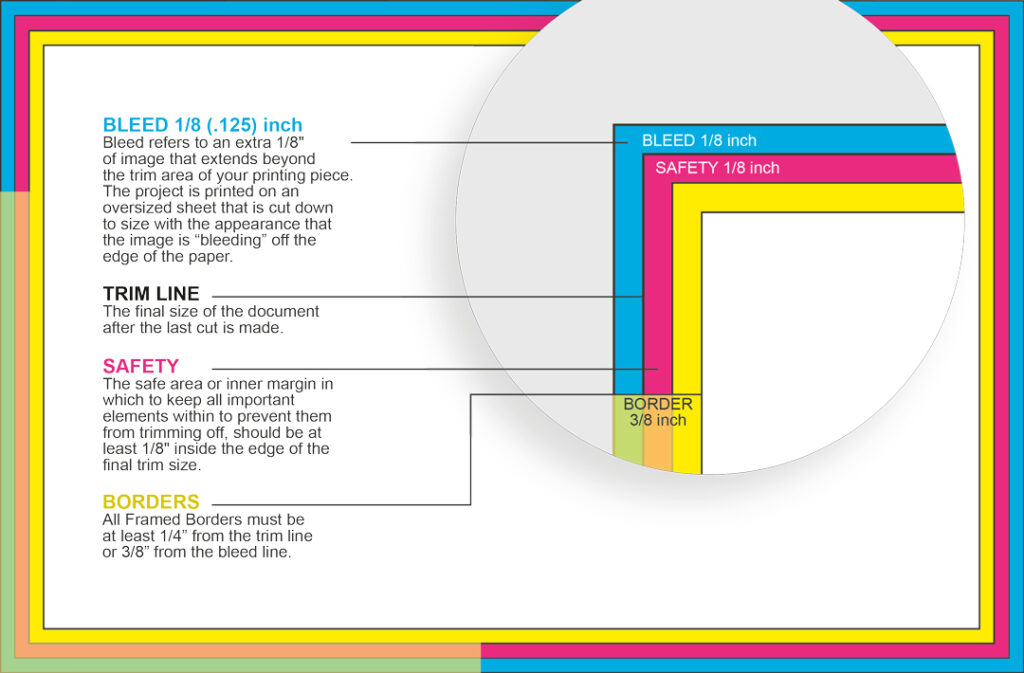
- Bleed Area: To ensure a seamless design transition to the very edge after trimming, you must extend the design beyond the intended document size. Typically, a bleed of 0.125″ on all sides is standard. This means that if your final size is 8.5″ x 11″, your design (with bleed) should be 8.75″ x 11.25″.
- Trim Line: Positioned at your intended document size (in our example, 8.5″ x 11″), this is the line where the printer will cut. Everything outside this line in the bleed area ensures no unfortunate white spaces appear in your final product.
- Safety Area: Within your trim lines, it’s wise to maintain a safety zone. Another 0.125″ inside the trim ensures that all your crucial content, like text or logos, remains safe from potential trimming errors. This means, for our 8.5″ x 11″ brochure, all vital content should stay within an 8.25″ x 10.75″ space.
By taking these measurements into account, your final document, ready for printing, is slightly larger than your intended output size. This guarantees that after the trimming process, you’re left with a perfect 8.5″ x 11″ brochure (or whatever your intended size is) without any content errors or design hiccups.
PRO TIP: Quick Guide to Setting up Bleed in Adobe InDesign
- Open Adobe InDesign and go to “File” > “New” > “Document.”
- In the “New Document” dialog box, set the following parameters:
- Page Size: 8.5 inches x 11 inches (your final document size).
- Columns and Rows: You can adjust this based on your layout preferences.
- Margins: Typically, 0.5 inches is a standard margin size, but you can adjust as needed.
- Under the “Bleed and Slug” section of the dialog box:
- Check the “Use Document Bleed Settings” box.
- Set the Bleed values to 0.125 inches on all sides (top, bottom, left, and right).
- Click “OK” to create your document.
Now, your InDesign document is set up with the correct 8.5×11 inch page size and a 0.125-inch bleed area on all sides. You can design your content within the page boundaries, making sure that important elements are placed within the safety zone, 0.125 inches away from the edge, to prevent any trimming issues during printing.
Want to see your booklet PDF file on screen with real time bleed and trim guides? Head over to PrintingCenterUSA and Get fast, easy and reliable printing with a free file review!
What Does Bleed vs No Bleed Mean in Printing?
The contrast between bleed vs no bleed printing primarily revolves around the presence or absence of a border around the printed material. As we’ve already touched upon, full bleed printing stretches the design to the edge, leaving no borders. On the other hand, no bleed printing maintains a clear margin or white border around the design or image.
What is No Bleed Printing?
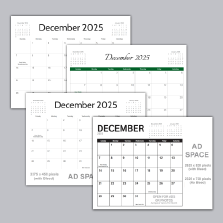
On the flip side, “no bleed” means your design doesn’t stretch to the paper’s edge. Instead, it’s neatly contained, surrounded by distinct margins or borders.
Why Use No Bleed?
No bleed printing provides a sense of structure and clarity to your designs, ensuring that elements are neatly contained within defined margins. This approach lends itself perfectly to formal documents and materials where precision and professionalism are paramount. No bleed offers these benefits:
- Structured Appearance: It’s tidy and defined, perfect for documents requiring clarity.
- Easier Framing: Designs with margins can be framed without cropping any content.
- Intentional Aesthetics: Borders are also lines, and a key principle in design and popular in Minimalism. Many modern designs choose a distinct white border around an image to offer a high level of sophistication.
Should I Choose Bleed or No Bleed in Printing?
When it comes to making a choice between printing bleed vs no bleed in your printing project, you’re essentially deciding how you want your final product to look and feel. Let’s explore the factors to consider when making this decision:
1. Design Intention: Think about the message and aesthetics you want to convey. Do you want your design to extend seamlessly to the edges of the paper, creating a bold and immersive impact? Or do you like how a strong border can frame your subject?
2. Visual Impact: Consider the visual impact on your audience. Full bleed printing tends to grab attention immediately, as there are no interruptions to the design. It’s often used in marketing materials, posters, and magazines where eye-catching visuals are key. No bleed, with its clear margins, can provide a more formal and organized look, making it suitable for manuals, workbooks and more.
3. Document Type: The type of document you’re creating plays a crucial role in your decision, and you may wish to cater your document towards your audience to make the best choice.
4. Printing Expertise: Consider the capabilities of your printing service provider. Ensure they can handle your chosen bleed type effectively. If you’re unsure, it’s always a good idea to discuss your project with them to determine the best approach.
5. Cost: While the choice between full bleed vs no bleed may not significantly impact the cost of printing, it’s still wise to be aware of any potential variations. Some printing services may charge slightly more for full bleed due to the additional paper and trimming required.
In the end, the decision between full bleed and no bleed depends on your project’s objectives, visual goals, and audience expectations. Both options have their merits, and understanding when and why to use each will help you make an informed choice that elevates the impact of your printed materials. Get fast, easy and reliable printing with a free file review!
In Conclusion
Choosing between full bleed and no bleed is more than a mere decision; it’s a reflection of your design’s soul. By understanding the nuances, you can amplify your work’s impact.
For expert guidance and pristine printing, Printingcenterusa offers a free file review, ensuring your design dreams are realized with unmatched precision.