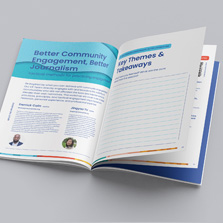
How to Arrange Pages for Booklet Printing
Navigating the world of booklet printing can be a complex journey. Whether you’re a designer, a small business owner, or a print enthusiast, understanding the basics of page arrangement is crucial for a seamless printing experience. In this guide, we’ll uncover the essentials of booklet pages, specifically focusing on how to arrange them effectively for booklet printing.
Instant Booklet Pricing: Click Here
Free Sample Packet: Click Here
Understanding Page Order for Booklet Printing

Uploading Your PDF:
When using PrintingCenterUSA for your booklet printing needs, it’s vital to upload your PDF in single facing pages in consecutive order. This sequence includes the front cover, inside front cover, all the inside pages, inside back cover, and back cover.
Pro Tip
Don’t forget the inside covers! If you prefer them unprinted, include them as blank pages in your PDF, maintaining the correct order.
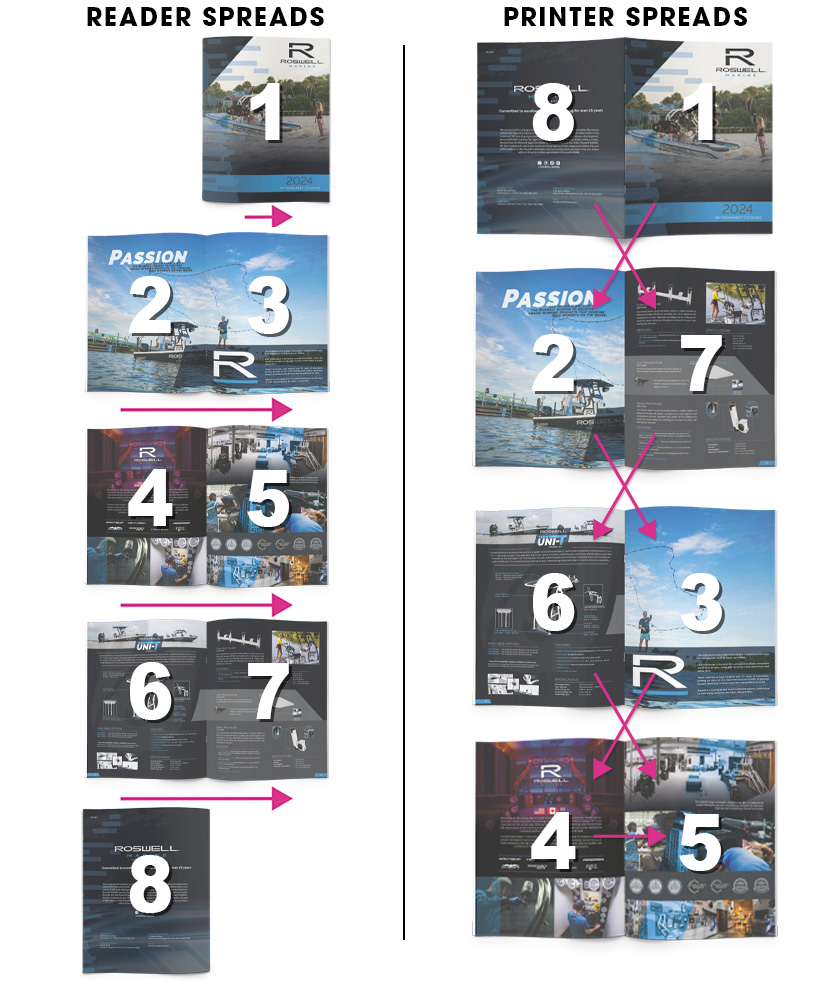
Avoiding Printer & Reader Spreads
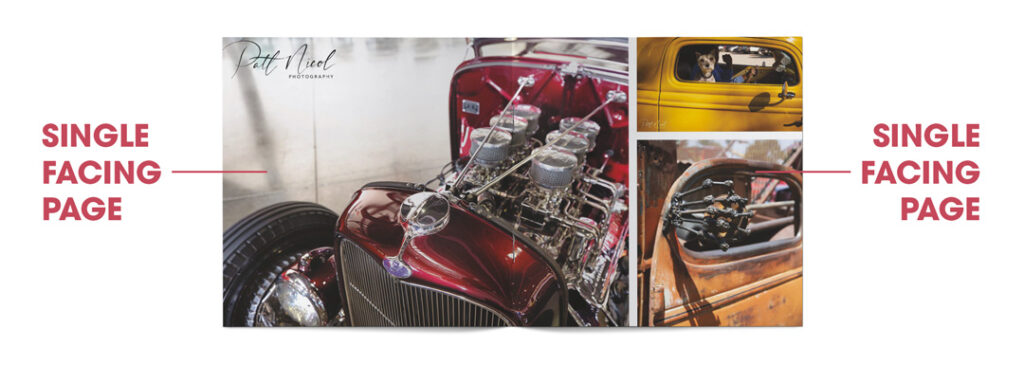
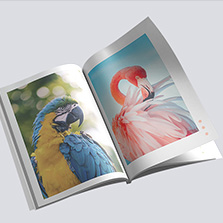
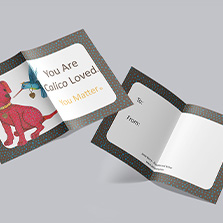
Your PDF file should contain single facing pages when ordering from PrintingCenterUSA. For example, in the image above, there would be two single facing pages: one on the left and one on the right. The cover, inside front cover, inside back cover, and back cover all count as four facing pages.
Ensure your PDF contains single facing pages. This setup simplifies the process, allowing you to focus on content creation while we handle the intricacies of arranging pages into booklet format.
We have our customers upload their files this way to save them the pain of figuring out how to arrange their pages into spreads for them to print correctly as a booklet (trust me, it can get pretty confusing). Instead, you get to simply export your PDF and leave the page arranging to the pros!
Pro Tip
Adobe InDesign users should export their projects as “single facing pages” for optimal results.
Pro Tip
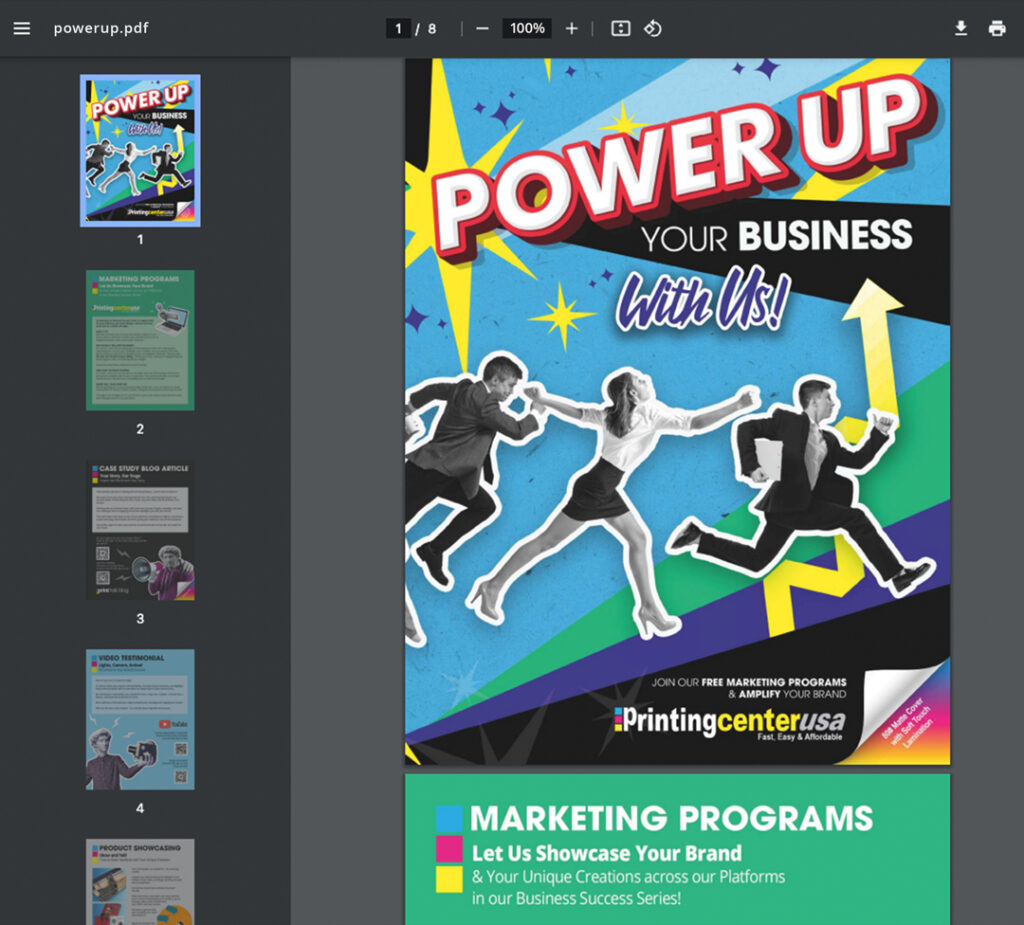
If you save your PDF document and are unsure if you exported the pages correctly, then you can use this quick trick to double check! Simply open up your single PDF document in Acrobat®, you should see your pages individually(see image below), one on top of the other as you scroll through it.
Page Count and Binding Type
From here on out, we are going to break page count down even further by binding type. If you already know which binding type you will be ordering, you can go ahead and skip to that section!
Saddle Stitching
- Basics: Each sheet gives you four numbered pages.
- Page Count: Your booklet should have pages in increments of four, with a minimum of 8 and a maximum of 92 pages.
A single sheet of paper has 2 sides, a front and a back side (Diagram A below). A sheet is folded in half which gives you 4 numbered pages, as shown in Diagram B below.
Note: This diagram is an example of the cover of an 8-page saddle stitch booklet.
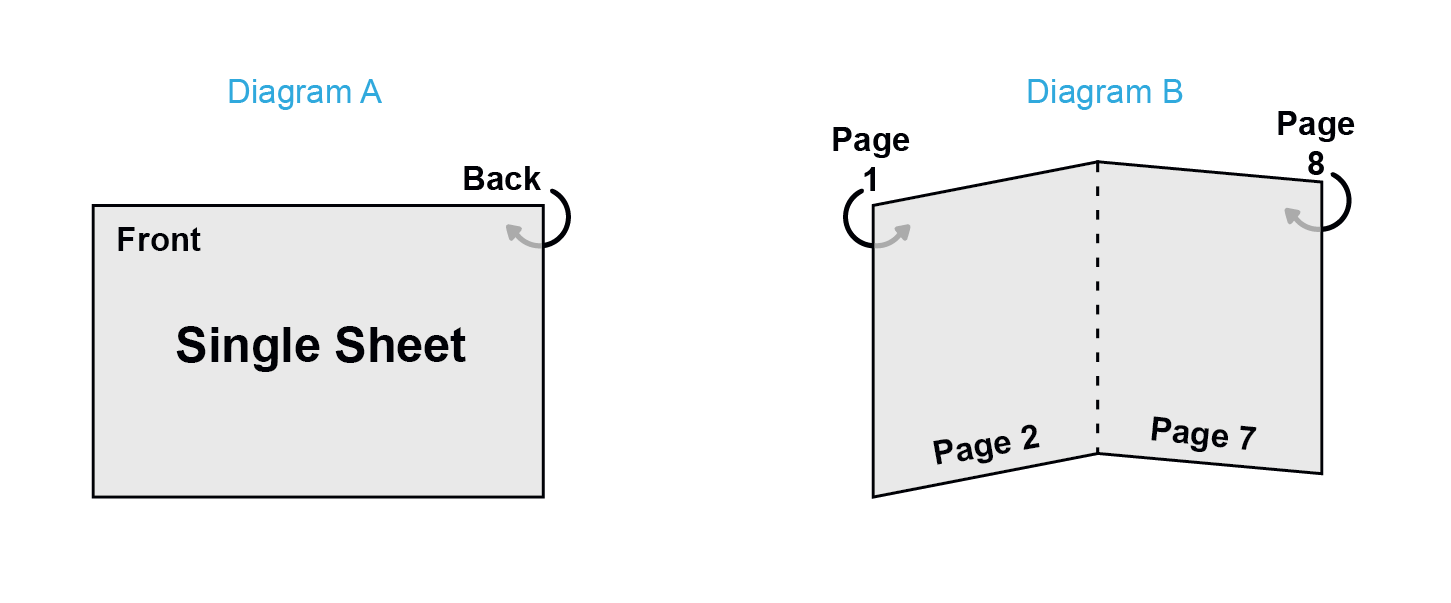
Saddle Stitching Explained
Saddle stitching is when single sheets of paper (printed on both sides and collated in page number order) are folded in half and then “stitched”. Since the pages are folded in half, that means that your booklet page count must be in increments of four. There is an 8 page minimum and a 92 page maximum with saddle stitching.

Perfect Binding
- Basics: Each sheet includes a spine, offering a more polished look.
- Page Count: Minimum of 28 pages, with increments of two.
Sheets vs. Pages
A single sheet of paper has 2 sides, a front and a back side (Diagram A below). A sheet is scored twice in the center to accommodate the spine which gives you a cover that is 4 numbered pages plus a spine in the middle (Diagram B below).
Note: This diagram is an example of the cover of an 8-page perfect bound book for explanation purposes. The minimum page count for perfect binding is 28 pages.
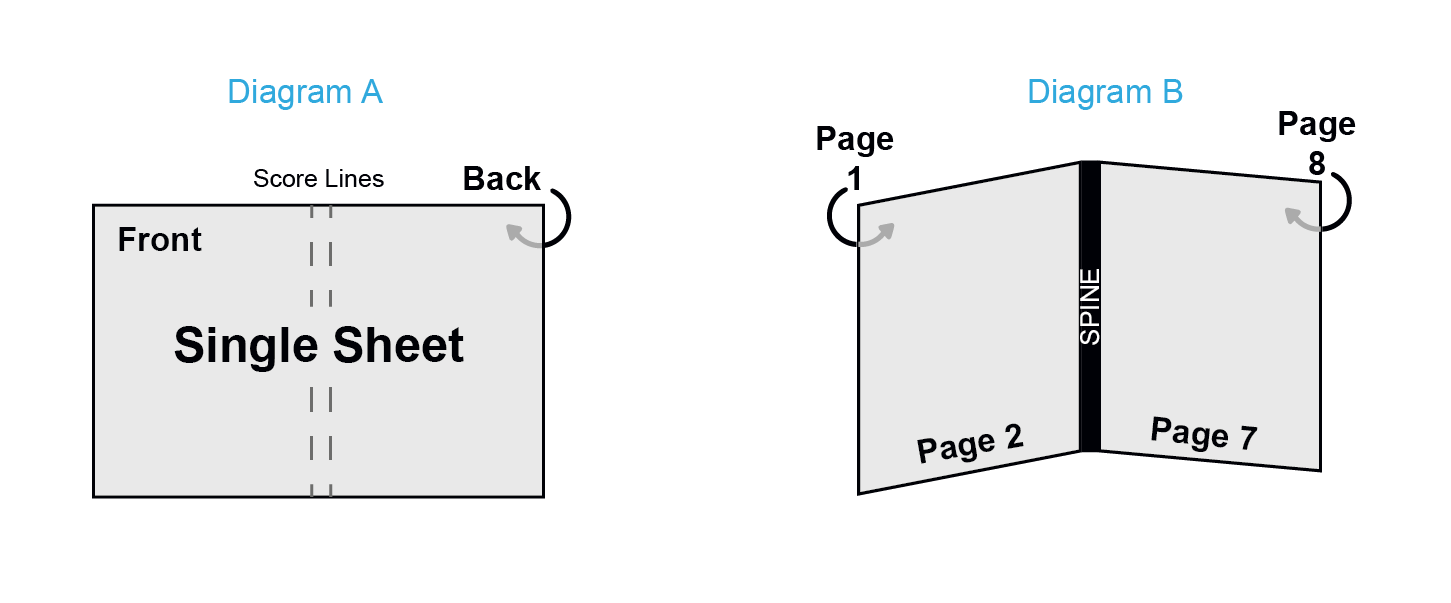
Perfect Binding Explained
Perfect binding is when single sheets of text weight paper are printed on both sides and collated in page number order, one on top of the other. The sheets are cut down to your trim size and then the edges are ground down. The softcover is wrapped around the inside pages and glued to the edge of them, which is why you have a square spine that you can print on. There is a minimum of 28 pages with a maximum of up to 2 inches thick and you must have page counts in increments of two.

Spiral and Wire-O Binding:
- Basics: Each sheet is cut and hole-punched for binding.
- Page Count: Flexible, with minimums and maximums depending on thickness.
Sheets vs. Pages
A single sheet of paper has 2 sides, a front and a back side (Diagram A below). A sheet is cut to the final trim size, then hole punched for the spiral to pass through, which gives you 4 loose numbered pages (Diagram B below).
Note: This diagram is an example of the cover of an 8-page spiral bound book.
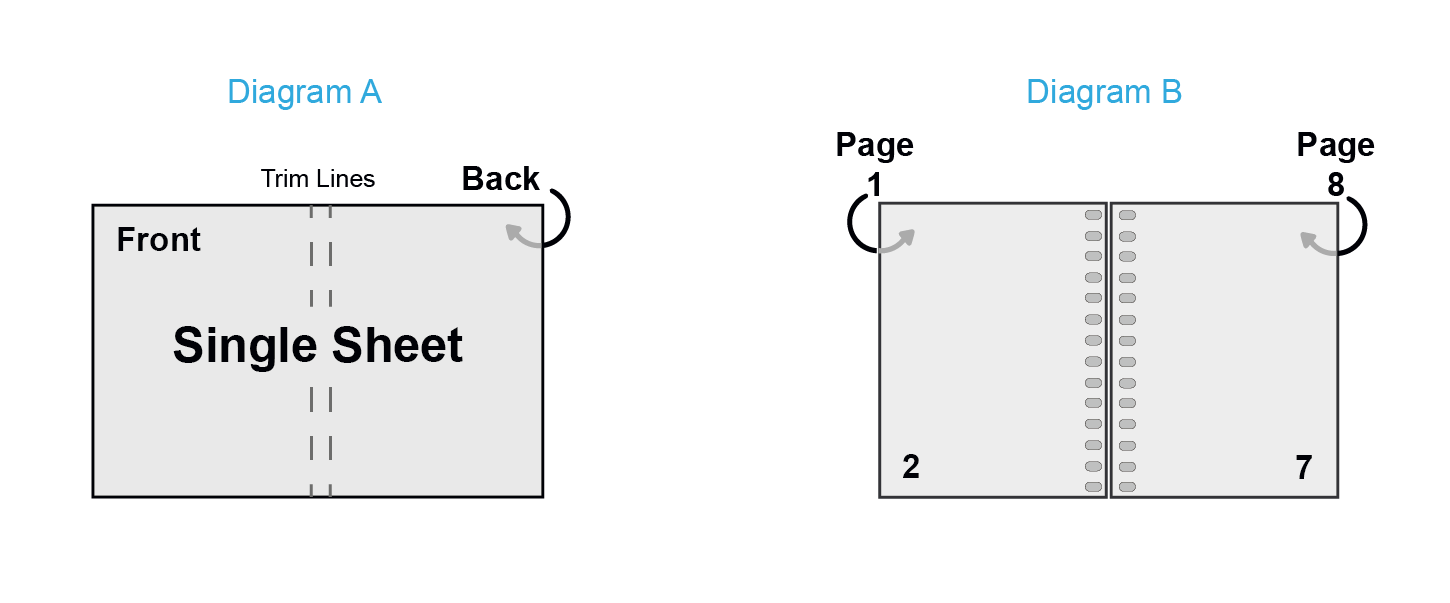
Spiral Binding Explained
Spiral binding is when single sheets of paper are printed on both sides, cut down to trim size and collated in page number order. The binding edge is hole punched and the durable spiral coil is passed through the holes. Because of this process, you cannot print on the spine. There is a minimum of 8 pages and a maximum of up to 2 ¾” thick and the pages must be in increments of two.

Wire-O Binding
Sheets vs. Pages
A single sheet of paper has 2 sides, a front and a back side (Diagram A below). A sheet is cut to the final trim size, then hole punched for the wire to pass through, which gives you 4 loose numbered pages (Diagram B below).
Note: This diagram is an example of the cover of an 8-page wire-o bound book.
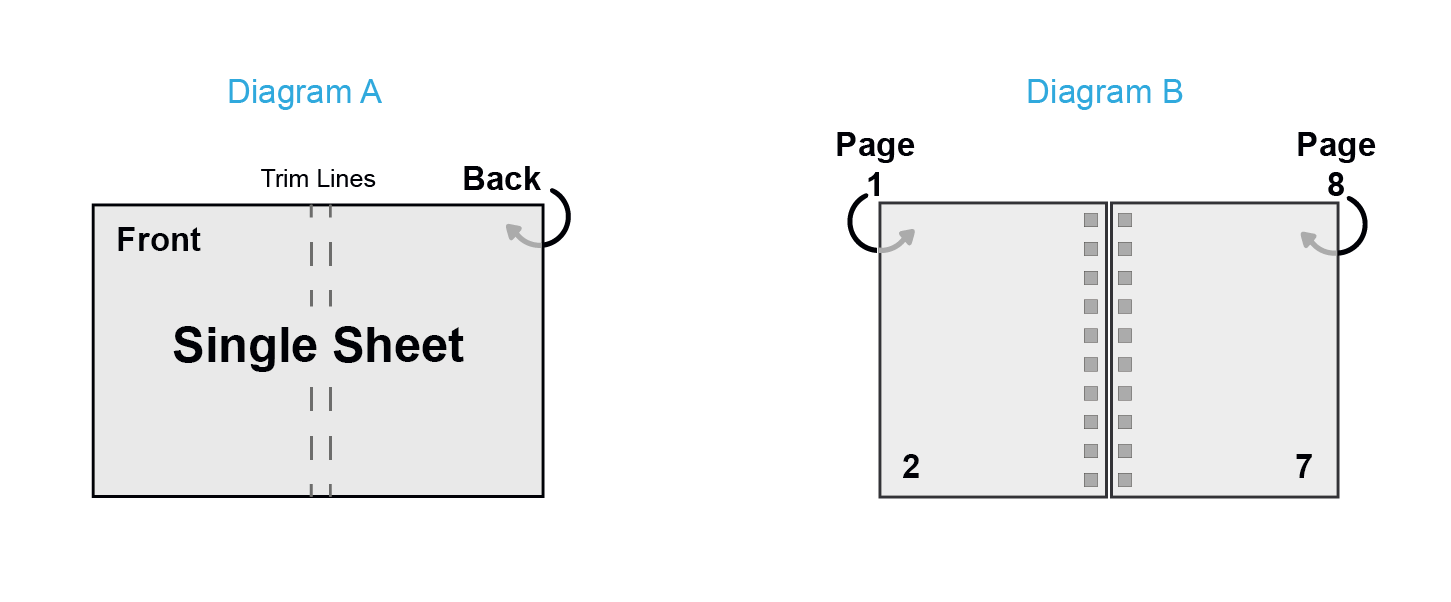
Wire-O Binding Explained
Wire-O binding is when single sheets of paper are printed on both sides, cut down to trim size and collated in page number order. The binding edge is hole punched and a professional-looking metal wire is used to bind the pages through the holes. Because of this process, you cannot print on the spine. There is an 8 page minimum and a maximum of up to 1 ¼” thick. Pages must be in increments of two.

Correctly Numbering Inside Pages
Another tricky thing when it comes to page count and arranging pages for your booklet printing project is knowing where to put the page numbers for the inside pages of your booklet.
To avoid confusion, place even page numbers on the left and odd numbers on the right. Start counting from the first inside page.
Since PrintingCenterUSA requires a single print-ready PDF with all facing pages in consecutive order, our customers can have some confusion when it comes to numbering the inside pages. The easiest way to know which edge (left or right) the page numbers should be on is to put even page numbers on the left side of the page and odd page numbers on the right side of the page (refer to image below for example).
Note: Putting your even page numbers on the left and the odd page numbers on the right is an effective tool only if you start counting your pages on the first inside page (or page 3 in the image below).
Note: Your inside-page numbering does not correlate to the number of pages contained in your print-ready PDF.

Final Thoughts and Resources
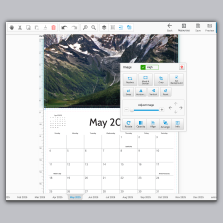
Ensuring correct page count is vital for a successful printing project. Utilize our online booklet design tool for guaranteed accuracy. For added peace of mind, upload your Print-Ready PDF for a free file review before ordering.
That about sums up everything you will need to know about page count! If you want to ensure that your page count will be correct, we recommend that you use our free online booklet design tool, because it does not allow for page counts that are unavailable for the binding type chosen. Not only that, but there are handy page graphics that help you grasp the big picture! OR you can upload your Print-Ready PDF for a free file review before ordering, and we will let you know if any adjustments need to be made.
For more information on how to arrange your pages for booklet printing, visit our help center or give us a call at 800-995-1555.

