


How to Design a Booklet
Thinking about printing a full-color customizable booklet? You have probably heard the word a few times if you’re in the corporate world. Booklets can be so many things, that’s the beauty of them. Booklets are one of the most versatile and best print products to have in your back pocket. A booklet that looks great and prints right takes a little planning. Whether you’re designing a catalog, a brand guide, brochure, or informational booklet you need the right specs, file set-up, and binding that fits your page count and needs to achieve the best booklet!
Visit our booklet printing page and download the free printing guide for booklet creation or start your booklet project today!
What Is a Booklet?
First off, what even is a booklet? There isn’t one agreed upon definition of what a booklet is so it can be interpreted as what fits you. Typically, a booklet is a thin, saddle-stitched book with a small number of pages inside with a paper cover. Booklets give you detailed descriptions, information, or advertising about one subject and can set your organization apart with a long lasting first impression.
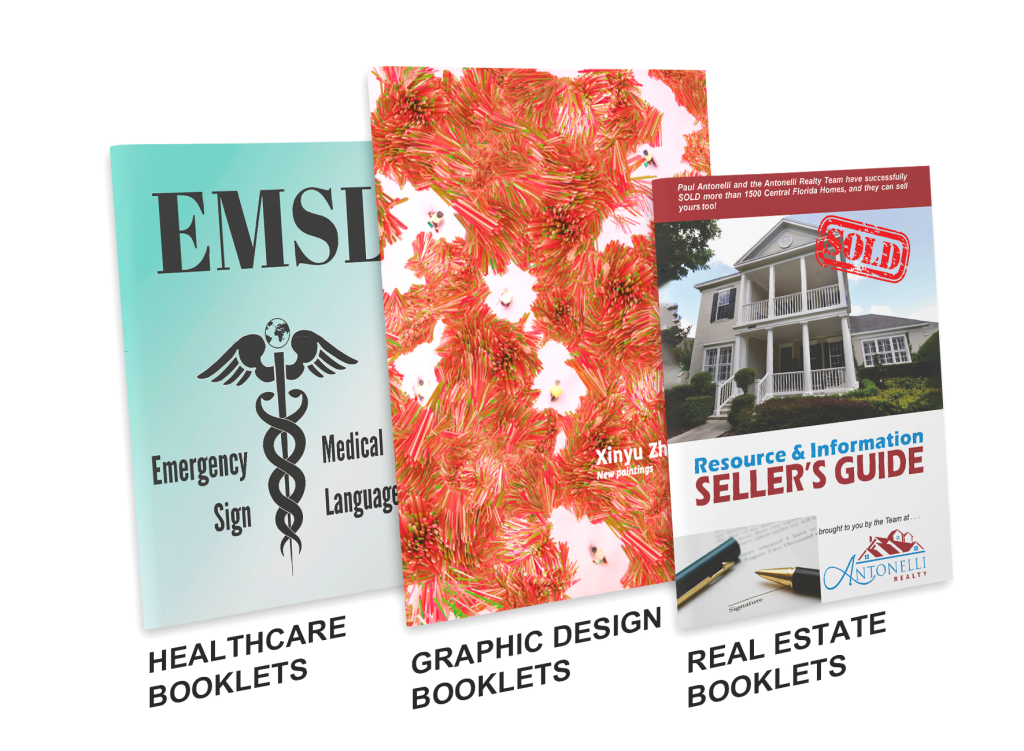
Here are the most popular types of booklets that we print:
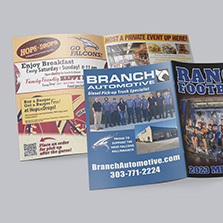
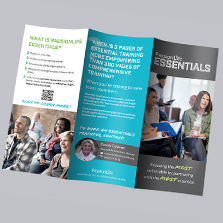
- Saddle Stitch Booklets: Printed for your business, graphic design, real estate, education, non-profit and more! Available in multiple sizes and paper finishes
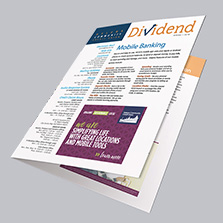
- Catalog: For catalogs, saddle stitched or perfect bound binding options are the best and help you market your business, jewelry, product, service, fashion & apparel, home interior and more! Available in multiple sizes and paper finishes
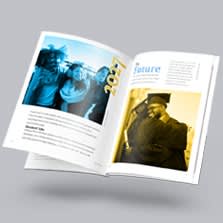
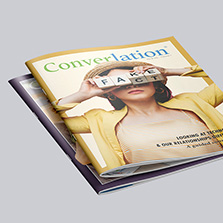
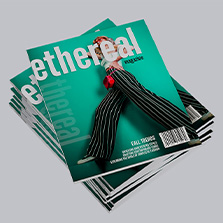
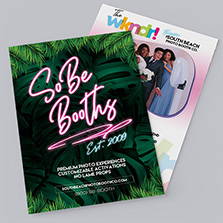
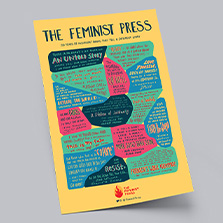
- Magazines: With your saddle stitched or perfect bound magazine you can print and self-publish for your travel, business, real estate, healthcare, fine art, lifestyle, fashion magazine and more! Available in multiple sizes and paper finishes
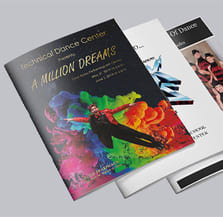
- Programs: Grab your audience with saddle stitched or perfect bound professional quality dance recital, beauty pageant, sporting, wedding, funeral, conference, convention, trade show, and cinema/theater event programs! Available in multiple sizes and paper finishes
What’s the difference between a book and booklet? These terms are always used interchangeably but comes down to design and purpose. Booklets are smaller versions of books- think mini books. They are for short term use and smaller quantities. Booklets are great marketing promotional tools that are typically lightweight and easy to distribute. Books have higher page counts, are more detailed, and built to last. Because of this there are different bindings and functionality aspects to consider. Think cookbooks, hardcover books, novels, children’s books and coffee table books. For a more detailed reference go here.
Choose the Orientation & Size that Works Best for You
There is no right booklet size. Each size caters to a specific content type. Match it to your audience, distribution method, and cost. Here is how common sizes align with different uses:
Small booklets are great for event programs, guides and small catalogs. They are usually 4.25 x 5.5, 5.5 x 8.5, or A5 size. 5.5 x 8.5 is the most popular as they are easy to hold, distribute, and fit well in a bag or pocket. If you’re on a budget or need a large quantity, standard small booklet sizes are the most affordable to print, mail, and ship.
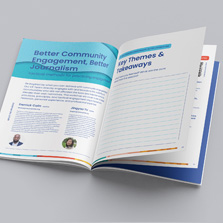
Medium booklets are good for brand guides and lookbooks. They are usually 6 x 9, 6 x 6 or 8 x 8. The square formats are good for design statements and are often image-heavy.
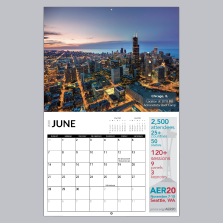
Large booklets are great for training manuals, product catalogs, cookbooks and workbooks. They are usually 8.5 x 11 or 12 x 12. 8.5 x 11 is the same size as a standard piece of copy paper and are super common.
Just remember that standard sizes will give you the most affordable pricing. Custom sizes are available when you want your booklet to stand out but come with a higher production cost.
Choose the Right Binding Option
The backbone of your booklet is the binding. It holds everything together, affects how your booklet is open, how long it lasts, and how much it costs. Its important to know that not every binding works with every page count which is why you choose it before you start designing.
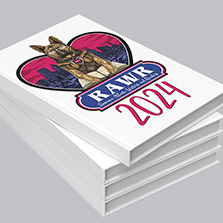
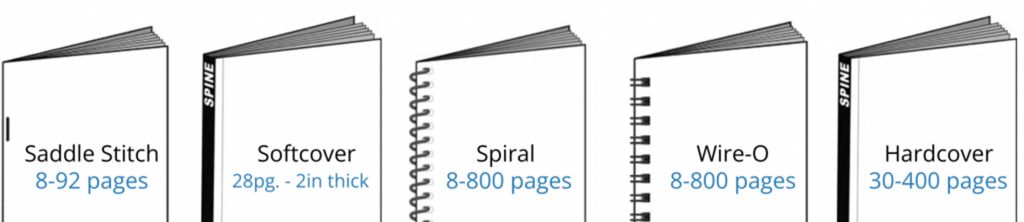
- Saddle Stitch Binding: The most popular type of booklet binding. Pages are folded together and stapled along the spine. It is the most affordable, offers the fastest turnaround time, easy to distribute, and ideal for small publications under 92 pages. Page count starts at 8 pages and must be in multiples of 4 (8, 12, 16, 20… etc)
- Perfect Binding: The most popular type of soft cover binding. It provides a durable, professional look with a square spine. Perfect binding is the ideal choice for publications with higher page counts. Starts at 28 pages and needs to be in multiples of 2 (28, 30, 32, 34 etc..)
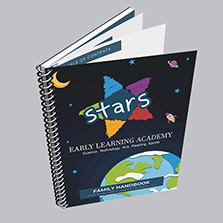
- Spiral binding: A durable plastic coil that lays flat and opens 360 degrees, making it ideal for everyday use as reference material. Available in different sizes, and diameters and page count start at 8 pages and must be in multiples of 2 ( 8, 10, 12, 14… etc) Manuals, and Handbooks are good examples of products well-suited for spiral binding.
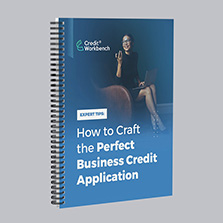
- Wire-O: Similar to spiral binding but uses a professional-looking looped metal wire making it ideal for more formal settings like presentations. Wire-O binding can accommodate a higher page count to 1 ¼” thick. They may cost a little more. Available only in black standard wire.
- Hardcover: Glued at the spine with a hard cardstock cover for maximum protection. They have that classic and professional look to them with a page count of 30 to 400 pages. Typically, more expensive than other binding types. This binding is popular with children’s books, memoirs, yearbooks, and coffee table books.
Essential Booklet Design Tips You Need to Know
Ok, so maybe you already know why you need a booklet. Maybe you even know what it will be about! Well, congrats, because you are ahead of the game and you are in the right spot. Now you just need design help on how to get your information on the page in an attractive way. Here are the 5 best design tips to know before opening your design software.
Tip 1: Outline the goal of your booklet
The purpose of your booklet leads the design. Sit down and create a basic outline with your objectives and expectations of your audience and content. Putting a mockup together helps lay out ideas early. Organize your design around how you intend the booklet to be used. Put yourself in the shoes of your audience. What will attract them? What will keep them turning the pages?
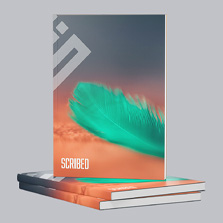
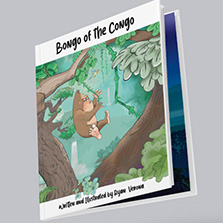
Tip 2: Eye-Catching Cover Design
What gets attention from the get-go? The cover. We’ve all heard don’t judge a book by its cover, but we all do it. The cover is literally the key to your kingdom. It sets the tone, earns the open, and tells your audience exactly what they’re opening into. Think about if you want it to be simple, not-so simple, typography focused or image reliant. Booklets do not have to be boring. Look up book cover design and take inspiration from the top trending New York times bestselling books.
Don’t forget about the back cover, it’s still prime real estate. Use it for a call to action or closing statement. A lot of people leave it blank or carry the front cover design to the back. If your cover is bold and image-heavy, carry that energy through the rest of the booklet.
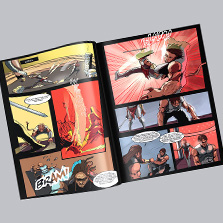
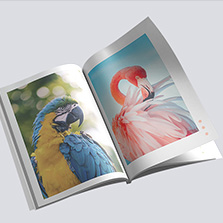
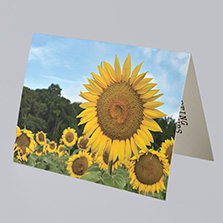
Tip 3: Use engaging high-quality images.
Don’t forget the design and print quality of your booklet is just as important as the information. It doesn’t matter how great your information is. If you have poor images and print quality, your booklet can be passed on and your brand can come off as disreputable. You’ll want to make a great first impression by using high-quality images. For printing, a high-quality image has a resolution of at least 300 DPI. If these aren’t readily available to you, there are plenty of websites that offer free and royalty-free stock photos
Try: Unsplash, Pixabay, Adobe stock, iStock photos. If you’re using Canva for your design, consider paying for Canva pro, to get access to their comprehensive library of images.
When using any image, read the terms of service to understand the usage rights.
Tip 4: Readability and White Space
It’s easy to get caught up in the saddle-stitch rule of 4-page increments and cram information to avoid adding 4 extra pages. Having enough spacing prevents your booklet from feeling overwhelming and hard to read. Break up content with images to add breathability in between content. If you’re worried about pricing, or don’t have enough content, consider upgrading to a bigger booklet size, or adding pages. A lot of people have blank inside cover pages to help with content overload.
Tip 5: Page Numbering
Guide your reader! Keep page numbers on the outer edge of each page, never tucked into the inside pages near the spine.
How to Set Up Your Booklet File for Print
You have your specifications covered and your design in mind. Now it’s time to get your booklet file set-up to print correctly.
Reader Spreads vs Printer Spreads: Set up your file as individual pages. This means each page of your booklet gets its own separate page in your document. Some people prefer designing in spreads, where pages are laid out side by side as sets. If you go this route, design them as reader spreads, not printer spreads. Reader spreads show pages in the order you read them: 1, 2, 3, 4 etc. Printer spreads show pages in the order they are printed which can be confusing. Your printer will handle the printer spreads, so you don’t need to worry about that.
Always submit your file in one PDF with individual pages or reader spreads. This ensures your proofing process goes smoothly and there are no timeline delays.
Set up your bleed and margins: Bleed is an extra area of space that extends beyond where your booklet will get cut. This prevents white borders from showing on the edges after it is trimmed. Bleed is 0.125” on all sides. Margins are the space inside your pages where you should keep all important content at least 0.25″ away from the edge.

Embed Your Fonts: When exporting your PDF, make sure font embedding is turned on. This ensures your fonts display correctly.
Export as a PDF: Save your final file as a PDF with bleed settings included, fonts embedded, and color mode set to CMYK. This gives you the most consistent, predictable results at printing time.
How to Design Your Booklet for Free
If you don’t have a design software in mind, there are plenty of options! Canva has become one of the most popular tools for designing booklets, especially for small business owners and marketing professionals who want professional results without a steep learning curve. Canva is super beginner-friendly and produces print-ready PDFs when exported correctly. Canva offers a free and paid plan. Both plans give you access to thousands of templates, fonts, and graphics to get started. If you design print materials regularly, Canva pro is a solid upgrade at just $15 per month.
To design a booklet in Canva, set your document dimensions to match your chosen booklet size before you start adding content. Canva will let you set custom dimensions so you can work in the exact trim size of your booklet. Design each page individually in the correct consecutive order and keep your margins and bleeds in mind as you go. Follow our step-by-step guide here to learn how to export your Canva design for print.
Consider designing your booklet online with our free online design tool. You can easily drag and drop your photos, add clip-art, and text. We also have free templates for InDesign, Adobe PDF, illustrator, and Photoshop.
If you would like to bypass the design process or just get a helping hand with a page you have problems with, work with one of our recommended graphic designers
Why Booklets Belong in Your Marketing Strategy
Now that we have discussed the very basics as far as your options go for the specs, let’s take a look at 4 key reasons to make booklet printing part of your marketing mix.
- Distribution: Booklets are an excellent way to share information and can be a valuable part of your marketing strategy. They are excellent for distributing at conferences, conventions or any targeted group of people.
- Grab Your Audience: As the digital landscape becomes more and more saturated, having a tactile marketing asset like a booklet in your marketing portfolio will help your business stand out.
- Industry Leader: Booklets are great for educating current and future clients about your business. A printed product works well to concisely showcase your business portfolio.
- Room to Grow: There’s more space for crucial business information and advertisements! When it comes to an 8.5″x11” booklet, you’re going to have significantly more space to provide the reader with important data.
Frequently Asked Questions About Booklet Design
What is the difference between a booklet and a brochure? A brochure is a single sheet of paper folded into panels. A booklet is a multi-page publication with a cover and binding. If you have more than a few pages of content, you need a booklet.
What is the difference between saddle stitch and perfect binding? Saddle stitch uses staples along the spine and works best for smaller publications under 92 pages. It is the most affordable and fastest option. Perfect binding uses glue to create a square spine, giving your booklet a more book-like look and feel. It is ideal for higher page counts starting at 28 pages. If you are printing a small catalog or event program, saddle stitch is your best bet. If you are printing something more substantial, perfect binding is the way to go.
How many pages does a booklet need? It depends on your binding. Saddle stitch starts at 8 pages and must be in multiples of 4. Perfect binding starts at 28 pages and must be in multiples of 2. Spiral and Wire-O start at 8 pages in multiples of 2.
What file format should I submit for booklet printing? PDF is the preferred file format. Export your file as a print-ready PDF with bleed included, fonts embedded, and color mode set to CMYK. This gives you the most consistent and predictable results at print.
What is bleed and why do I need it? Bleed is the extra area that extends beyond your trim line. It prevents white borders from appearing on the edges of your booklet after cutting. Add 0.125″ of bleed on all sides for any element that runs to the edge of the page.
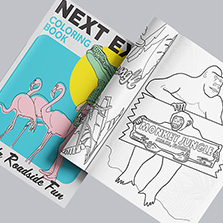
What is the difference between gloss, matte, and uncoated paper? Gloss has a shiny finish that makes colors and images pop, best for image-heavy booklets. Matte is glare-free and easier to read in bright light, making it a better fit for text-heavy content. Uncoated has a natural feel and is easy to write on, ideal for workbooks, journals, and coloring books.
Can I design my booklet in Canva? Yes. Set your document dimensions to your chosen booklet size before you start designing. When you are ready to submit, export as a PDF Print file with crop marks and bleed turned on and color mode set to CMYK.
Print your Booklets with PrintingCenterUSA
Design your booklet by creating a proper outline, choosing a size, selecting a binding, choosing high-quality images, clean layout, then exporting as a PDF. Building a booklet doesn’t have to be hard work. PrintingCenterUSA takes the hassle out of designing and ordering to create an unparalleled customer experience with a Satisfaction Guarantee.