














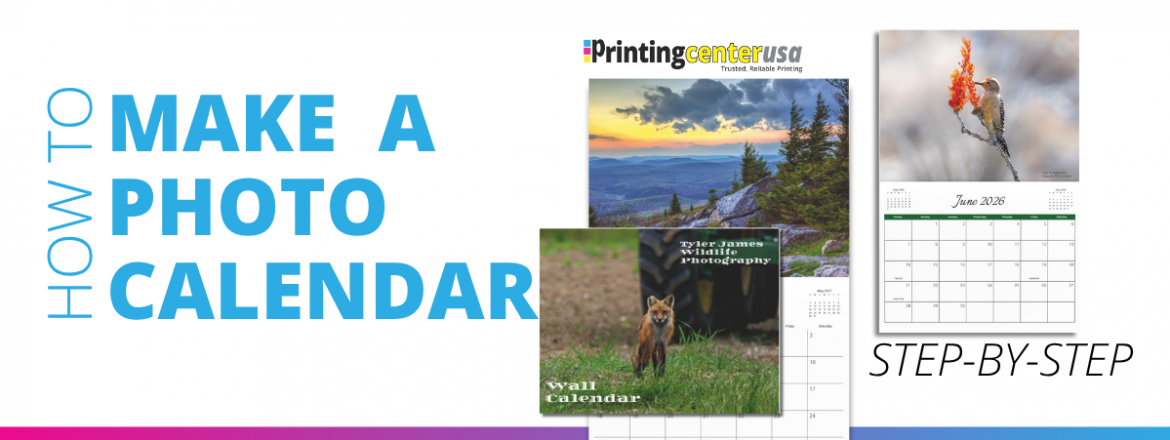
How to Make a Photo Calendar
You don’t need design experience to make a photo calendar, it’s straightforward. With PrintingCenterUSA’s free design tool, all you do is choose a layout type, drop in your photos, customize, and order. Just like that, you end up with a print ready calendar design. The tool is fully accessible in your browser, so no downloading or additional software is needed.
Watch the video below for a full step by step, or follow the steps below.
How to Make a Photo Calendar Step by Step
1. Start your design
Head to PrintingCenterUSA’s custom calendar designer page, or the calendar printing page and click Online Design Tool at the top.
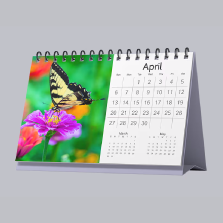
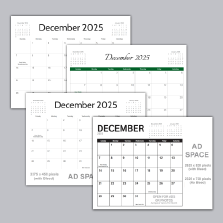
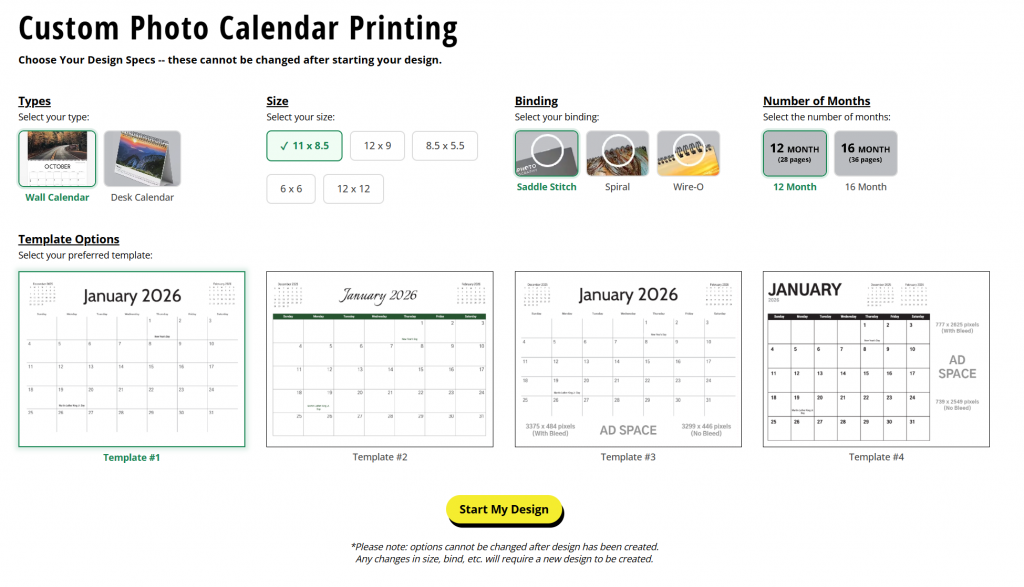
Choose your calendar type, either wall or desk, then pick your size, binding, and number of months, and choose one of four grid template options.
Click Start My Design.
2. Add your photos
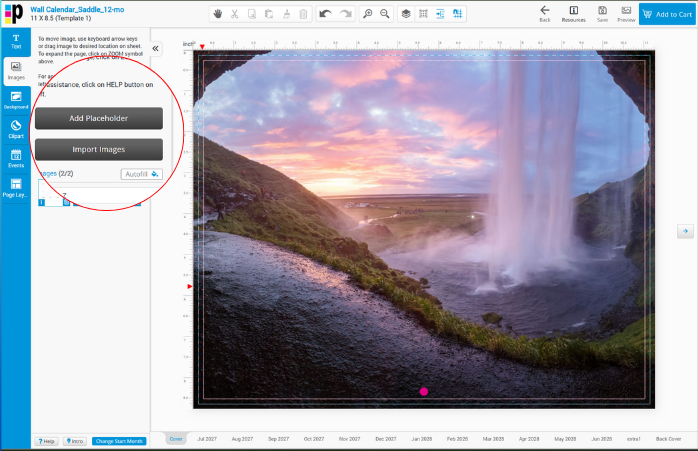
Click Images in the right hand menu, then Import Images. You’ll see a gallery of free photos you can use, or click My Images if you’ve ordered with PrintingCenterUSA before to pull from photos you’ve used previously.
To upload your own, click Add photos, then choose your images from your computer.
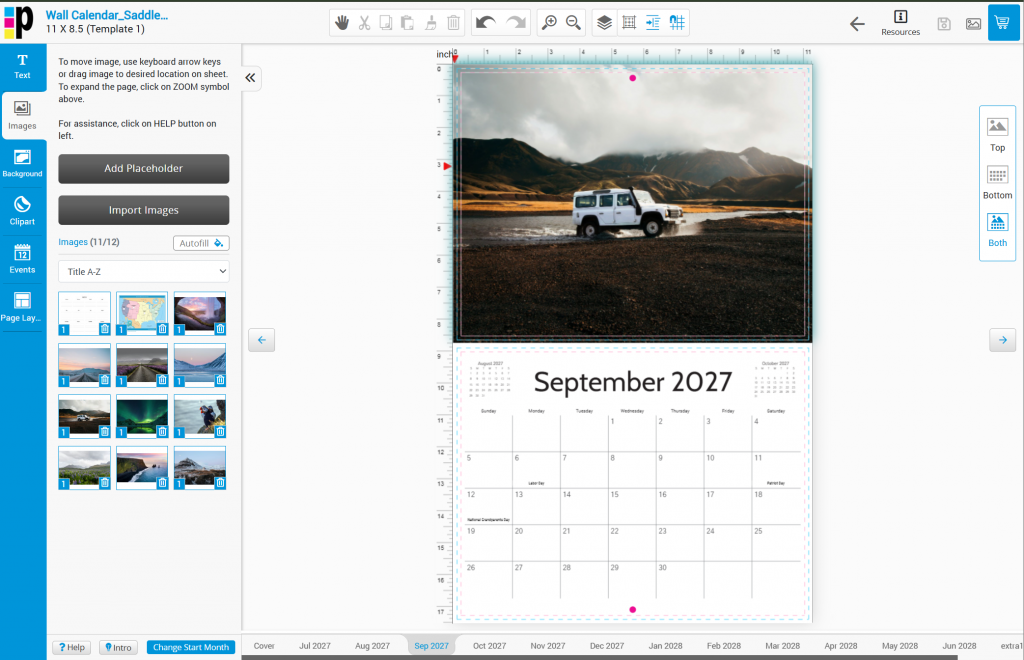
Check the ones you want, then click Import. They’ll show up at the bottom of the image panel, ready to drag into place
You’ll need at least one photo per month, so 12 to start, plus a couple extra for the cover and back cover if you’re not using autofill.
3. Fill in each month
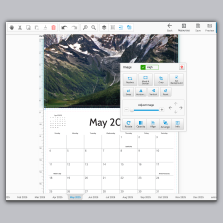
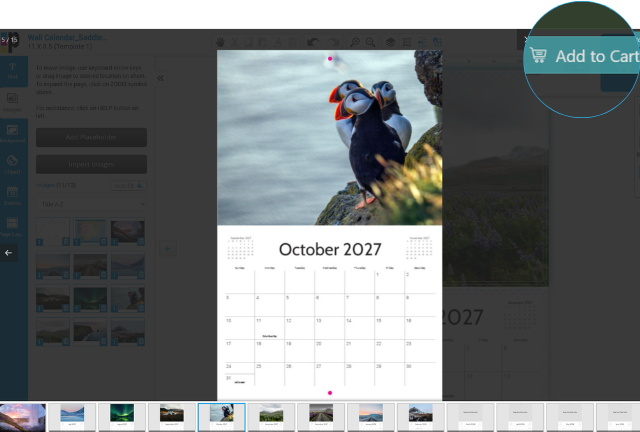
Use autofill to drop your images into place or manually add them. Move between months using the bar at the bottom of the screen.
4. Set your dates and events
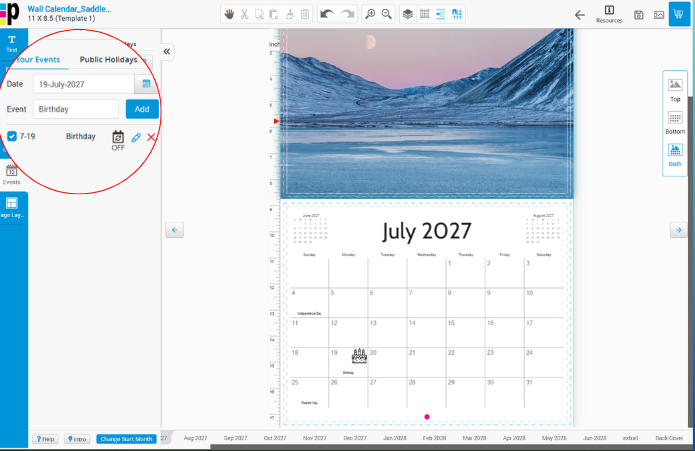
US public holidays are included in the calendar grid by default. You can remove any you don’t want on the calendar plus add your own!
To add your own (like a birthday), click Events on the left-hand menu. Click Your Events, add your title & date, and it’ll show up right on the grid.
5. Preview your layout
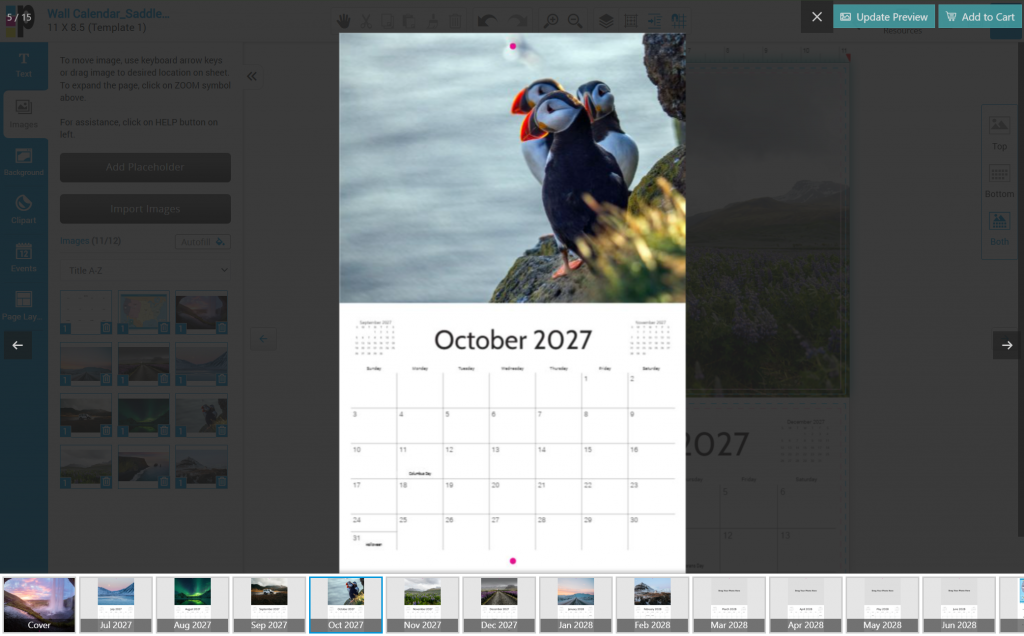
Use the view toggle in the top right to look at just your photos, just the grid, or both together, so you can check everything before moving on.
Or click Preview on the top right hand corner next to add to cart!
6. Add to cart and check out
Click Add to Cart at the top. You’ll get a pop up with any red flags the designer notices like if any photo boxes are empty.
Continue, log in if you haven’t already, and name your calendar. Your type, binding, and size will already be filled in from step 1.
From there, set your quantity, ink, and print options, then save and add to cart to move into checkout!
If you’re a seasoned pro designer and are already set on using an Adobe product, PrintingCenterUSA also has free downloadable templates for Photoshop, Illustrator, InDesign, and Acrobat. There’s also a free Canva calendar template if Canva is more your speed.
Tips for Using the Design Tool
Here are a few things to know before starting your design.
- You can’t change your size, binding, or calendar type once you start your design. If you need something different, you’ll have to start a new design from scratch.
- Want more than one photo on a single month? Use Photo Layout to pick a layout that fits.
- Want to start on a month other than January? Click the month at the bottom right, then Change Start Month, and pick the year and month you want to begin. The rest of the months update automatically to match.
- The back cover autofills using photos you’ve already chosen unless you turn that off. To turn it off, go to the back cover, and click autofill.
Calendar Design Tool Frequently Asked Questions
Do I need design experience to make a photo calendar? No. PrintingCenterUSA’s free online calendar design tool is drag and drop, so you can add photos, dates, and text without any design software or experience.
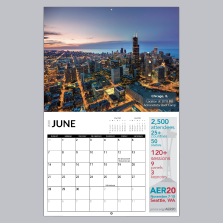
What is a photo calendar? A photo calendar is a custom printed calendar that uses your own pictures and designed grids. With PrintingCenterUSA, you design it online using your own photos, dates, and captions, then it prints as a physical calendar.
What’s the best way to make a photo calendar without design software? PrintingCenterUSA’s browser based calendar maker skips the software step entirely. You design the whole thing online, and it prints as a physical calendar you can hang up or hand off, not just a digital file.
Can I choose between a wall calendar and a desk calendar? Yes. PrintingCenterUSA’s design tool asks you to pick a wall or desk calendar right at the start, each with its own sizes and binding options.
How long does it take to get my printed calendar? Standard production takes 3 to 4 business days once you approve your proof.
Does my calendar have to start in January? No. PrintingCenterUSA’s calendar tool lets you start on any month, so you can build one for a birthday, a school year, or any occasion that doesn’t line up with the new year.
Can I add captions or notes to specific dates? Yes. PrintingCenterUSA’s design tool lets you add text to individual months or dates, so you can note a birthday, an anniversary, or a quick caption under a photo.
What’s the difference between saddle stitch, spiral, and wire-o binding? Saddle stitch is the most affordable and most common choice for wall calendars, though it doesn’t lay fully flat when open. Spiral and wire-o both lay flat, and wire-o has the more finished, professional look between the two.
Why are there extra pages in my calendar besides the 12 months? Every PrintingCenterUSA calendar design includes a cover, two filler pages, and a back cover on top of your 12 months. The back cover autofills from photos you’ve already used unless you turn that off and add your own.
Ready to Print Your Calendars?
PrintingCenterUSA has everything you need to get your calendar project started!
- Get an Instant Quote: price out your calendar in seconds
- Request a Free Sample Pack: see and feel the paper and binding options before you commit
- Free Online Design Tool: build your calendar design online
- Free Adobe Templates: download and set up your file the right way
- Free File Review: submit your file before you order and catch any issues early
- Find a Designer: Connect with a professional if you need design help
- Canva Templates: Prefer Canva? Find a template and follow our step-by-step tutorial on how to set it up correctly for print.
Watch the video below to see our calendar printing options up close!
PrintingCenterUSA has been printing calendars for businesses nationwide for over 50 years. When you’re ready, start your order today.