


THE ULTIMATE GUIDE TO WIRE-O BOOKS
Wire-O binding is one out of the four binding options that we offer here at PrintingCenterUSA.com. It is also known as wire binding and is named after the black metal wire that it uses to bind the project’s pages together. Although it’s not one of our most popular binding types, like Saddle Stitch or Perfect Bound, plenty of businesses and independent creators choose to bind their project with Wire-O Binding because of the other benefits this binding has to offer.
How Wire-O Bound Books are Made
The Ordering Process
When you are ready to place an order for your Wire-O project, just go to any of our multi-page product pages. This can include books, booklets, catalogs, manuals, spiral, wire-o, and more! The main thing you will need to look for is our multi-page product pricing tool. This pricing tool will be able to take your wire-o order, regardless of what product page you are on. First, be sure that your Binding is set to ‘Wire-O’. Then enter your product specifications, including, but not limited to, size, quantity, pages, ink, paper, finish, and more!
If you have already made your print-ready PDF, click ‘Order and Upload Files’ to continue checking out. If you don’t have your print-ready PDF ready quite yet, don’t worry. Just click the button ‘Buy Now & Upload Later’ to continue in the checkout process without uploading your files. This is a great option to use if you would like to take advantage of a great discount that we have going on. Just remember to upload your files from your Account page once they are ready. Click here for a detailed description on how to upload your files from your Account.
Once we receive your order, you can get a free file review and you can view your instant proof. From here you will be able to see any errors in your files and be able to go straight to production, choose an electronic proof, or a hardcopy proof.
If you chose Electronic PDF Proof on our pricing tool, you will be sent your proof within 24 hours of placing your order. Simply click on the link in the email to view your proof and approve it to continue in the printing process. If you need to make any changes to your project, reject your proof and re-upload your fixed files. You will have to approve your new proof before we can continue in the printing process.
If you chose to get a hardcopy proof, your proof will be mailed to you. You can get your hard copy proof produced and shipped out standard overnight the following business day when you order if you select Hard Copy (Overnight). If you chose Hard Copy (Second Day) your proof will be produced and shipped out 2nd day air overnight the following business day when you order and upload your files before 5PM EST. Once you receive your proof, go online to your account to accept or reject your proof.
Once we get an accepted proof, we can start production!
Digital vs. Offset Printing
Before we get into how our wire-o books are made, we should go over the terms digital printing and offset printing. Digital printing refers to the printing process that utilizes toner or ink that uses a four-color printing process and requires less manual accuracy than offset printing. Usually, digital printing is synonymous with short-run printing.
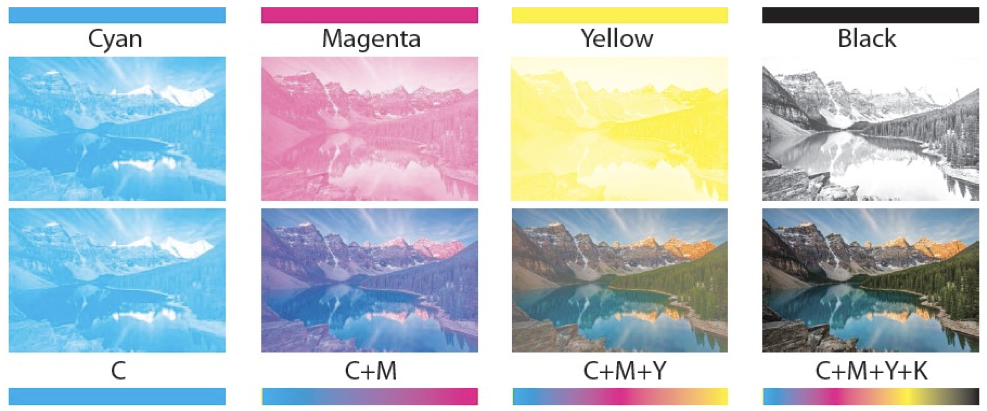
Offset printing is printing that is done on a 4-color lithography press where the pages of your print project are imposed onto a place. The image is then transferred to an intermediate blanket cylinder that prints one of the four CMYK colors at a time onto the pages of your project. This requires a very elaborate setup process, so offset printing is usually used for bulk orders.
For more information about the difference between digital and offset printing, see our blog post.
Our combination of short-run digital (250-500) and bulk offset (500-20,000) printing will save you money due to our investment in the latest state-of-the-art printing technology and equipment. For orders over 20,000 please submit a request for a custom quote here by clicking here.
The Printing Process
Once we get approval on your proof, we can start production. First, we print your cover and inside pages on both sides of the paper that you choose on our pricing tool. Then the pages are cut down to trim size and collated in page number order. The wire, often referred to as a wire comb or twin-loop / double-loop binding, has pre-formed pairs of two small loops of wire that run along a C-shaped spine that looks like a comb. These wire loops are inserted through each of the square holes that were punched through the edge of the printed book’s cover and pages, which allows for the pages of your book to line up precisely. A wire closer squeezes the spine until it is round, securing the cover and pages. Once all of your books are printed, we shrink wrap your books into bundles, pack them up and ship them to your address!
Product Features
Why would someone choose wire-o binding instead of another binding option? Wire-o binding has a lot of features that saddle stitch or perfect bound doesn’t have. To see an easy breakdown between all of our binding options, click here.
Page Count
Unlike our other binding types that require a page count of between 8-92 pages (Saddle Stitch) or 28 pages to 2inches thick (Perfect Bound), Wire-o binding can be used for books and booklets that are as few as 8 pages and up to 800 pages, or 1 ¼ inches thick! For more information on how to arrange pages for Wire-O Bound printing, click here.

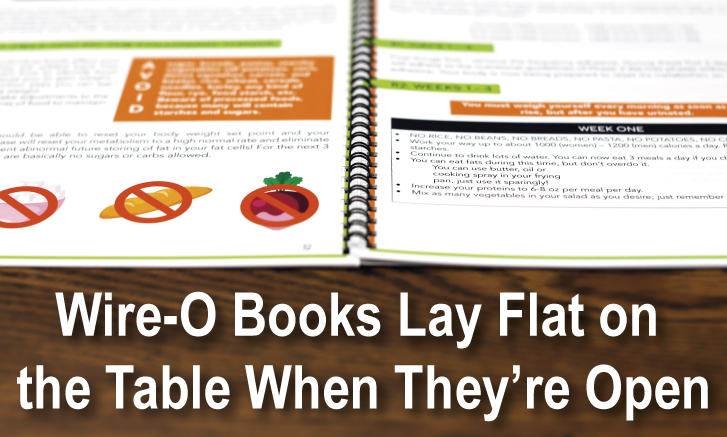
Lays Flat When Open
Wire-o bound books are able to lay flat on a table and can even go the extra mile and open to a full 360 degrees. Because of this, there is also no spine tension, which makes turning the pages of a wire-o bound book much easier. This is extremely useful for printing projects like workbooks, manuals, cookbooks, guides, and more!
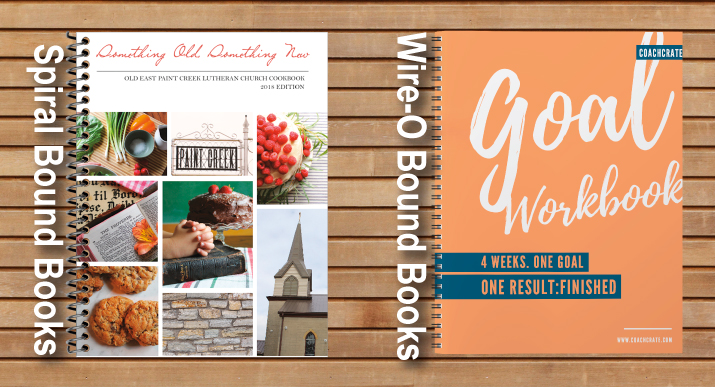
Difference Between Spiral & Wire-O
Now you may be asking yourself, that all sounds well and good, but what is the difference between spiral and wire-o. Spiral and wire-o have many of the same features, like being able to lay flat, turn pages 360 degrees, and the lack of spine tension. The main difference between spiral and wire-o is the look of the finished project. Spiral binding uses a durable plastic coil to bind a book together, while wire-o uses a metal wile that looks more professional. Because of this, wire-o is usually used for more professional or formal presentations of information. For more information on the differences between spiral and wire-o, click here.
What Products are Best for Wire-O Binding?
We have briefly brushed on some of the most popular products that use wire-o binding but let’s dive a little deeper.
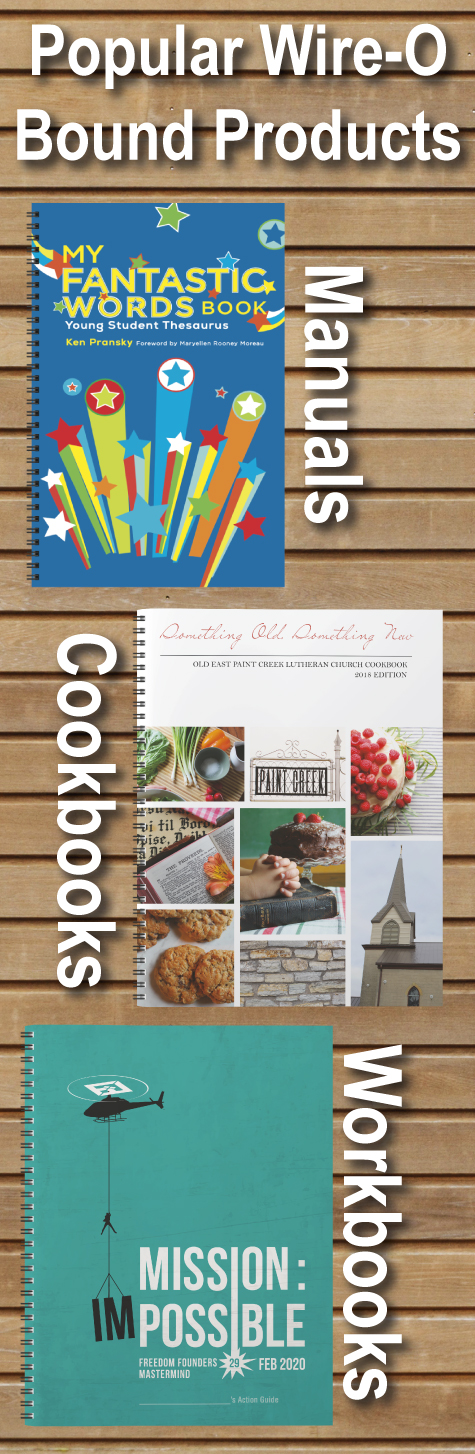
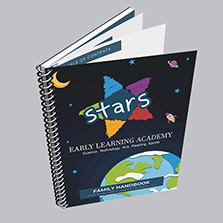
Manuals
There are a million and one different types of manuals that you can create. These can include safety training, employee training / handbooks, look books, field training, design services, technical direction, and how-to books. These books are referenced often and need to take up minimal space. Choosing to wire-o bind your manuals will help you keep all that important information in one place, even if you’re using the book every day! Not only that, but wire-o bound books can be ordered with hole drilling so that your booklet can fit into a three-ring binder.
Cookbooks
Wire-o binding is often used for cookbooks because of its lay flat and 360 page flipping abilities. I know that I hate having to hold my cookbook open with something because the binding isn’t broken in yet. With a wire-o bound cookbook, that has never been an issue. I will never lose my page and it’s easy to flip to the next page if I’m in a rush.
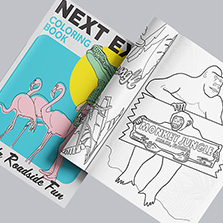
Workbooks & Coloring Books
There is a reason why schools often require students to have wire bound journals in their school supply list. That’s because they are a great and cost-effective option to write in. You can create your own custom workbooks by uploading your cover and lined paper. A great idea for schools or homeschooling parents! These reasons are also why wire-o binding is a great option for coloring books. You can have the option to view one page at a time by folding the pages back on itself, or have your book open for a 2-page spread.
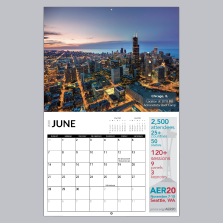
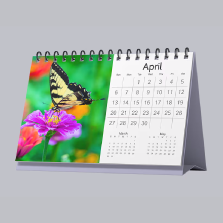
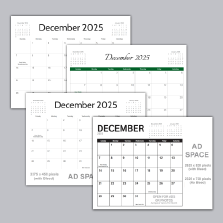
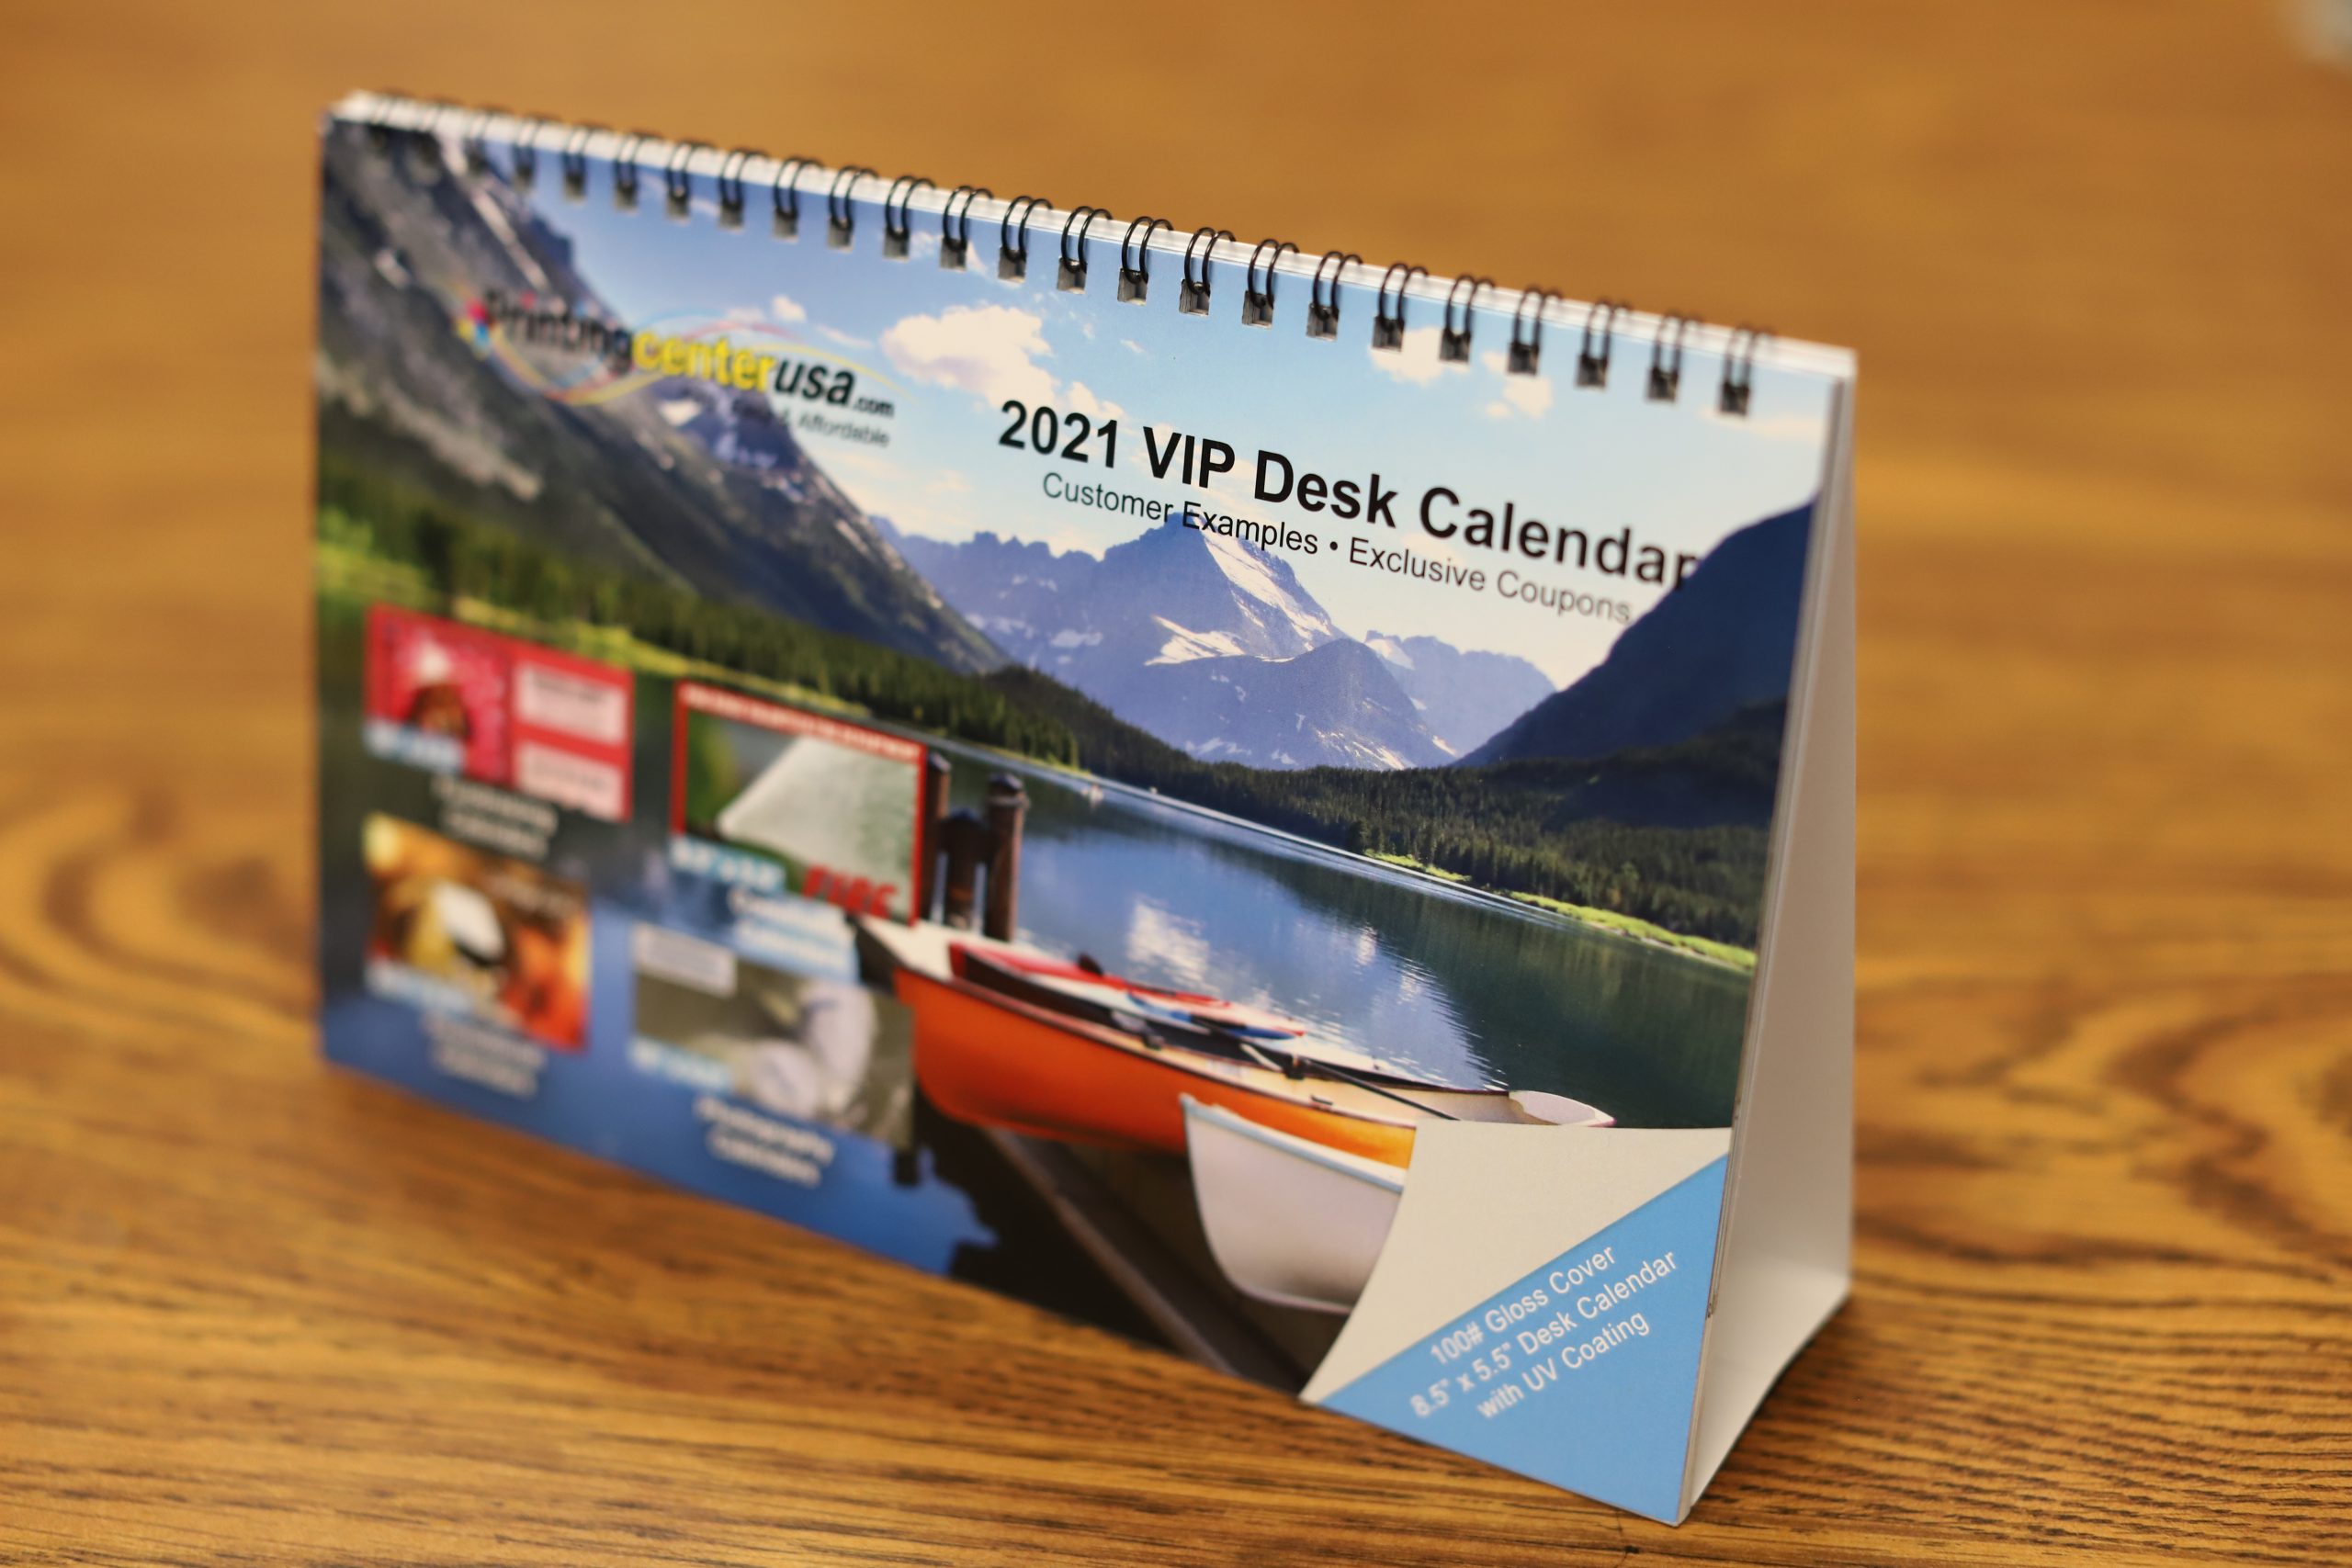
Calendars
Did you know that you can order your next calendar with Wire-O? It’s true! Wire-O bound calendars are extremely popular because you can flip to the next month easily and they will hang flat against the wall. Also, we now offer Wire-O bound desk calendars! These are perfect for any office space and the Wire-O binding makes it incredibly easy to change months.
Other Wire-O Bound Projects
Some other most popular Wire-O bound projects are guides, handbooks, reports, training books, and more! See our wire-o page for more details and inspiration under ‘Ideas & Examples’.
Designing for Wire-O Binding
Before starting to design your wire-o project, check your margins! Set your binding-side margins to be 7/8” so that you leave enough room for your metal coil. There is nothing more frustrating than having to re-work your entire project because your margins were off.
Now that your file is set up correctly, we can talk about some tips for creating a beautiful wire-o bound project.
Know Your Target Audience
What is your bound book for? What questions are you looking to answer with this booklet? If you know who your audience is, you are going to be able to better address their wants and needs in your project. Make sure that this is crystal clear before you continue with your project.
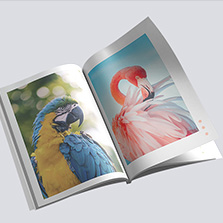
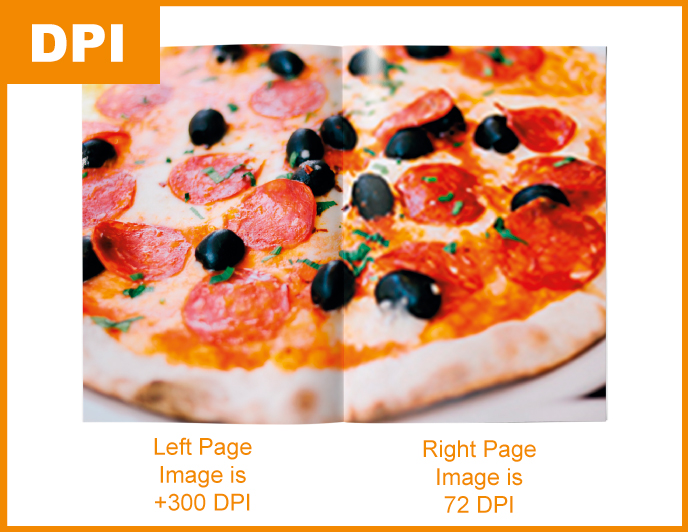
Have High-Quality Images
Make sure that all of the images that you include are well-lit, professional looking, and high-resolution. Any image resolution in a print project should be at least 300 DPI. It’s ok if it’s more, but if it’s less than 300DPI, it’s going to cause your images to look fuzzy or downright pixelated. Make sure that you have images straight from a SIM Card. We don’t recommend downloading images off of Facebook, through email, or text message since these methods will usually shrink your image to the standard DPI for web, which is 72DPI. Print requires much higher-quality image resolution than your screen does. For more information on image resolution, click here.
Choose the Right Page Count
You want to make sure that you are thorough enough to cover everything that your audience will need to know, but don’t be long-winded so that people get bored. Break up lots of text with an engaging image or a fun graphic!
Define the End
Make your cover stand out by choosing to print your Wire-O Bound Book with a back cover vinyl or a clear cover. This will help your readers be able to find the cover of your wire-o book if they are flipping pages around on themselves.
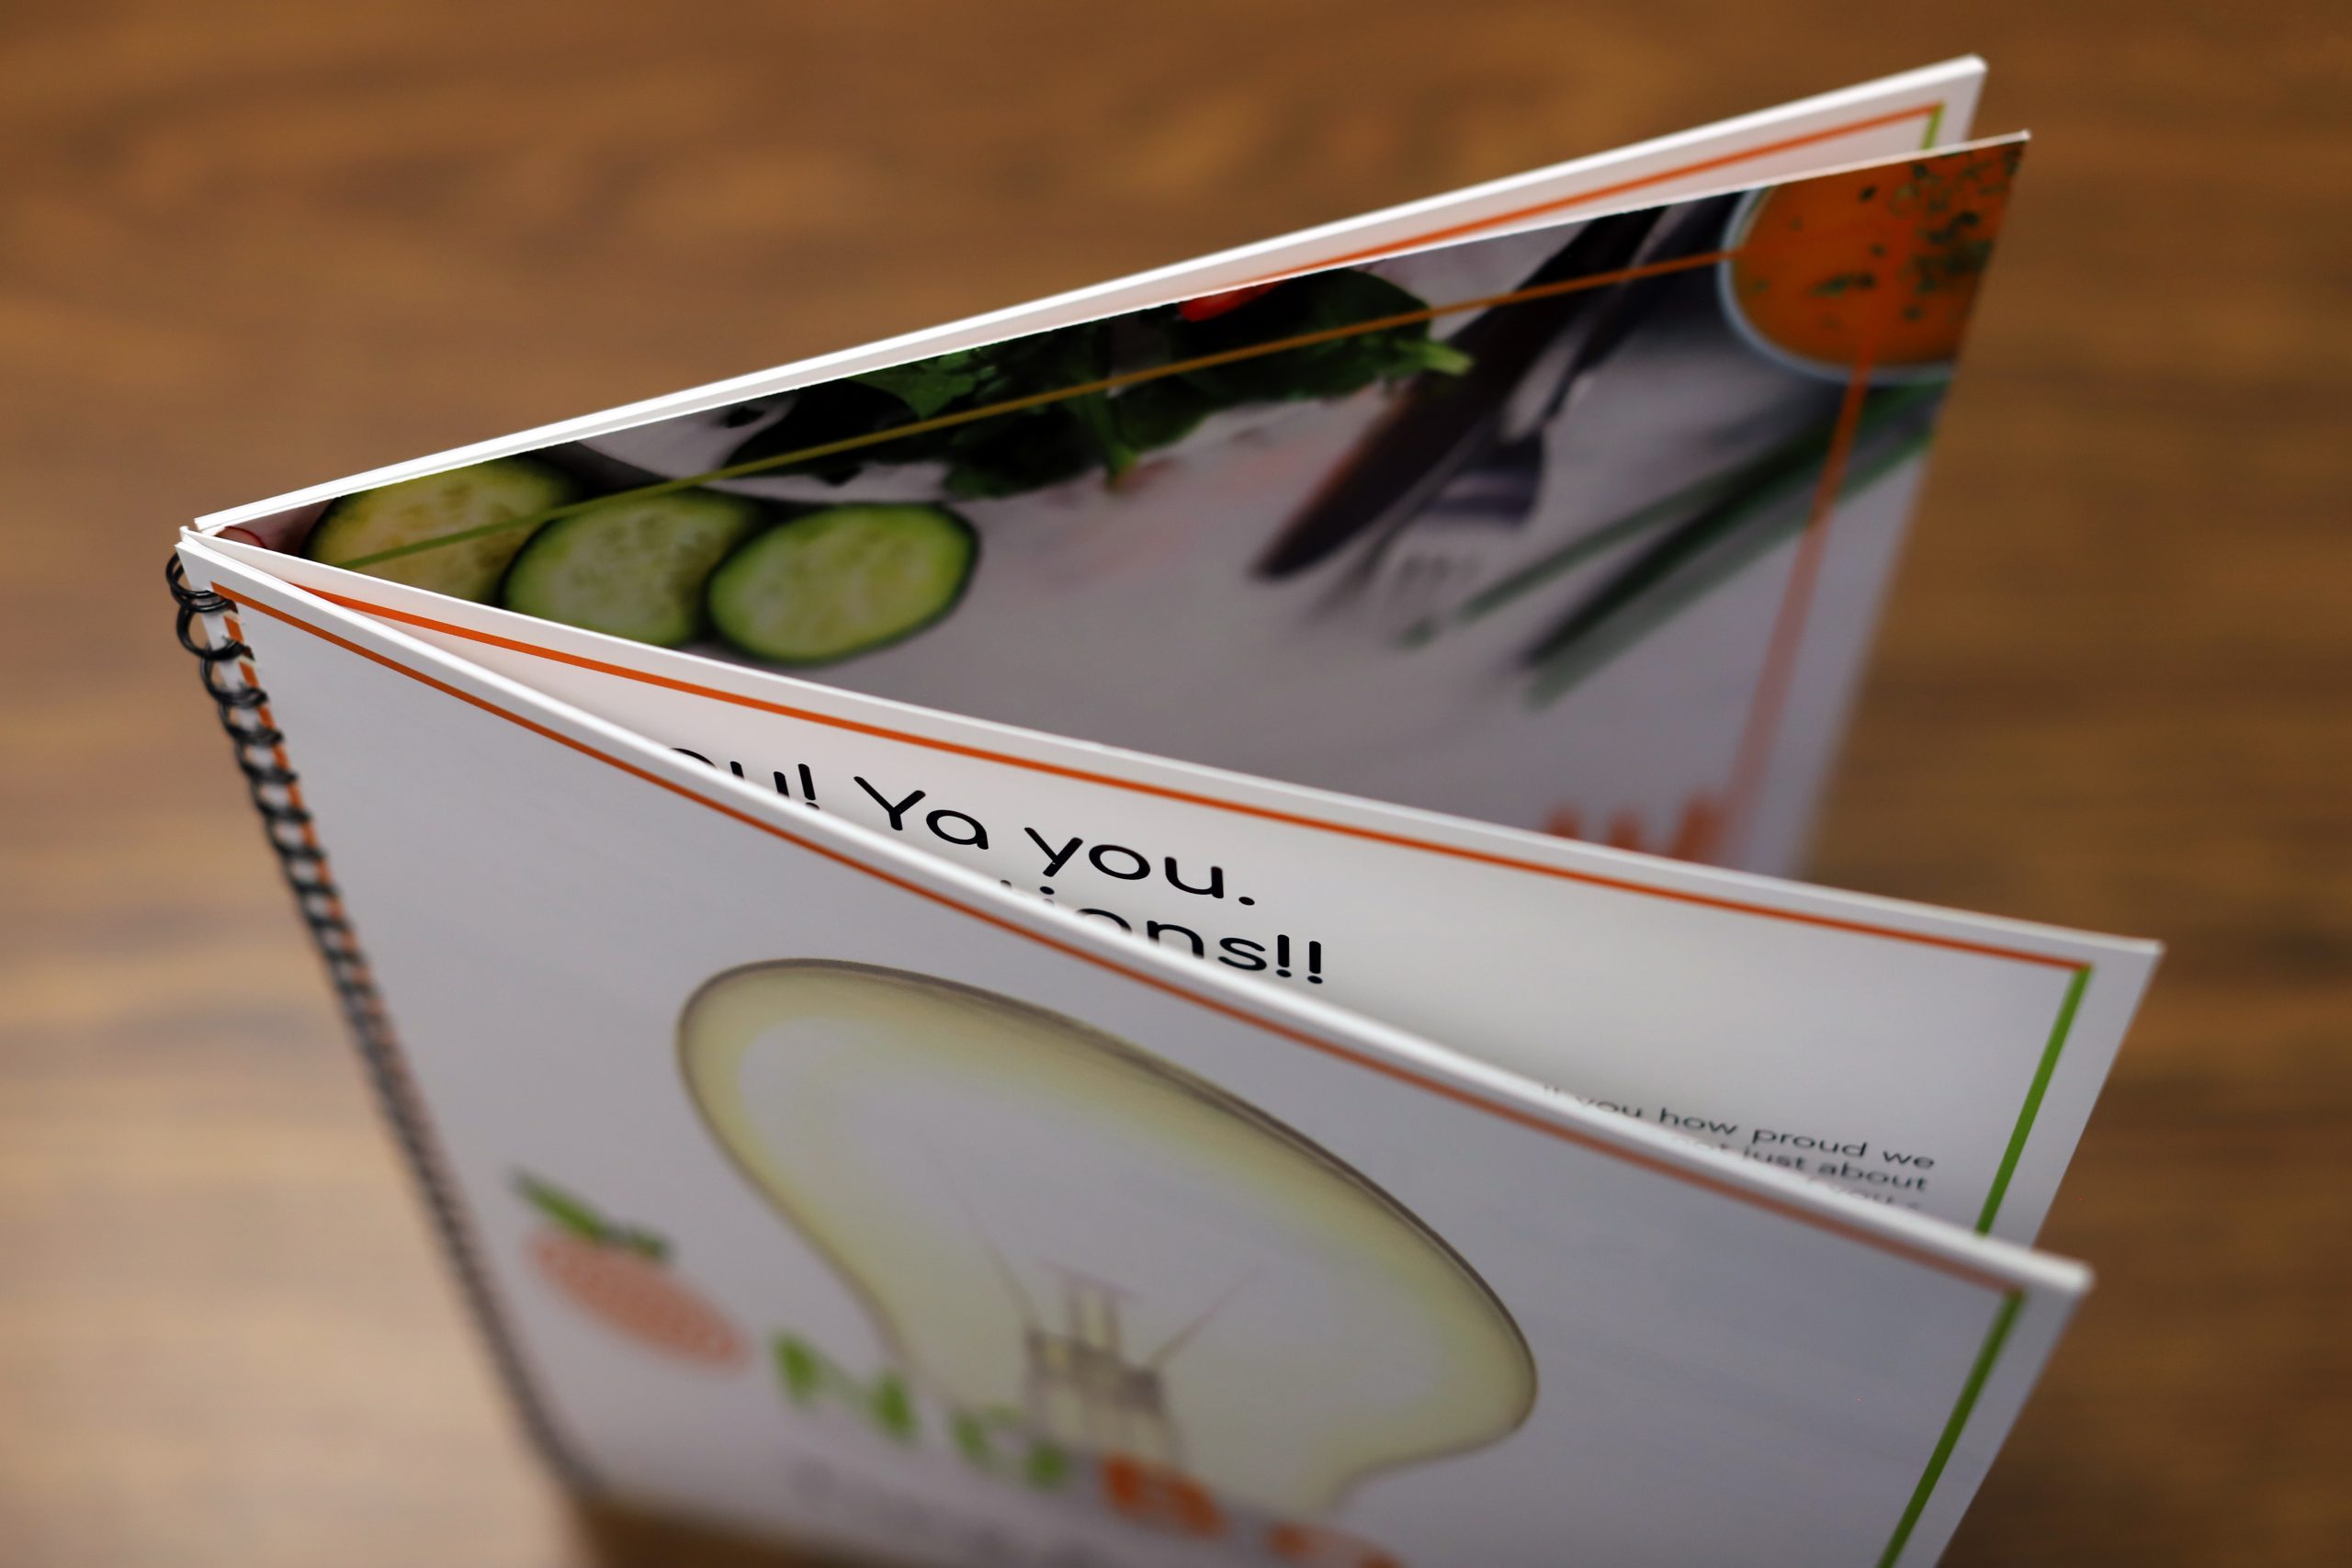
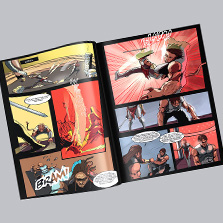
Avoid Image Spreads
While an image spread across two pages might look great in a saddle-stitch print project, the metal wire is going to interrupt an image spread between two wire-o bound pages. This is why we recommend not using image spreads when you are planning to create a wire-o bound book.
Recommended Product Specifications
Our most popular product specifications for our printing projects are always going to be the default options on our pricing tool. For wire-o bound these are:
- Size: 8.5×11
- Ink: Full Color Cover, Full Color Insides
- Paper: 100# Gloss Cover, 100# Gloss Text
- Cover Finish: UV High Gloss
- Proof: Electronic
Size
We offer a wide variety of size options for spiral binding. These include:

| 
| 
|
We also offer the ability to upload a custom size! The height of your custom size should be between 4” and 9” and the width should be between 5” and 12”.
Ink
When printing with PrintingCenterUSA, you can choose to print in full, vibrant color or black and white. You can even choose to have a colorful cover with black and white insides. This is a popular option for coloring books, workbooks, and manuals. We offer the following Ink Color Options:
Cover:
| Inside:
|
Paper
Choosing what kind of paper is best for your printing project is an important step. When printing with PrintingCenterUSA.com, you have a wide array of paper types to choose from ranging from glossy to uncoated in cover and text stocks. But what does this all mean? Let’s define some keywords first.
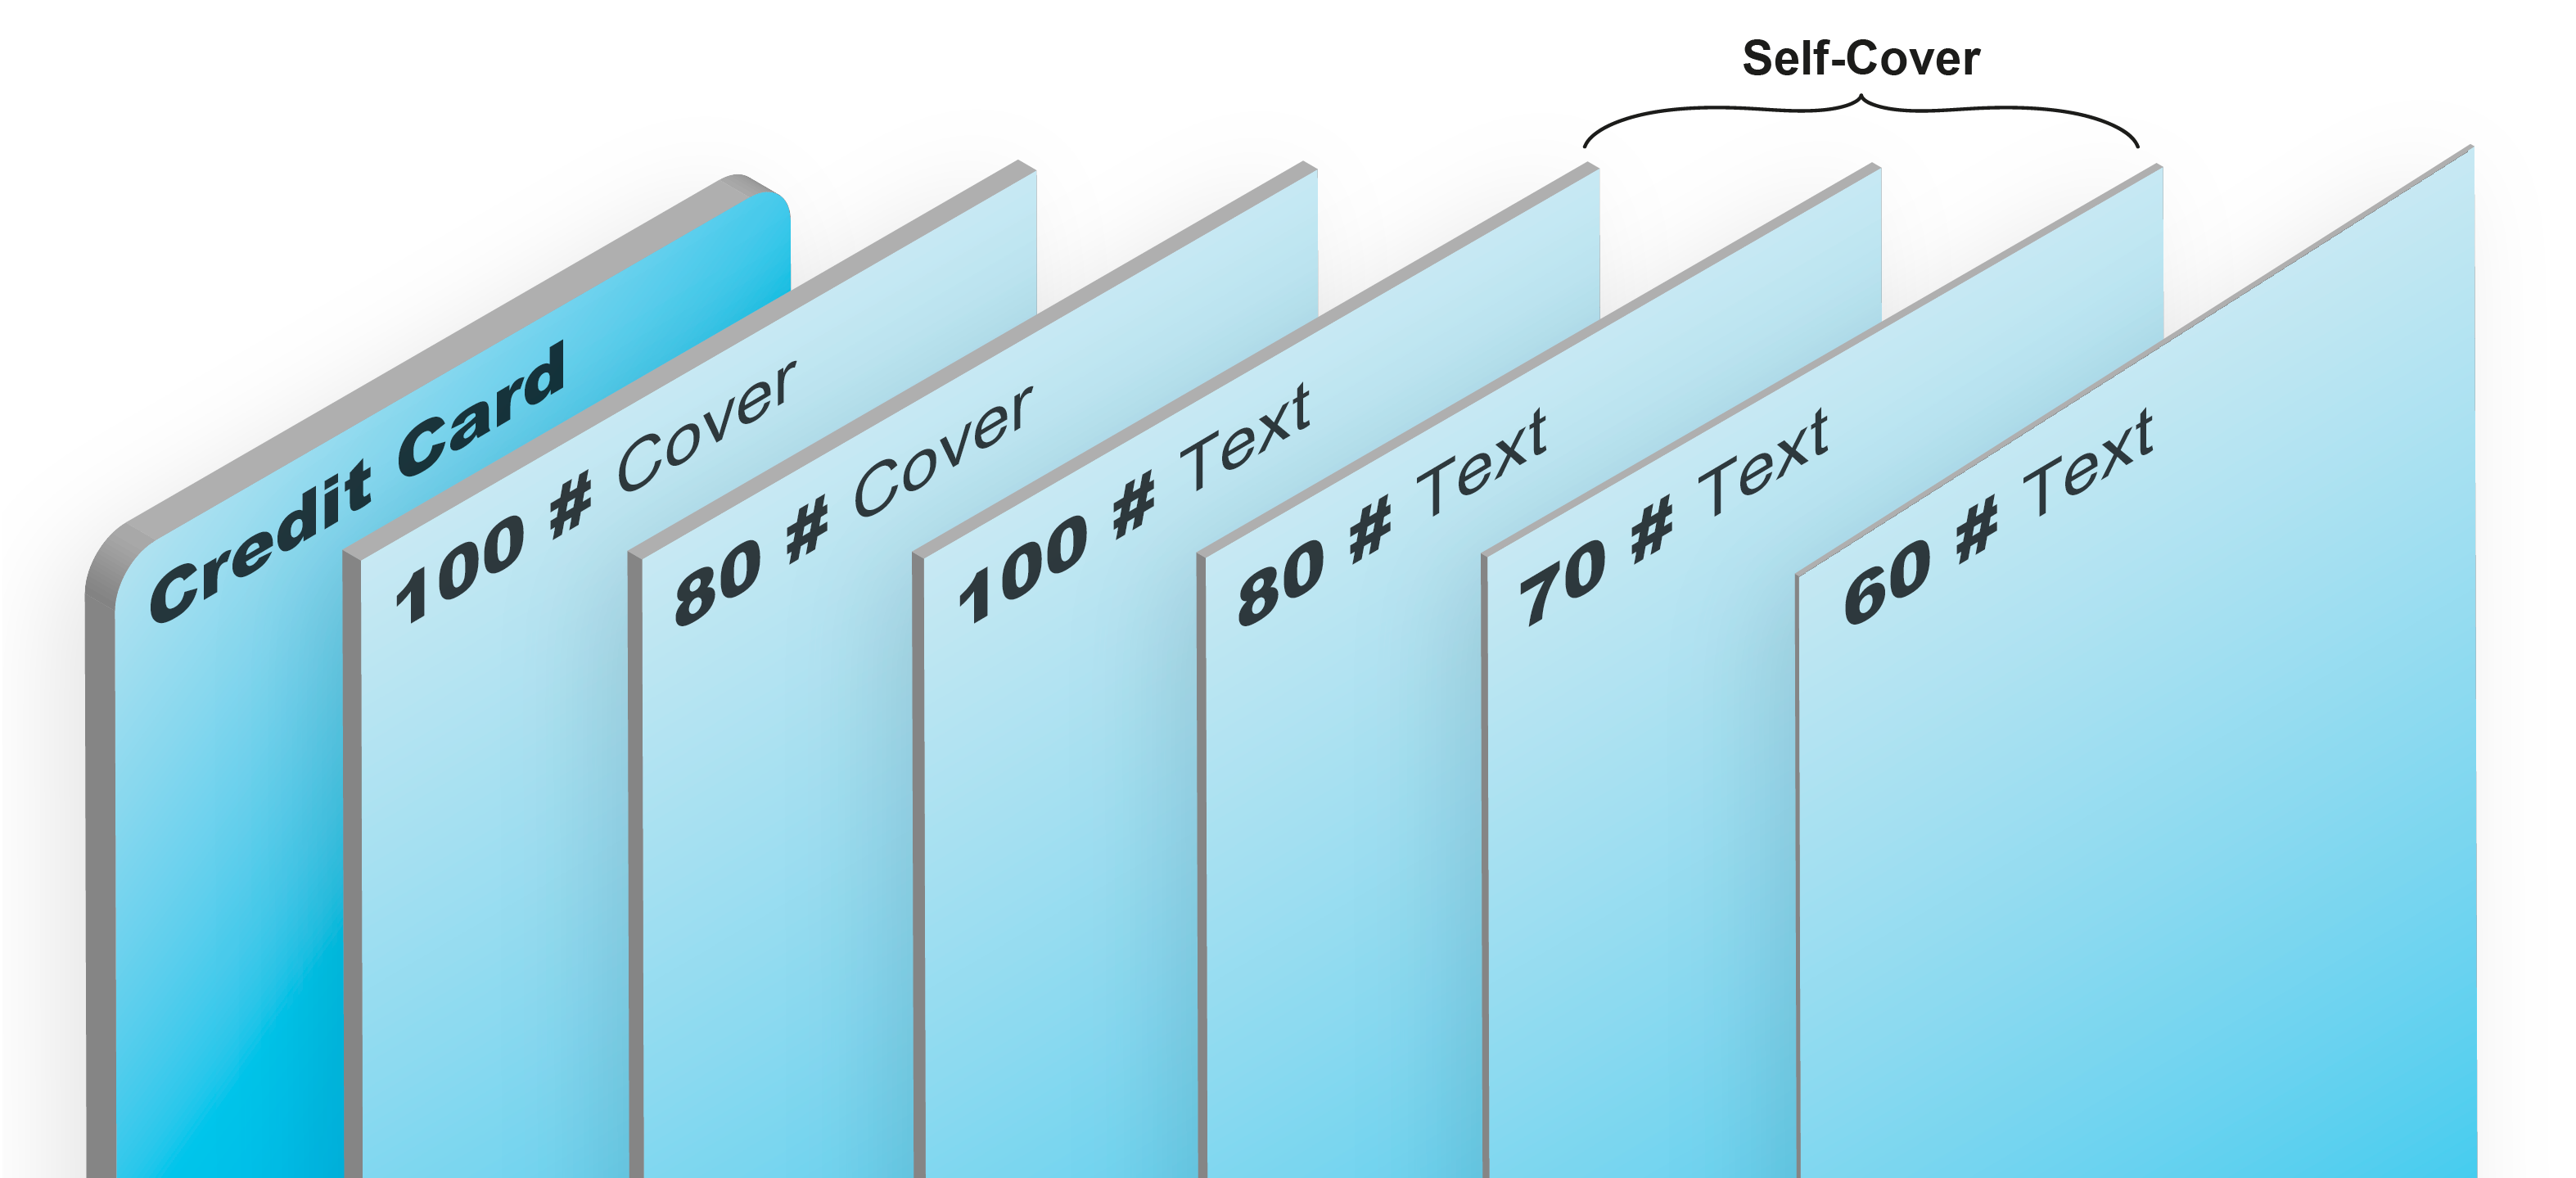
Cover Paper is going to be a thick paper, similar to a cardstock.
Text Paper is going to be thinner, more similar to a catalog or a magazine paper.
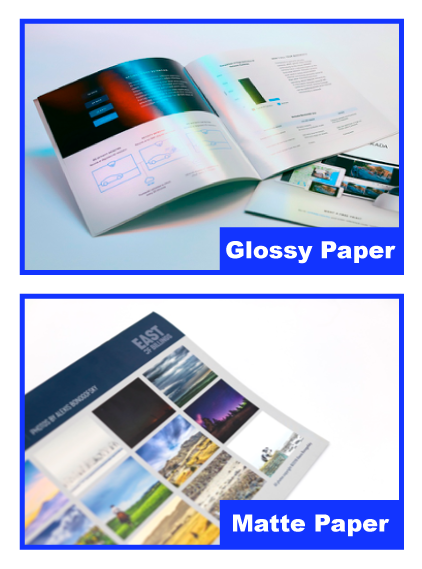
Glossy Paper has a shiny sheen that is known for making photographs pop.
Matte Paper has a “flat” look to it that is more popular for text-heavy projects.
Uncoated Paper has no coating, which makes it easy to write on. This paper should be used for projects such as workbooks or coloring books.
Below is an in-depth description of all of our paper stocks that we offer. To feel our paper for yourself, be sure to order a FREE Sample Pack! Click here to order a sample pack now.
Cover Paper:
- 100# Gloss Cover Cardstock (9pt) – For a more upscale look and a higher end feel, upgrade to our 100# gloss cover. It has the same characteristics and uses as 80# gloss cover but is about 25% more bulk being thicker and heavier, making it our highest quality premium paper. UV coating is available for a more shiny and luxurious high gloss finish. *Most popular for Softcover*
- 100# Matte Cover Cardstock (9 pt) – For a more upscale look and a higher end feel, upgrade to our 100# Matte cover. It has the same characteristics and uses as 80# Matte cover but is about 25% more bulk being thicker and heavier, making it our highest quality premium paper.
- 80# Gloss Cover Cardstock (8pt) – is a coated paper with a smooth finish similar to a glossy photograph. It is about twice as thick as 80# text and gives a sharp and appealing look with a substantial and sturdy feel. UV coating is available for a more shiny and luxurious high gloss finish.
- 80# Matte Cover Cardstock (8pt) – Dull coated sheet and exhibits low gloss finish. This lightweight cardstock is about twice as thick as 80# gloss text and has a substantial and sturdy feel. It is glare free making it easier to read when there is a lot of typed copy.
Inside Paper:
- 100# Gloss Text (5pt)– This shiny and lustrous coated sheet is excellent for full color printing making photographs stand out and look rich and beautiful. It is about 25% thicker and heavier than 80# text, giving a more upscale, sharp and appealing look with a higher end feel. This premium paper features high opacity for two-sided printing that will have minimal show through the opposite side. Most popular for Self-Cover.
- 100# Matte Text (6pt) – This dull coated sheet that exhibits low gloss finish. Excellent for jobs that require high quality color reproduction with minimal paper shine. Paper is glare free making it easier to read when there is a lot of typed copy.
- 80# Gloss Text (4pt) – is a perfect sheet with a great price for many printing projects. 25% thinner sheet than 100# gloss text with similar characteristics and about the thickness of a magazine page.
- 80# Matte Text (4pt) – is a perfect sheet with a great price for many printing projects. 25% thinner sheet than 100# matte text with similar characteristics and about the thickness of a magazine page.
- 70# Uncoated Text (5pt) – is a thicker stock than its 60# counterpart or copy paper, yet still offers the same premium look. Products printed on this paper will often have a high brightness and a high level of opacity. It is easy to write on and would be used in a project such as a journal or coloring book.
- 60# Uncoated Text (4pt) – features a super smooth finish that is great for ink holdout and offers a professional look. This paper is higher grade of paper than normal copy paper. It is easy to write on and would be used in a project such as a journal or coloring book.
Finishes
For our wire-o bound books and booklets, we do recommend having a cover finish of UV High Gloss. This will give your cover a very glossy appearance and will help protect your books against scratching and scuffing caused by transport as well as frequent handling. This is especially important for covers that have solid black. For the best solid black areas, we recommend a support of:
- Cyan: 40%
- Magenta: 30%
- Yellow: 30%
- Black: 100%
For further protection, you can also choose to have a clear cover added to your wire-o bound booklets. This will just provide for more protection to your cover, as well as make it abundantly clear where the front of your book is if you wrap your wire-o bound pages around themselves.
Bleed / Margins
What is full bleed printing? To put it simply, full bleed is where a picture is printed larger than the trim size, so that when the paper is cut down to size, the picture looks like it’s ‘bleeding’ off the edge of the paper. This goes into the margins that are required for your print project. When setting up your file, it is very important to set up your trim line, bleed, and safety correctly so that you don’t have to go back and edit your files after you’re already done designing it.
Trim Line: The final size of the document after the last cut is made.
Safety: The safe area or inner margin in which all of the important elements (such as logos and page numbers) should be within to prevent them from being trimmed off. This margin should be at least 1/8” inside the edge of the trim line.
Bleed: Bleed refers to an extra 1/8” of image that extends beyond your printing piece.
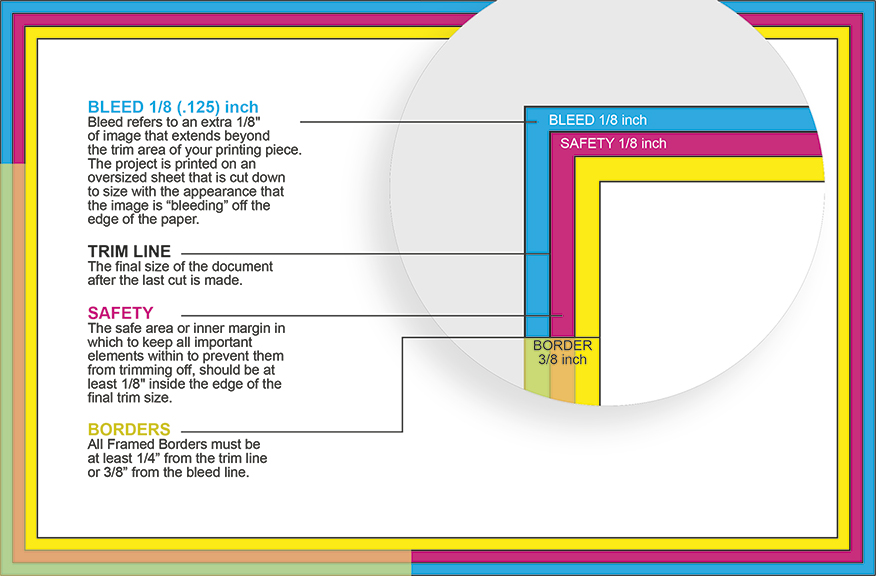
However, for Spiral, Wire-O, and Perfect Bound, your binding edge margins should be set to 7/8” to leave enough room for the binding.
For more information on full bleed printing, click here to read our blog post.
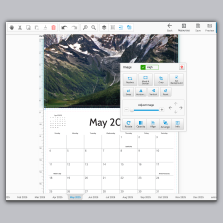
Templates
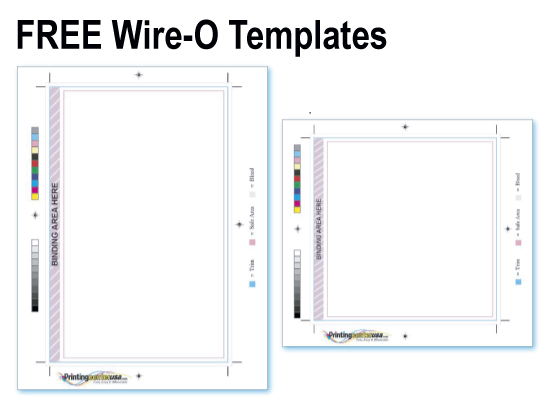
To make sure that your print-ready PDF is perfect before uploading your file, we recommend using our downloadable templates. We offer free downloadable templates for Adobe Illustrator, InDesign, Photoshop, and Acrobat. Our Spiral and Wire-O templates make it easy for you to create your print project without worrying about your margins. We offer free downloadable templates for the following sizes:
- 5” x 8.5”
- 6” x 6”
- 6” x 9”
- 5” x 11”
- 8” x 8”
To view and download our free spiral & wire-o templates, click here.
Now that you know everything there is to know about printing your wire-o bound book, you are ready to start creating! Click our button below to download your wire-o template or to view our print-ready PDF checklist. Happy printing!