























Full Bleed vs No Bleed Printing
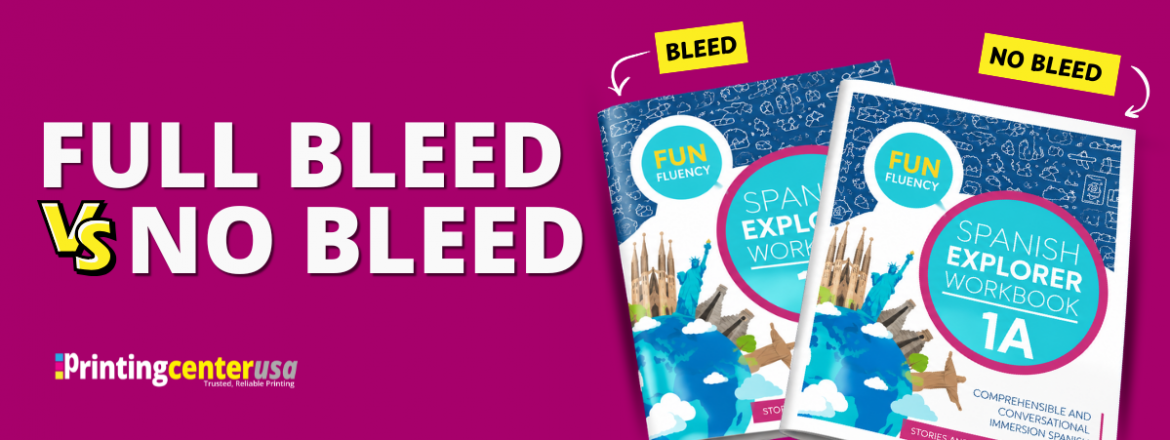
You’re not the only one confused by printing terms. Words like “full bleed” and “no bleed” sound technical, but it’s really super simple. It comes down to one thing: Does your design go to the edge of the page? Full bleed means your design runs all the way to the edge of the paper with no border. No bleed means your design stays inside the margin, which leaves a white space around it. But does printing need bleed? How do you set this up? What’s the difference between full bleed vs no bleed printing? Well, let’s go over it.

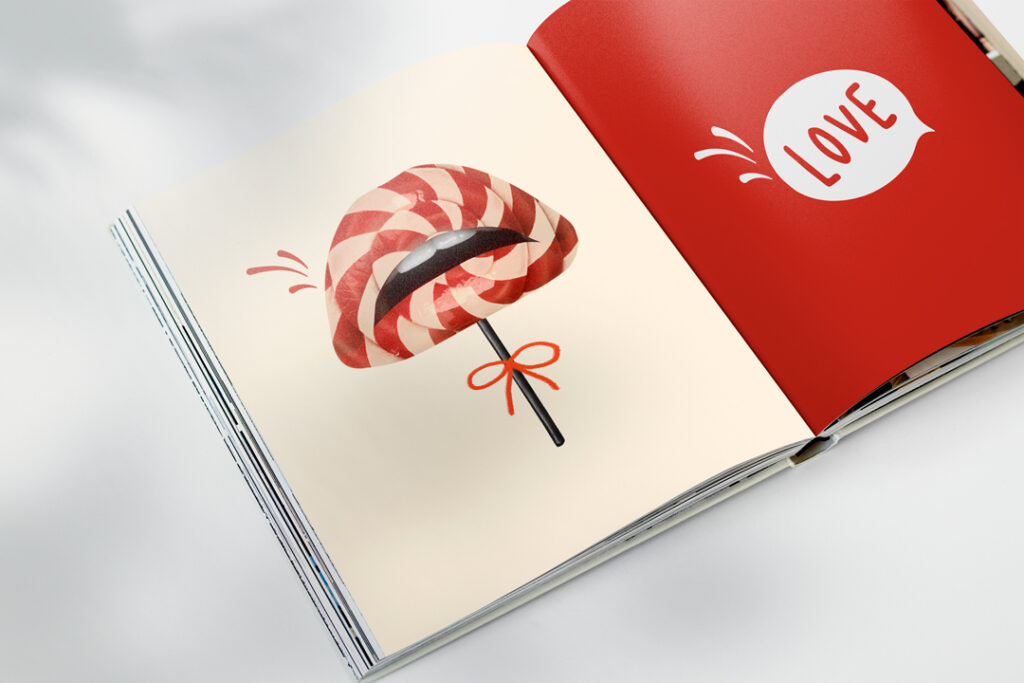
What is Full Bleed?
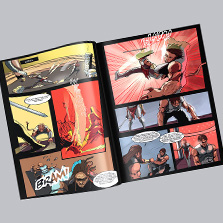
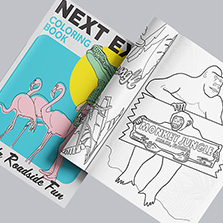
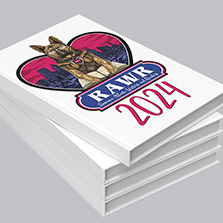
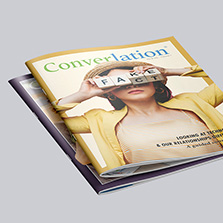
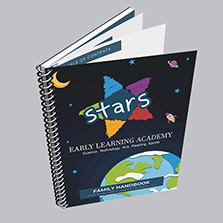
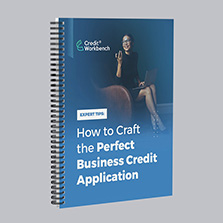
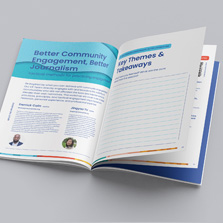
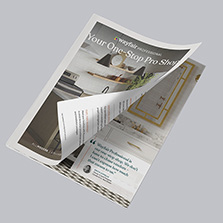
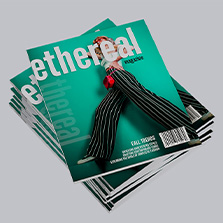
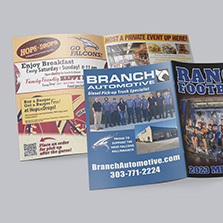
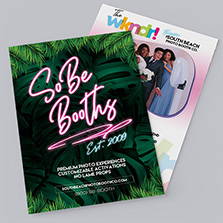
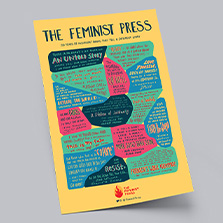
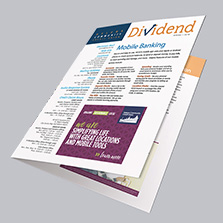
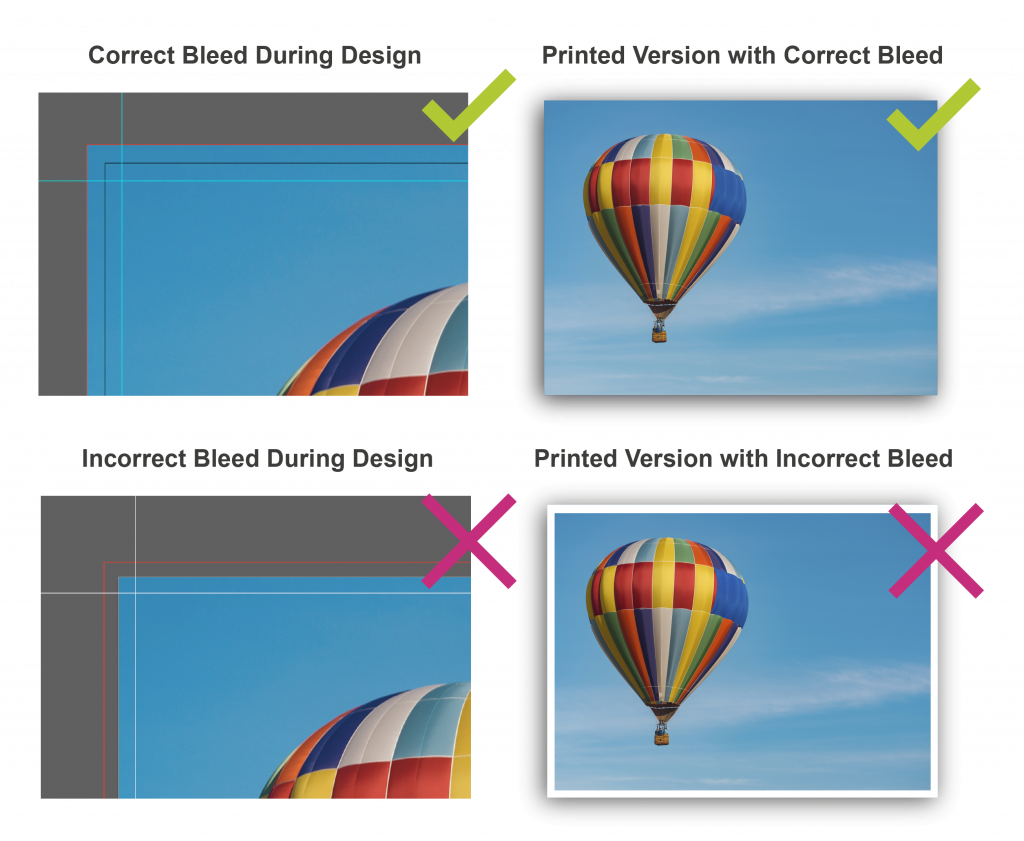
Full bleed is an extra 0.125 in (1/8 in) of design that gets added to each side of your print file so your design can go edge to edge on the final printed piece with no border. In the printing process, your file gets printed on a larger sheet, then trimmed down, where the extra bleed margins get cut off. Most printers, PrintingCenterUSA included, use a standard bleed of 0.125 in (1/8 in) past the trim line on every side, and it’s typically required. This is used for most magazine brochures, catalogs, booklets, and poster printing to get a professional finished product.
Why Use Full Bleed?
Using full bleed ensures your design goes edge to edge on your final printed piece without a white border, so it looks exactly like you designed it. The bleed is essential for printing. It also makes your design stand out, so it uses the full page instead of wasting space and works on anything you print, like a book cover or a calendar.
Why Does Printing Need Bleed?
Printing needs bleed because no printer can actually print all the way to the edge of a sheet of paper, whether it’s a home printer or a commercial one. Every printer grabs the paper with some kind of roller to pull it through, and it can’t print any ink on the part it’s gripping. There’s always a thin strip right at the edge that can’t get printed on. To get around this, your design gets printed on a bigger sheet than your final piece, then cut down afterward. That’s how the color ends up reaching all the way to the true edge of your final product.
What is an Example of Full Bleed vs No Bleed?
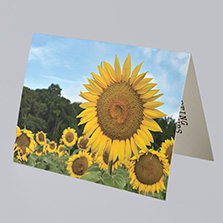
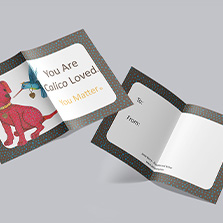
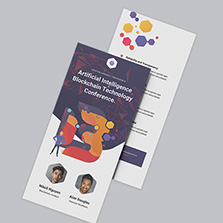
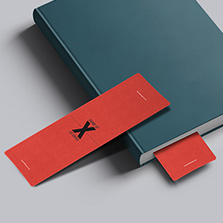
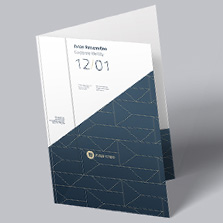
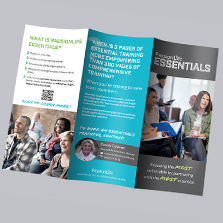
The easiest way to spot the difference between full bleed vs no bleed is whether a photo touches the edge of the printed page or not. If the design goes all the way to the edge without a border, that’s full bleed. If there’s a white strip framing it, it does not have any bleed.
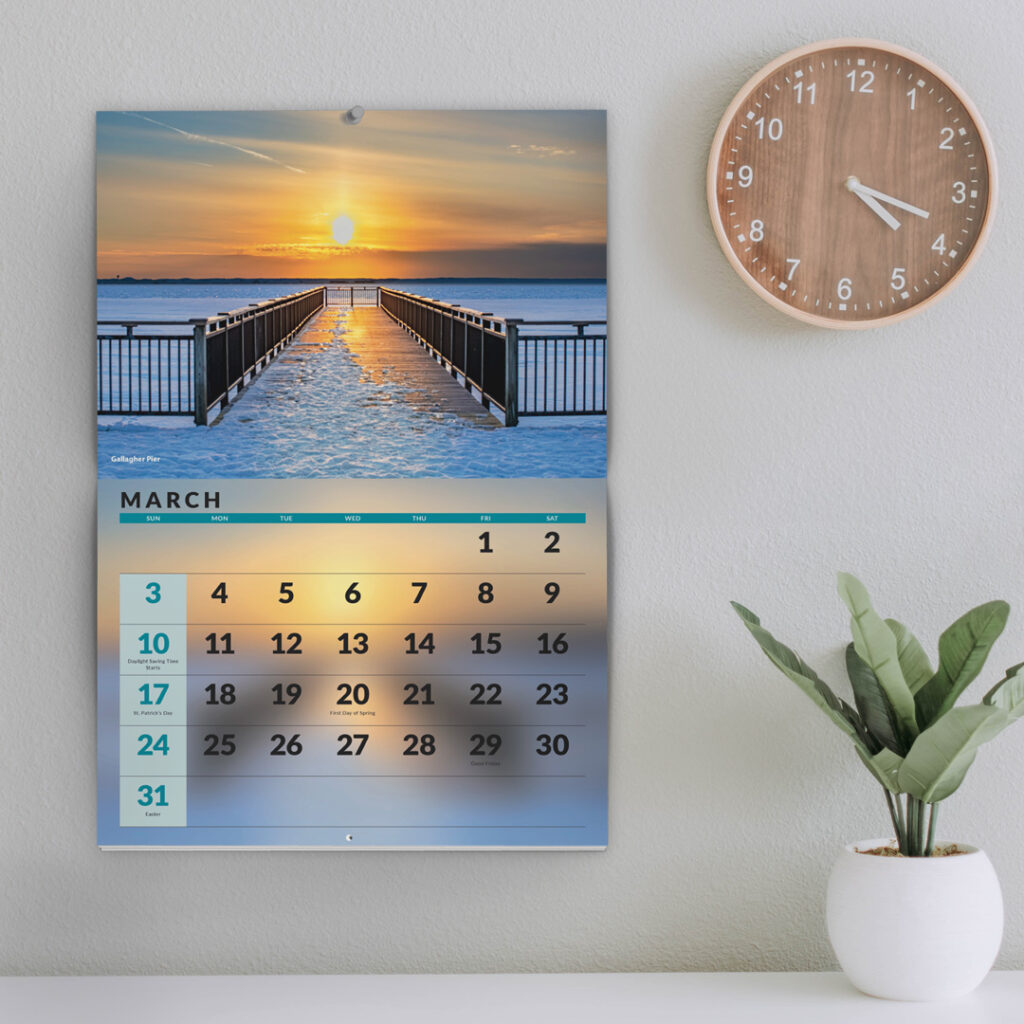
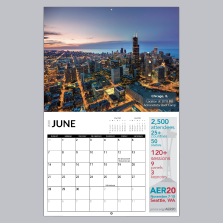
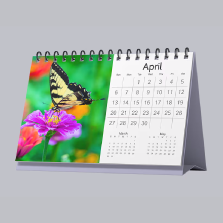
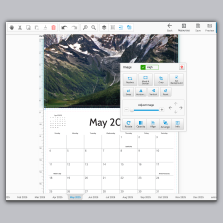
A calendar with a full-page landscape photo uses full bleed, where the image goes edge to edge with nothing boxing it in. It gives people enjoying the calendar an unbroken visual treat.
.
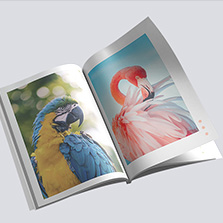
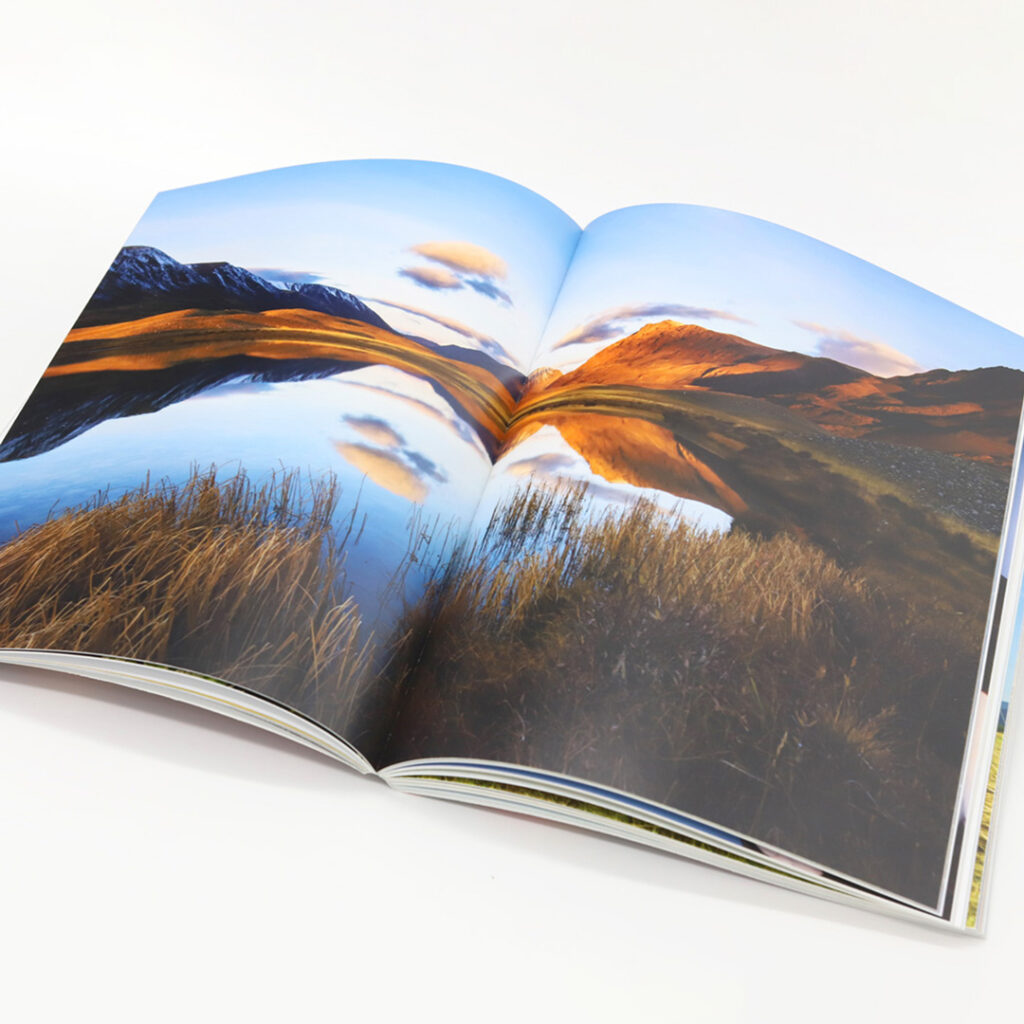
A coffee table book full of nature photos can work with full bleed as well, to let each shot fill the whole page instead of sitting inside a margin. Some people do intentionally use margins as a design choice. Think about whether you want to transport your reader completely. White borders can interrupt the view of your photography.
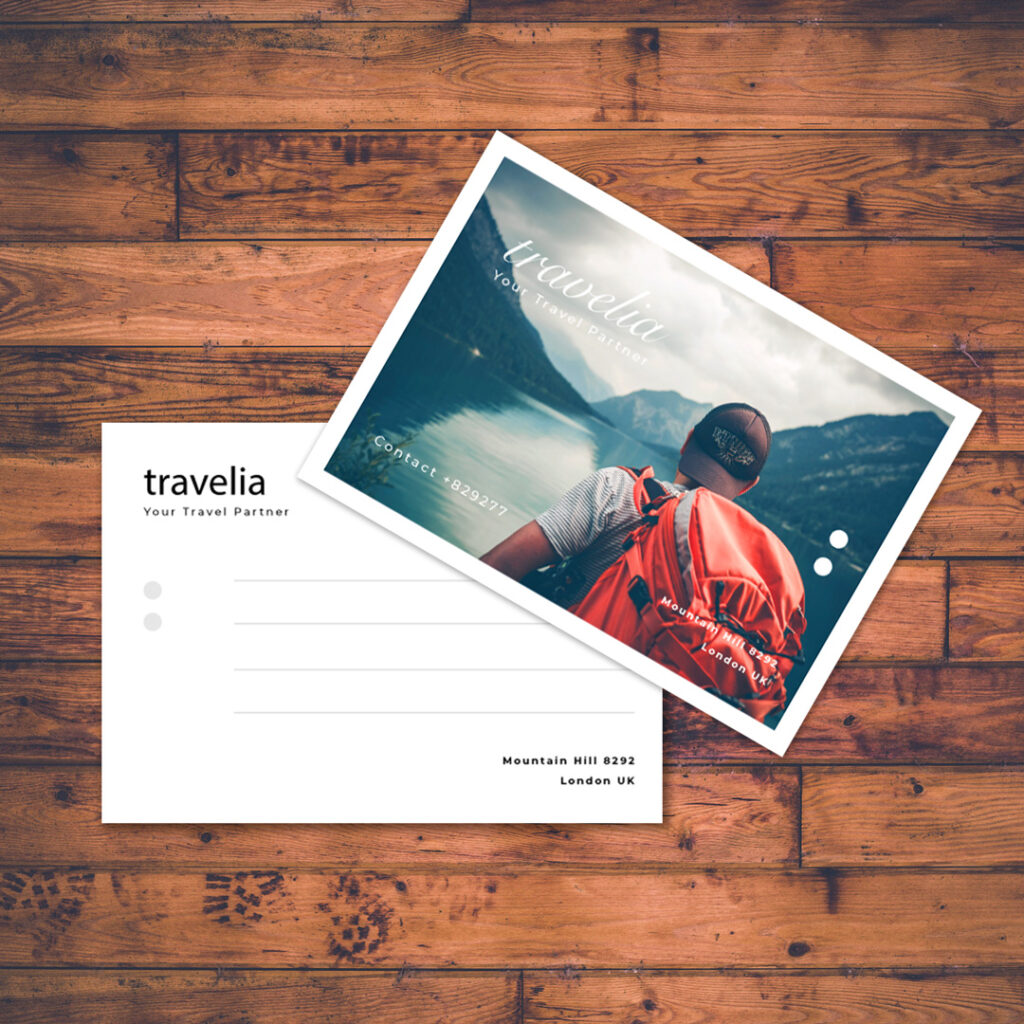
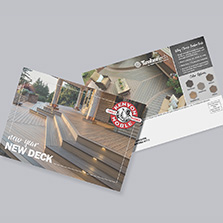
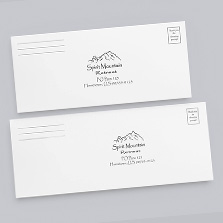
No-bleed designs show up just as much as designs with bleed. When you think of a classic postcard, there’s typically a white border around the photo, which is no bleed, to give off a more vintage, framed look.
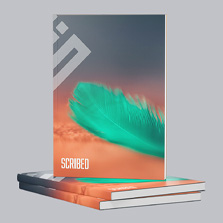
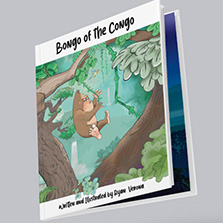
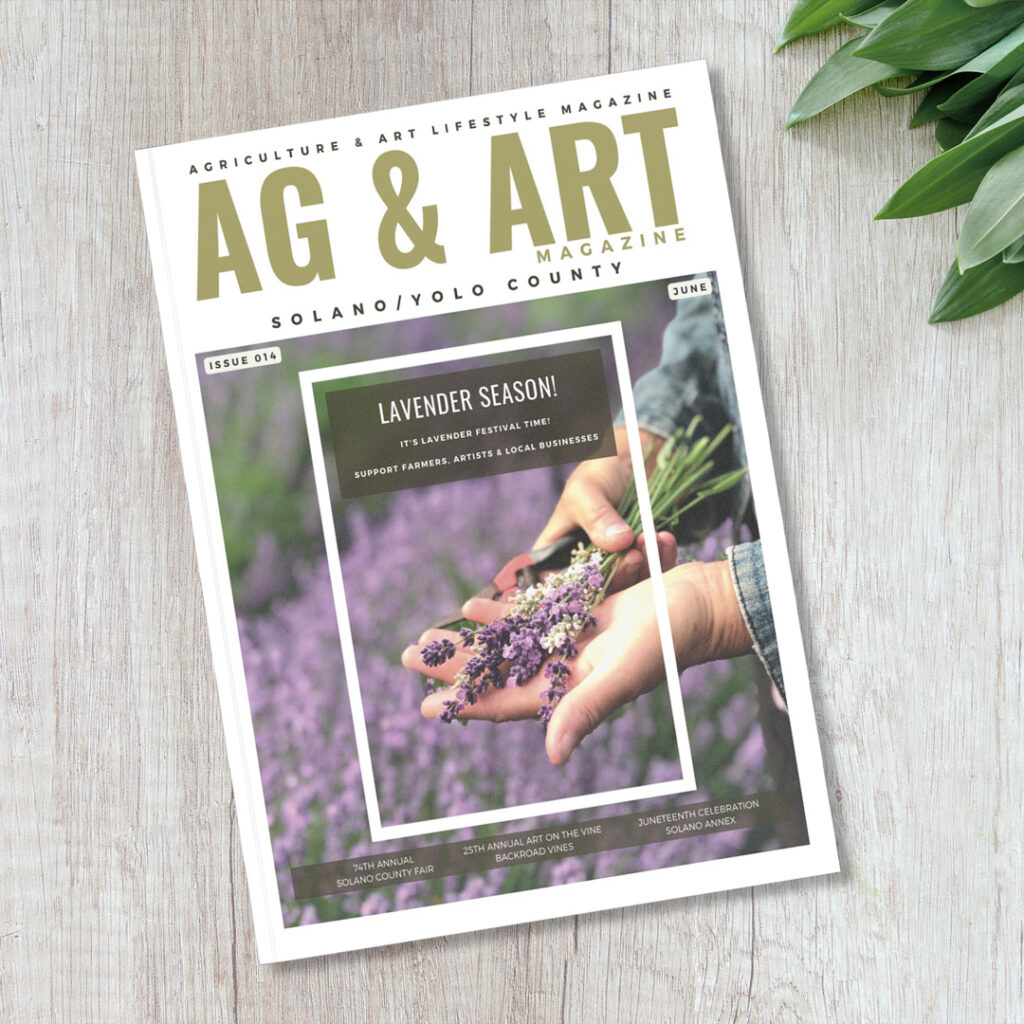
A lot of book covers often use no bleed to keep the title and front cover image as the focal point instead of letting them run edge-to-edge.
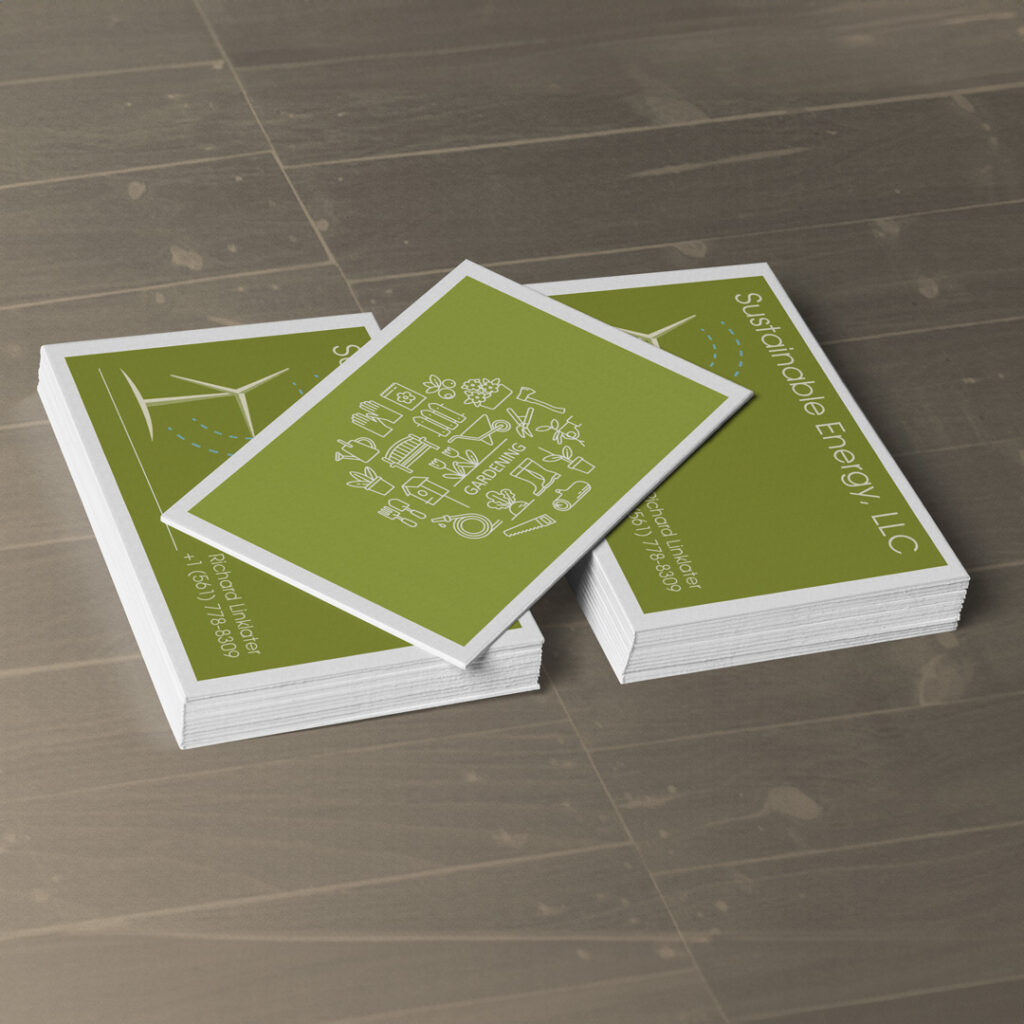
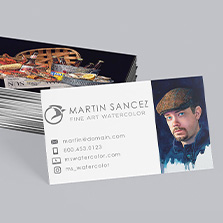
A traditional business card has no bleed, so the white border around the logo and contact info keeps everything looking clean and centered.
How Do You Set Up a File for Full Bleed Printing?
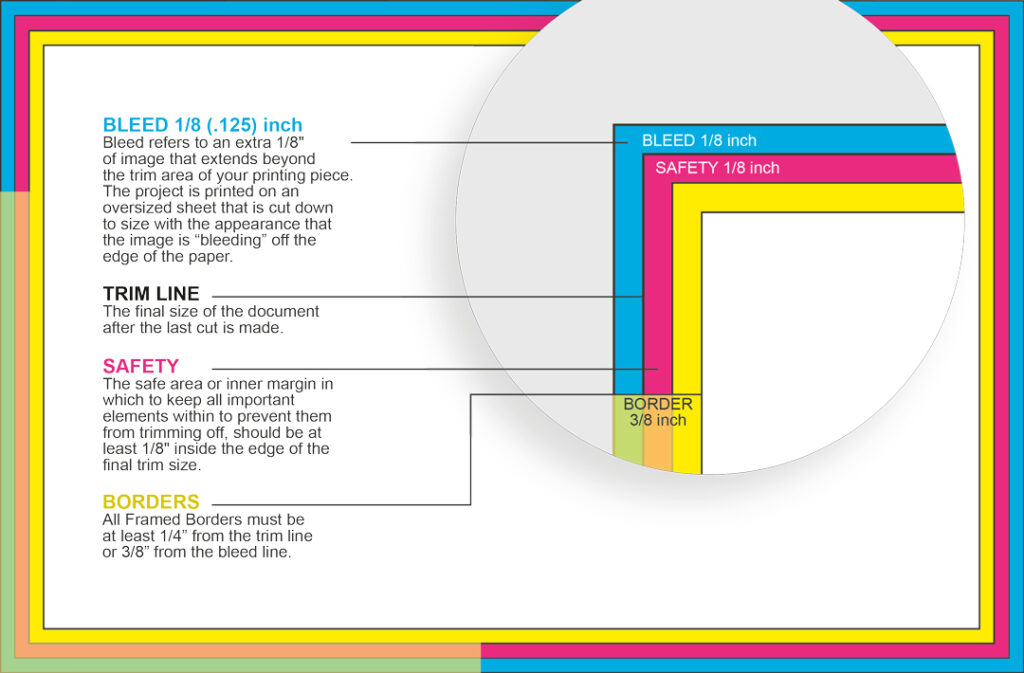
Set up your file 0.125 in (1/8 in) larger than your final size on every side, so your design extends into that space. This will result in your file being an extra 0.25 in. Here’s how that breaks down for an 8.5 x 11 file document size:
- Your final trim size in this example: 8.5 x 11.
- Bleed area: extend your design 0.125 in past that size on every side. You’re actually designing at 8.75 in by 11.25 in. This is what will get trimmed away.
- Trim line: sits at your actual final size, 8.5 x 11. This is where the cut happens.
- Safety line: this is a safe area so your important content does not get trimmed off. Keep all logos, text, and anything important at least 0.125 in inside the trim line. For this example, that’s an 8.25 x 10.75 safe zone.
How Do You Set Up Bleed in InDesign?
InDesign is best suited for print. You can set up both bleed margins in the document setup box when creating a new document. Simply bring your bleeds and margins up to 0.125 in for top, bottom, inside, and outside. Your document will have visible lines for you upon creation.
How Do You Set Up Bleed In Illustrator?
In the initial document setup window set your bleed to 0.125 in. for top, bottom, inside, and outside. You cannot set up margins in Illustrator so you’ll have to use guides once your document is open.
How Do You Set Up Bleed In Photoshop?
You will have to add 0.125 in. to each side of your final document size instead, which brings the total added to each dimension up to 0.25 in. For example an 8.5 x 11 document becomes 8.75 x 11.25 in Photoshop. The edge of your page is where you’ll need to extend your images and graphics to. You can use the rules to create guides for your trim and safety margins.
How Do You Set Up Bleed In Publisher?
Add 0.125 in. to each side in the page setup window to bring your document size up to 0.25 in.
How Do You Set Up Bleed in Word?
Set your page size to your document size with bleed. For example, for an 8.5 x 11 document, you’ll set your document size to 8.75 x 11.25.
Want to see your PDF file on screen with real time bleed and trim guides? Head over to PrintingCenterUSA and Get fast, easy and reliable printing with a free file review!
What Does Full Bleed vs No Bleed Mean in Printing?
Full bleed vs no bleed in printing comes down to whether your design touches the edge of the page or stops before it. Full bleed printing stretches the design all the way to the edge, leaving no border. No bleed printing keeps a margin or white border around the design instead.
Both exist because of the same thing: the fact that the paper gets cut after it’s printed and that cutting is never perfectly precise. Full bleed uses that extra space on purpose so your design still reaches the edge even if the cut shifts. No bleed works the opposite way, keeping everything safely inside the margins so nothing close to the edge gets touched by the cut at all.
What is No Bleed Printing?
No-bleed printing means your design has a white border margin built into it instead of your design going all the way to the edge of the page. It is a design choice, not a different file setup. PrintingCenterUSA prints everything with full bleeds, so your file still needs that standard 0.125 bleed area on all sides, no matter what. If you want a no-bleed look, you simply design your white border inside that file instead of extending your background or image out to that bleed line.
Why Use No Bleed?
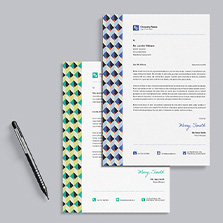
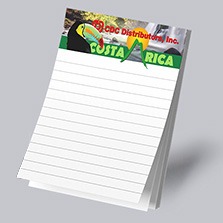
No-bleed printing can give your design a structured look if it’s intentional and it works well for anything meant to be read and used versus just looked at. The white border keeps your text and logos contained, making the framing easier since nothing gets cropped. It’s more minimal than your design going edge to edge. It fits. It works for prints like workbooks, letterheads, or anything that gets put into a binder or hole-punched, because that margin makes it so nothing important gets covered or cut.
What Are The Most Common Bleed Mistakes?
1. Forgetting bleed entirely and designing your file at the exact final size without the extra margin. That leaves nothing for the printer to trim into, so any shift in cutting will show a white edge.
2. Your background doesn’t actually stretch to the bleed line. You can have your bleed in your document, but sometimes your placed image or color doesn’t reach all the way to the bleed line.
3. Your important content is placed too close to the edge and can get cut off. Anything outside the safety area, is at risk of getting cut off. It’s important to keep your content inside the 0.125 buffer, not right up against it.
FAQ
Should I choose bleed or no bleed? It depends on your piece. Full bleed suits anything meant to grab attention, like photo-heavy pieces and posters. No bleed suits formal, text-heavy, minimal designs where a clean white margin fits the look.
What does 3 mm bleed mean? 3 mm is the metric equivalent of the standard 0.25 in (1/8 in) bleed on all sides that most U.S. printers use. It’s how far your background needs to extend past the trim line on each side for printing
Can you print full bleed at home? You cannot print full bleed at home. Home printers can’t print all the way to the physical edge of a sheet, since something has to grip the paper to feed it through. True full bleed means printing on a larger sheet and trimming down, which is why it goes through a commercial printer
Does full bleed cost more to print? It can at some printers, since full bleed uses a larger sheet of paper and an extra trimming step. PrintingCenterUSA builds bleed into every file as standard, so there’s no separate no-bleed pricing to compare here.
What is a full-bleed image? A full-bleed image is any photographic design that runs all the way to the edge of a printed page with no border. Same concept as full-bleed printing, just describing the image itself versus the final print.
Does every print job need bleed? No. If your design already has a white border or it’s a text-heavy piece like a manual workbook, you probably don’t need full bleed. It only matters when your design is meant to go to the edge of the page. PrintingCenterUSA does require bleed in every file.
In Conclusion
Full bleed and no bleed both have their place in designing. It comes down to what your work needs, whether it’s a clean, structured look or an edge-to-edge, attention-grabbing look. Once you know which fits, setting up your file correctly is the easy part.
Do you have a print-ready file ready to go? Here at PrintingCenterUSA we have been helping small businesses, graphic designers, marketing managers and more print professional booklets for over 50 years!
Whether you need a saddle-stitched event program or wire-o presentation, our team of expert print experts are here to help you get it right! Get started today with a free instant quote or request a free sample packet to see and feel our print quality in person. Feel free to reach out to our team directly at 800-995-1555