Color Quality: Illustrator
To ensure your price quote and design accuracy, it is crucial that the color you order matches the color of your PDF. Follow the steps below to check the color of your document in Illustrator.
Checklist
- Download & Install Color Profile
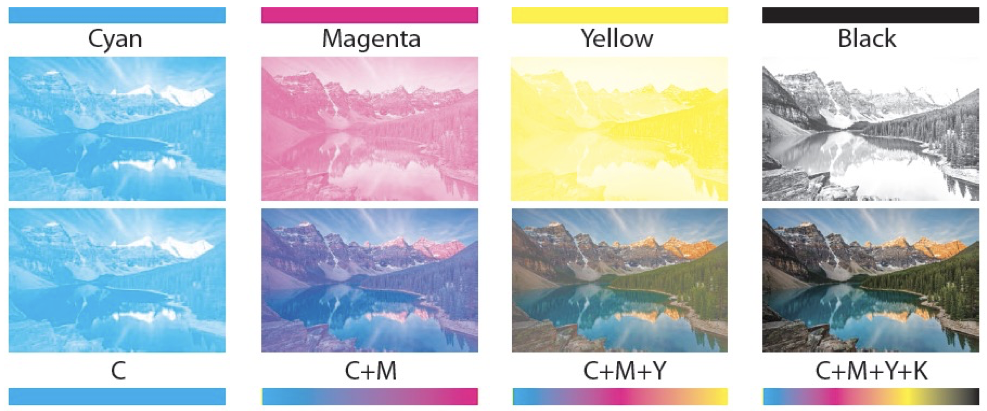
- Check that your Images are in CMYK
- Check that your Document Color Mode is in CMYK
1. Download & Install PrintingCenterUSA Color Profile
First, Download our color profile here. You will be downloading a .zip folder. Double click the file to unzip the folder.
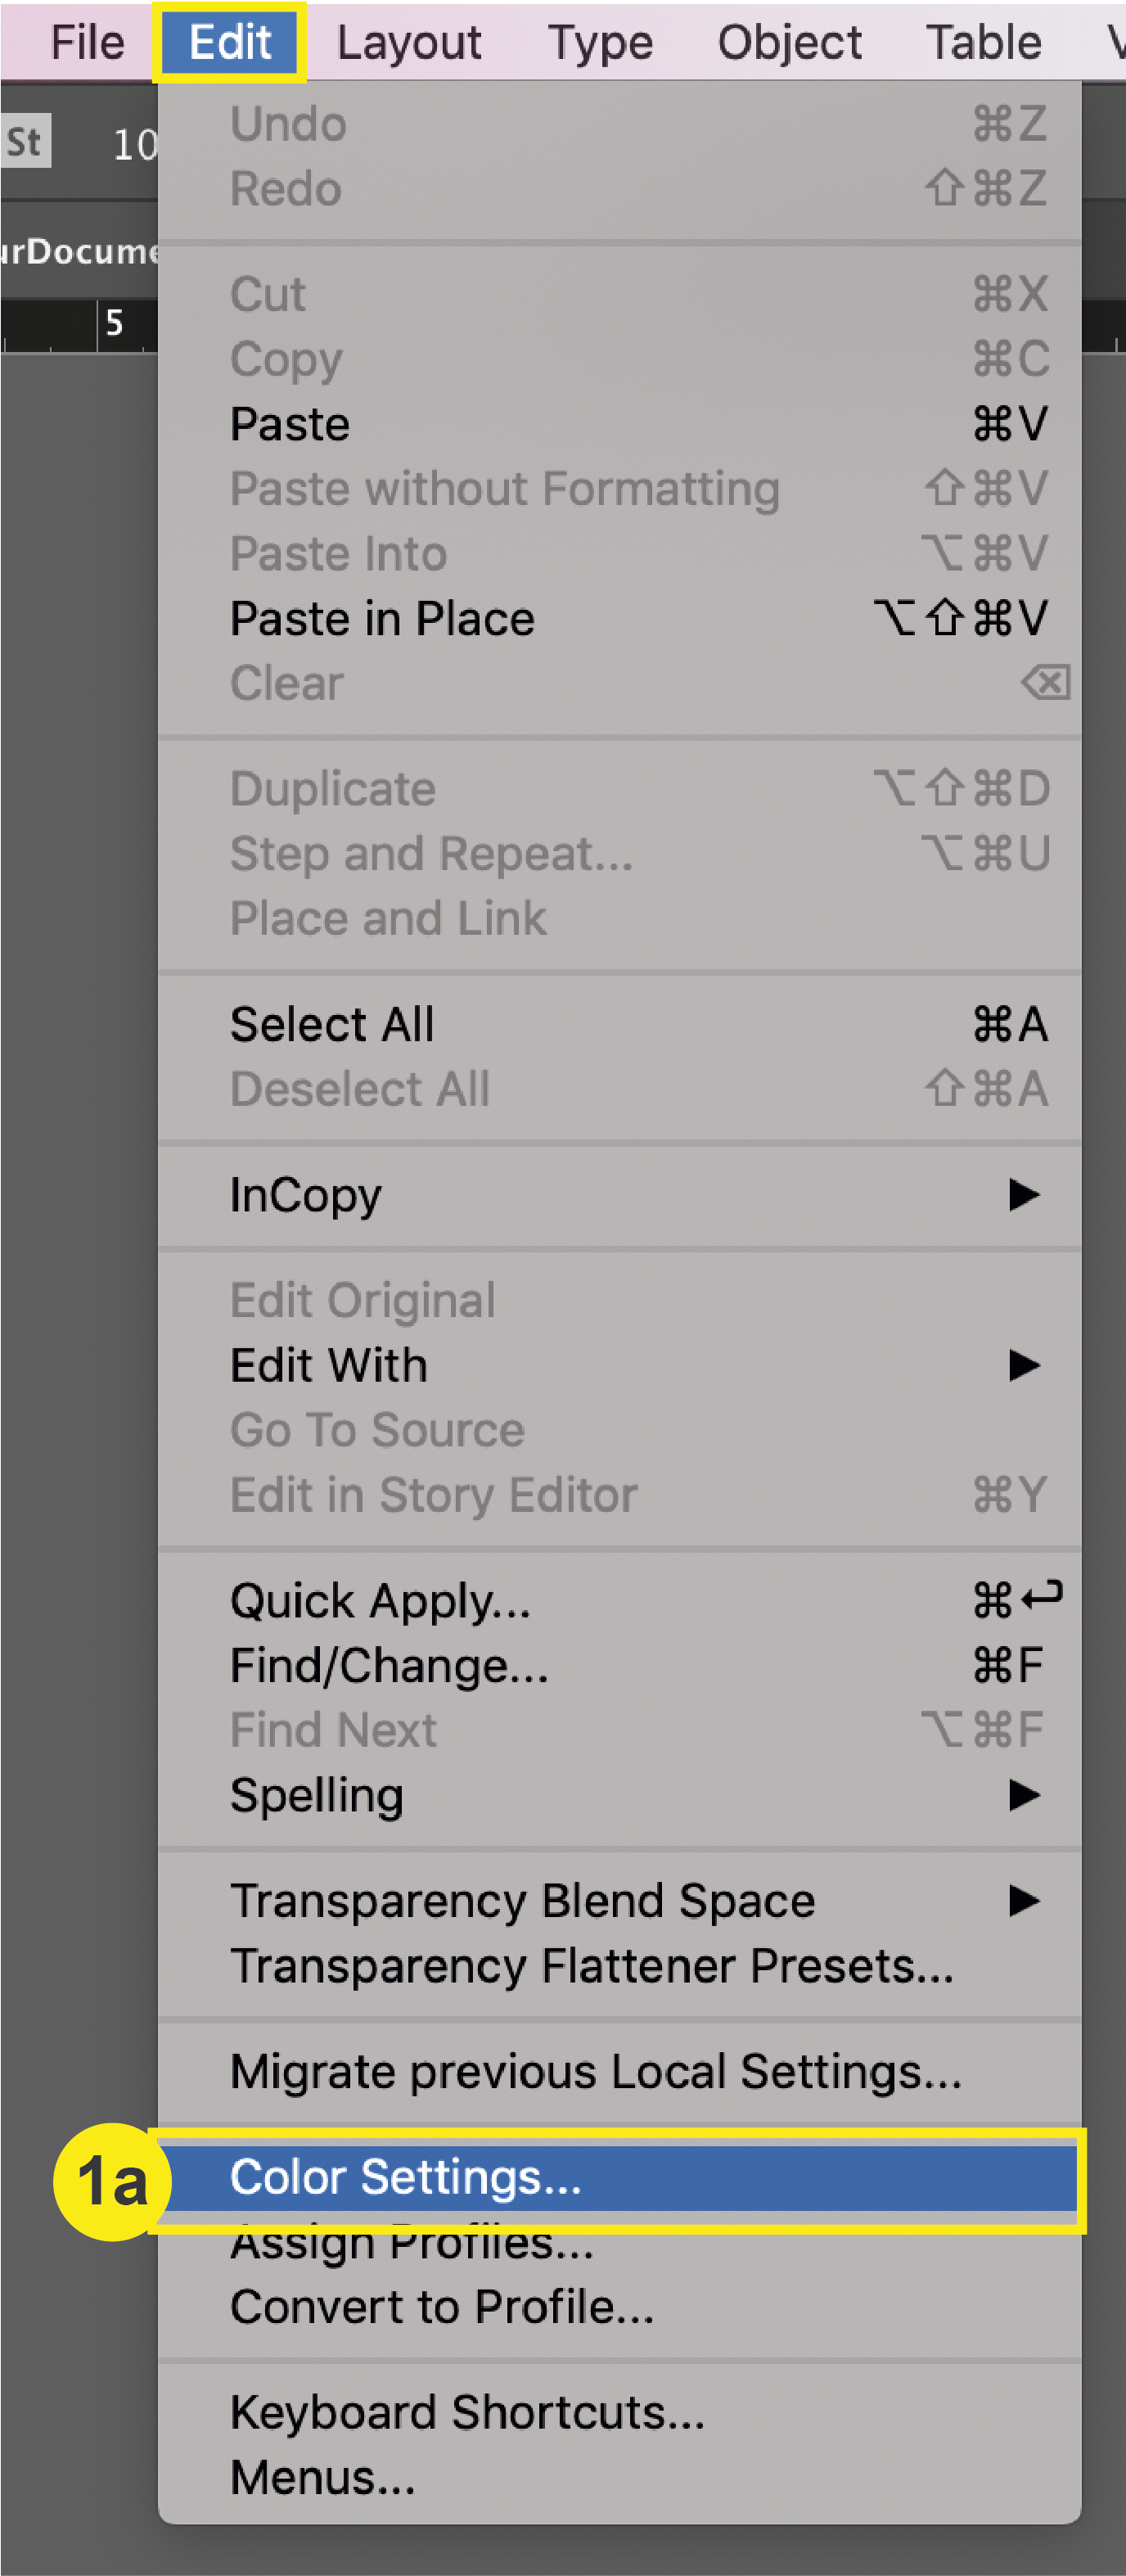
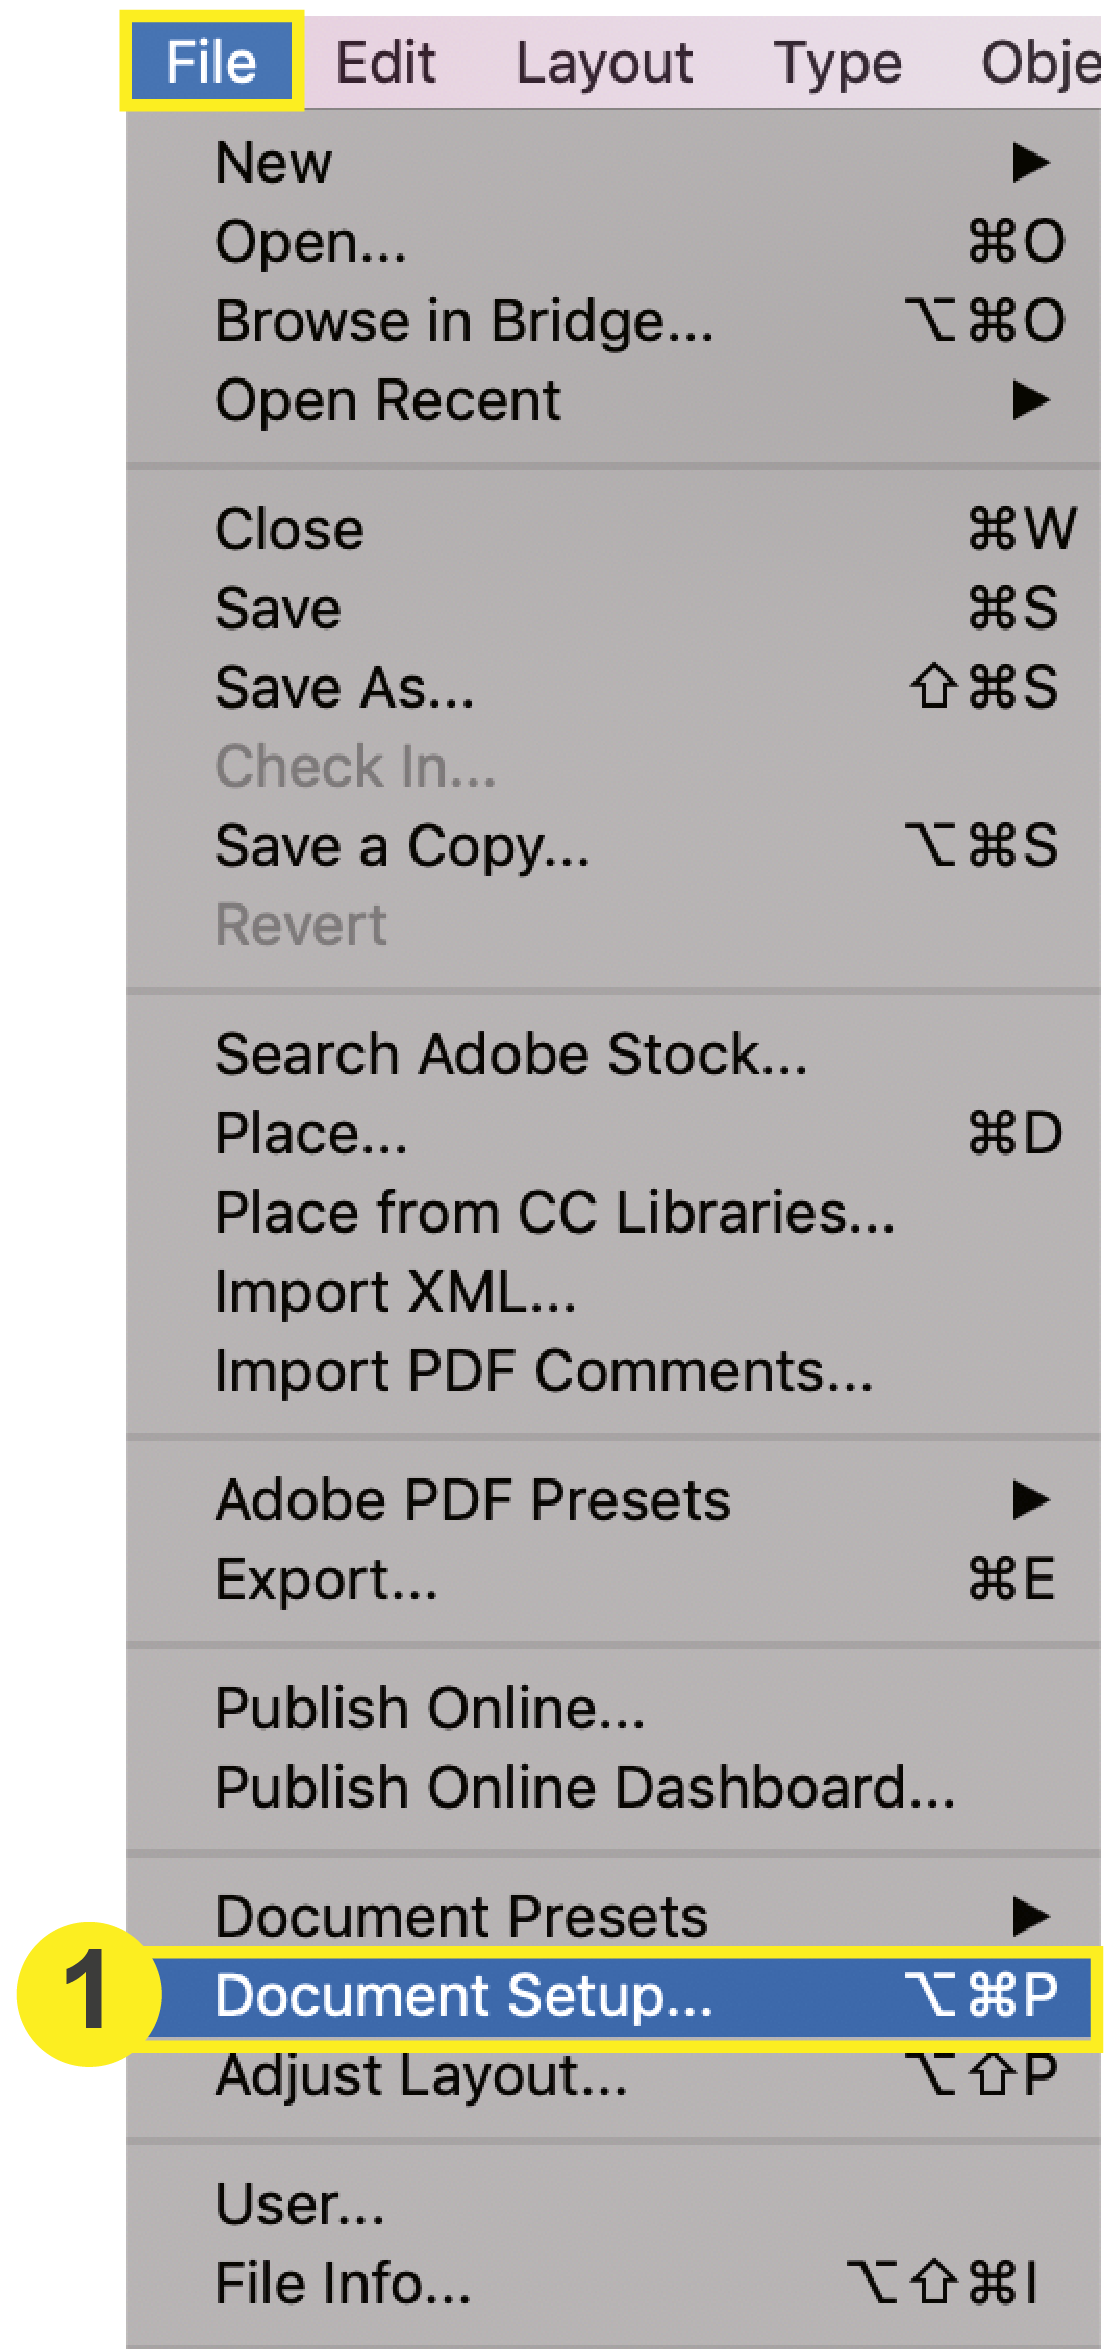
a. In Illustrator, go to Edit > Color Settings
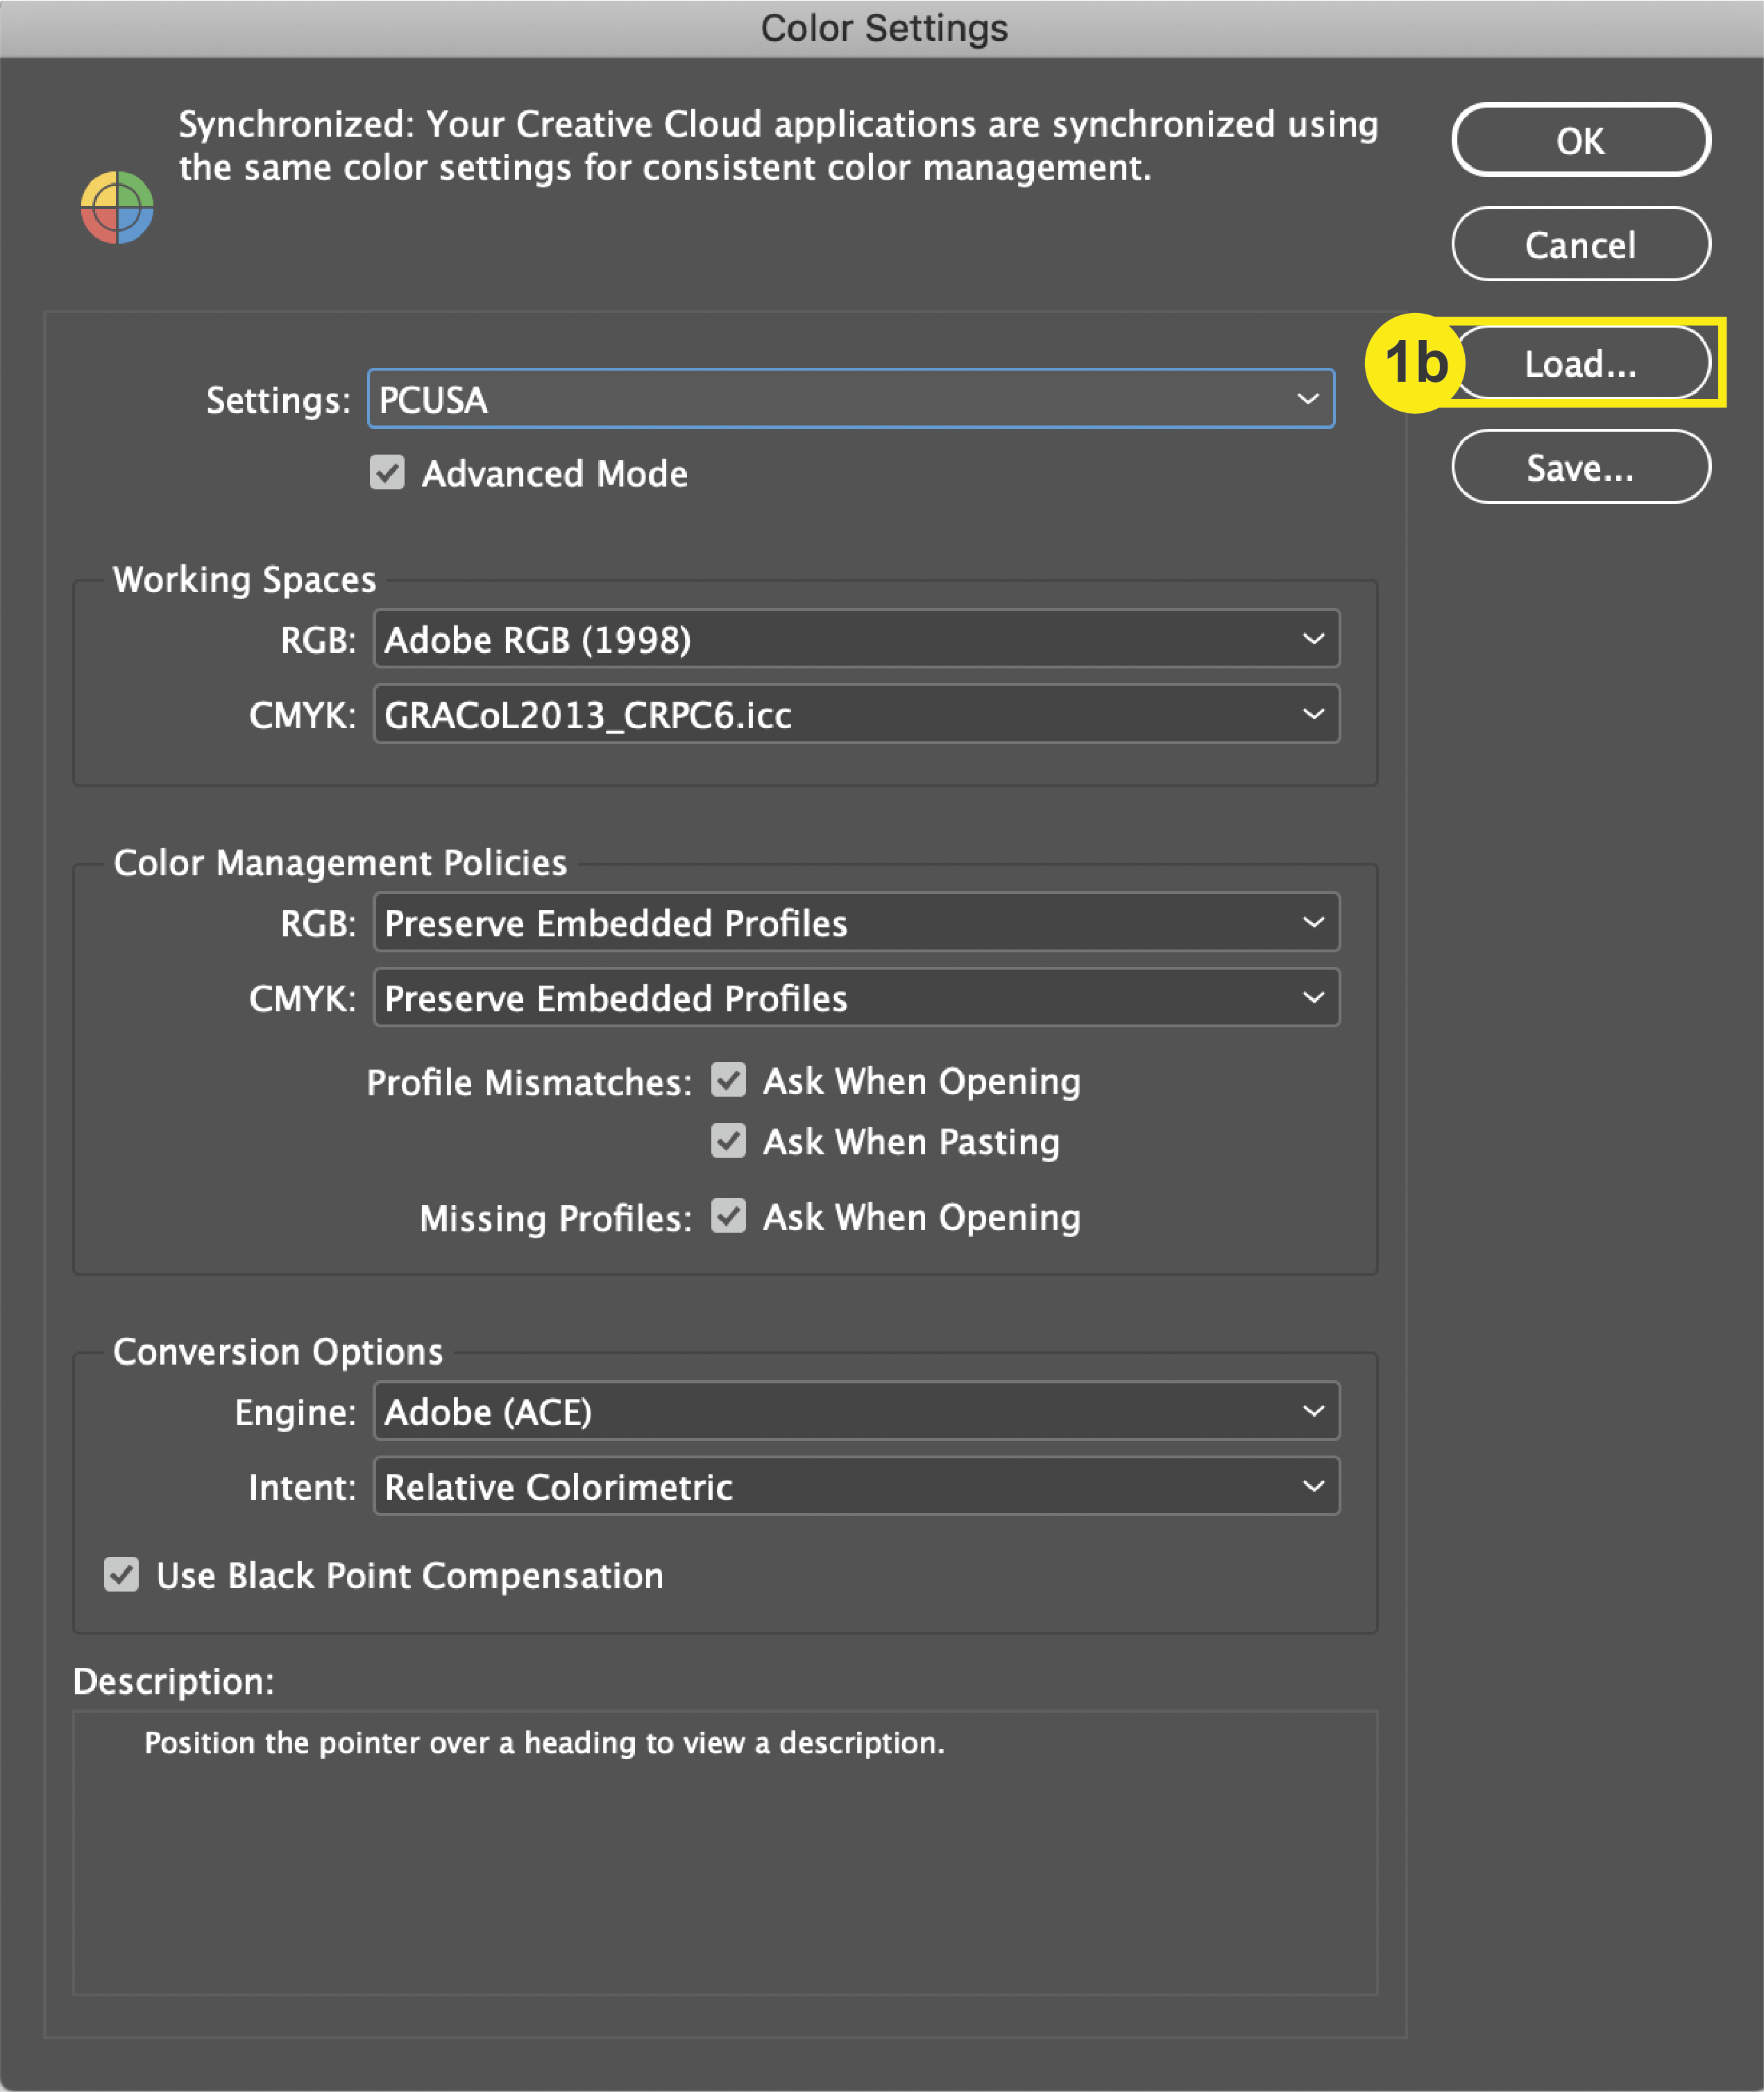
b. In the Color Settings window, select “Load” and choose “PCUSA-load into color settings.csf” Click Save.


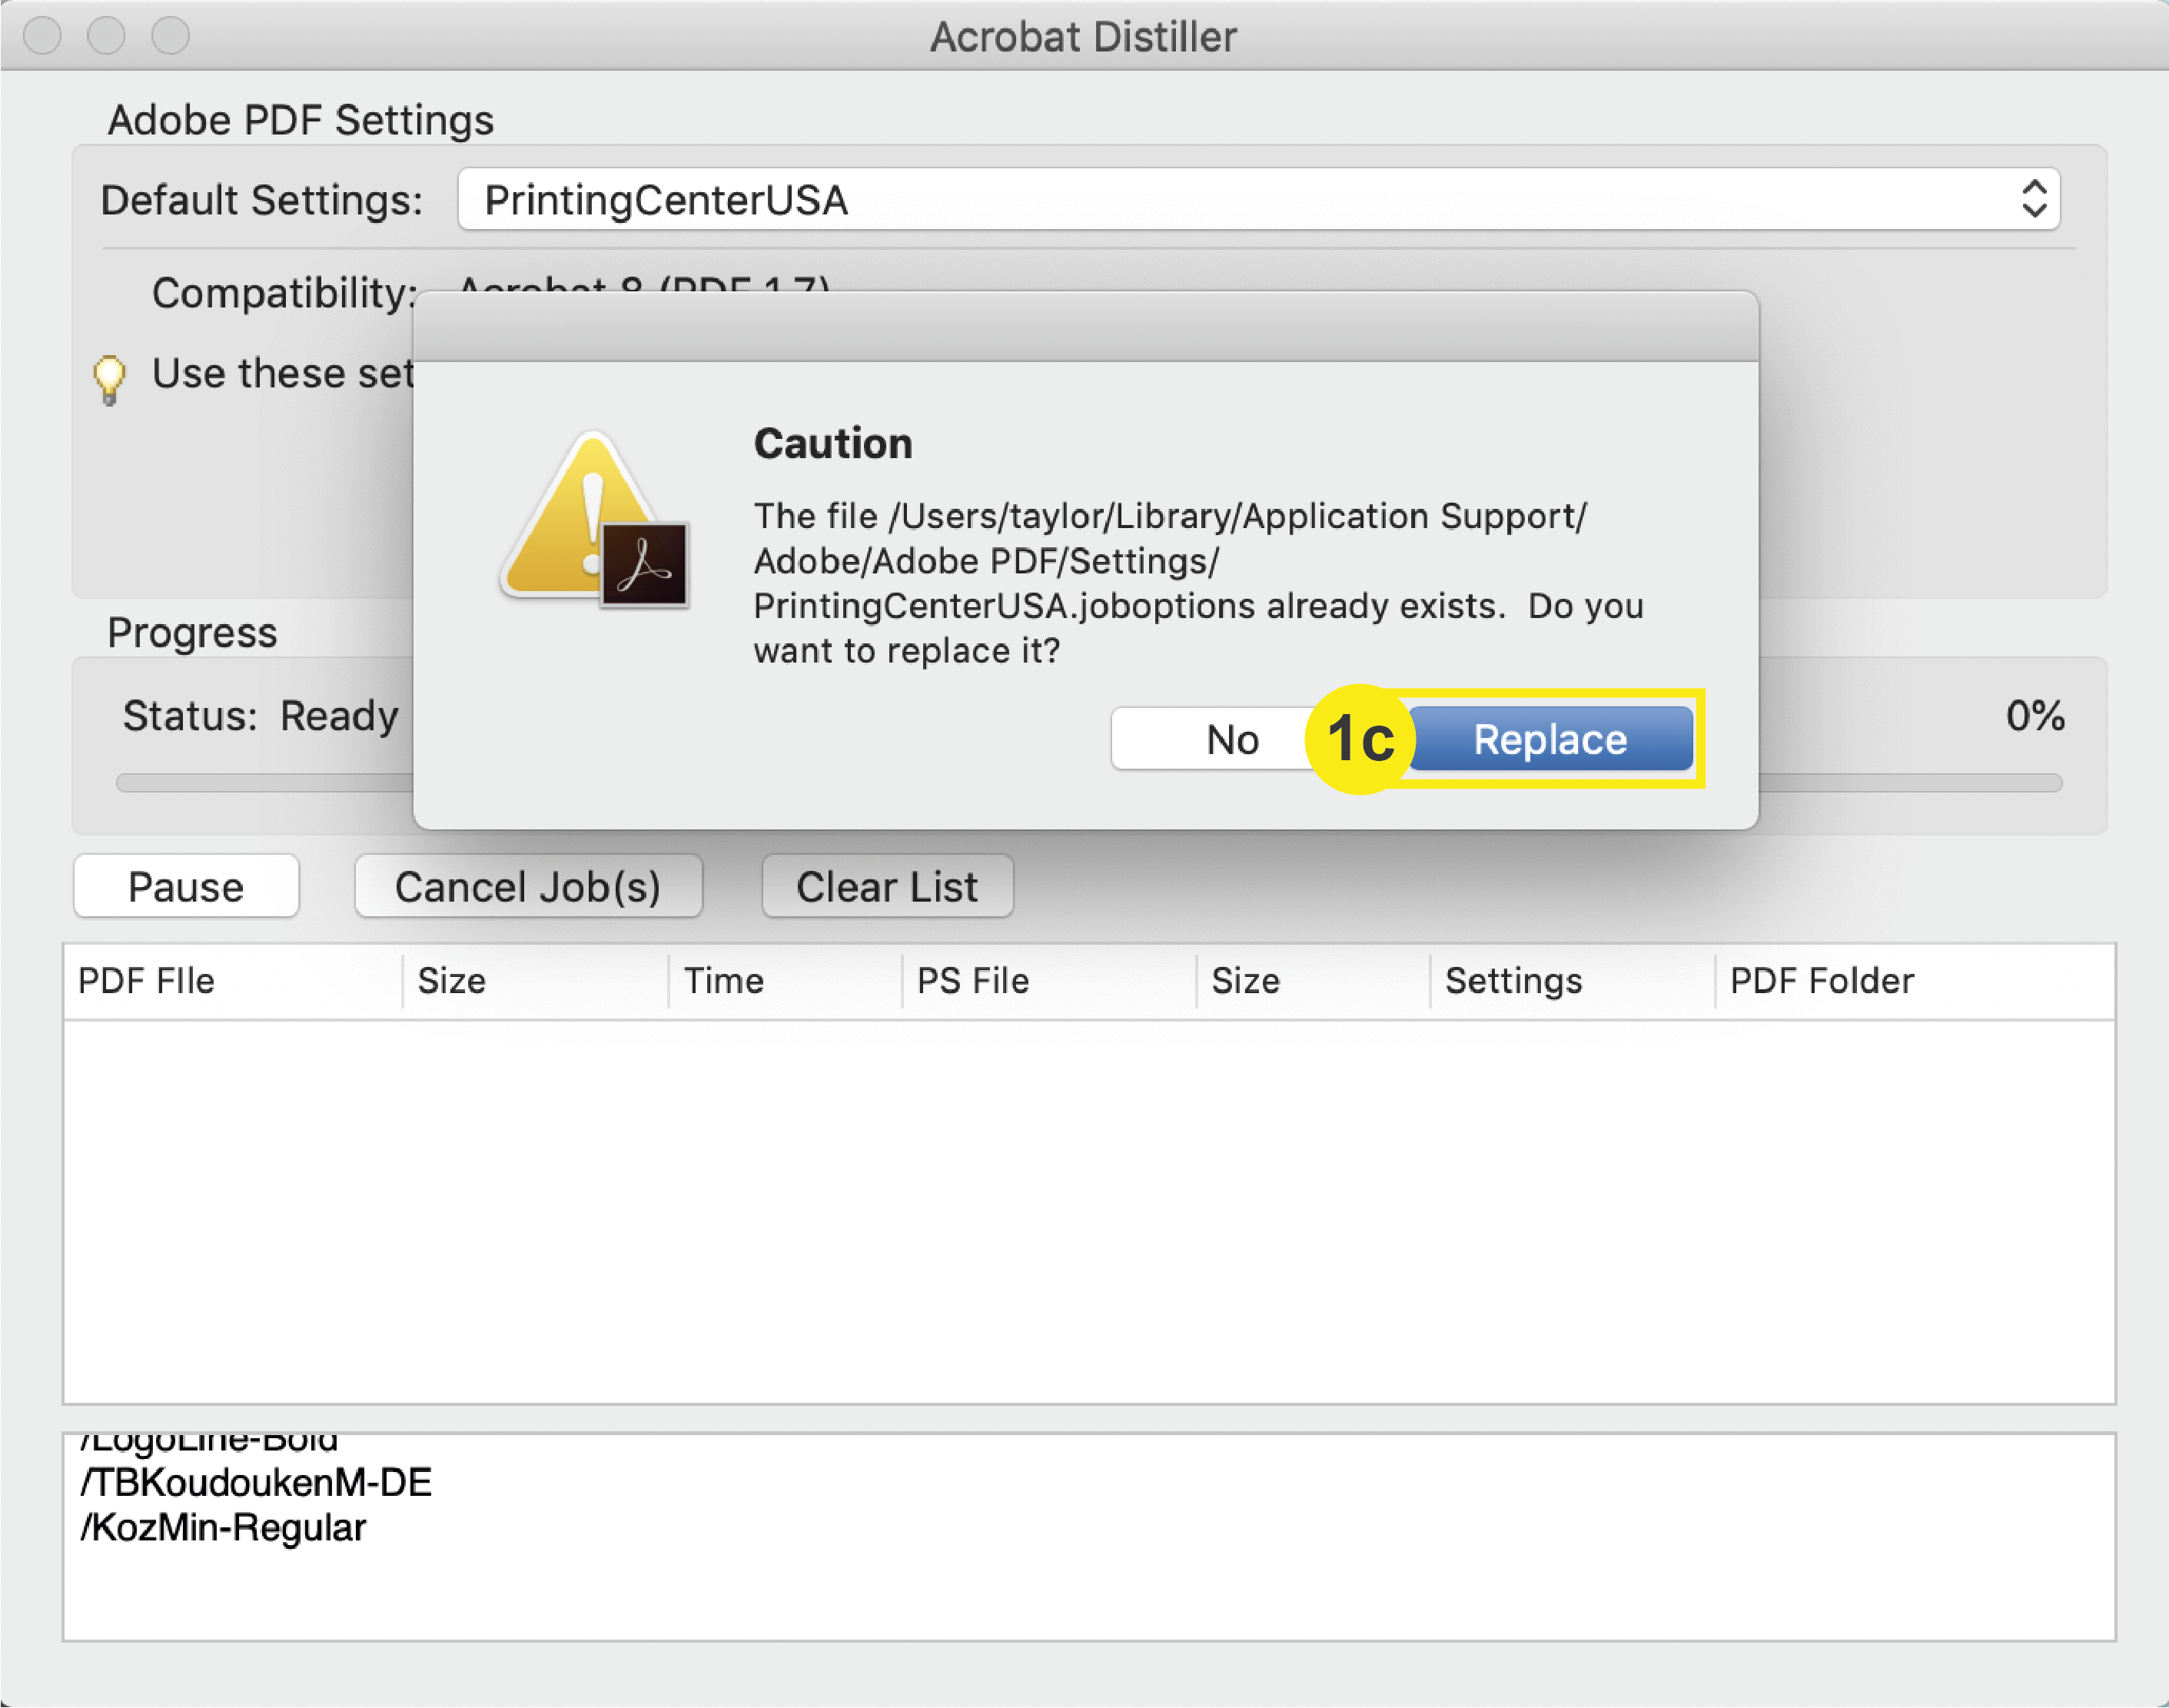
c. In the zip folder, double click PrintingCenterUSA.joboptions. Click “replace” if a caution window comes up. Click exit.
2. Check that your Images are in CMYK
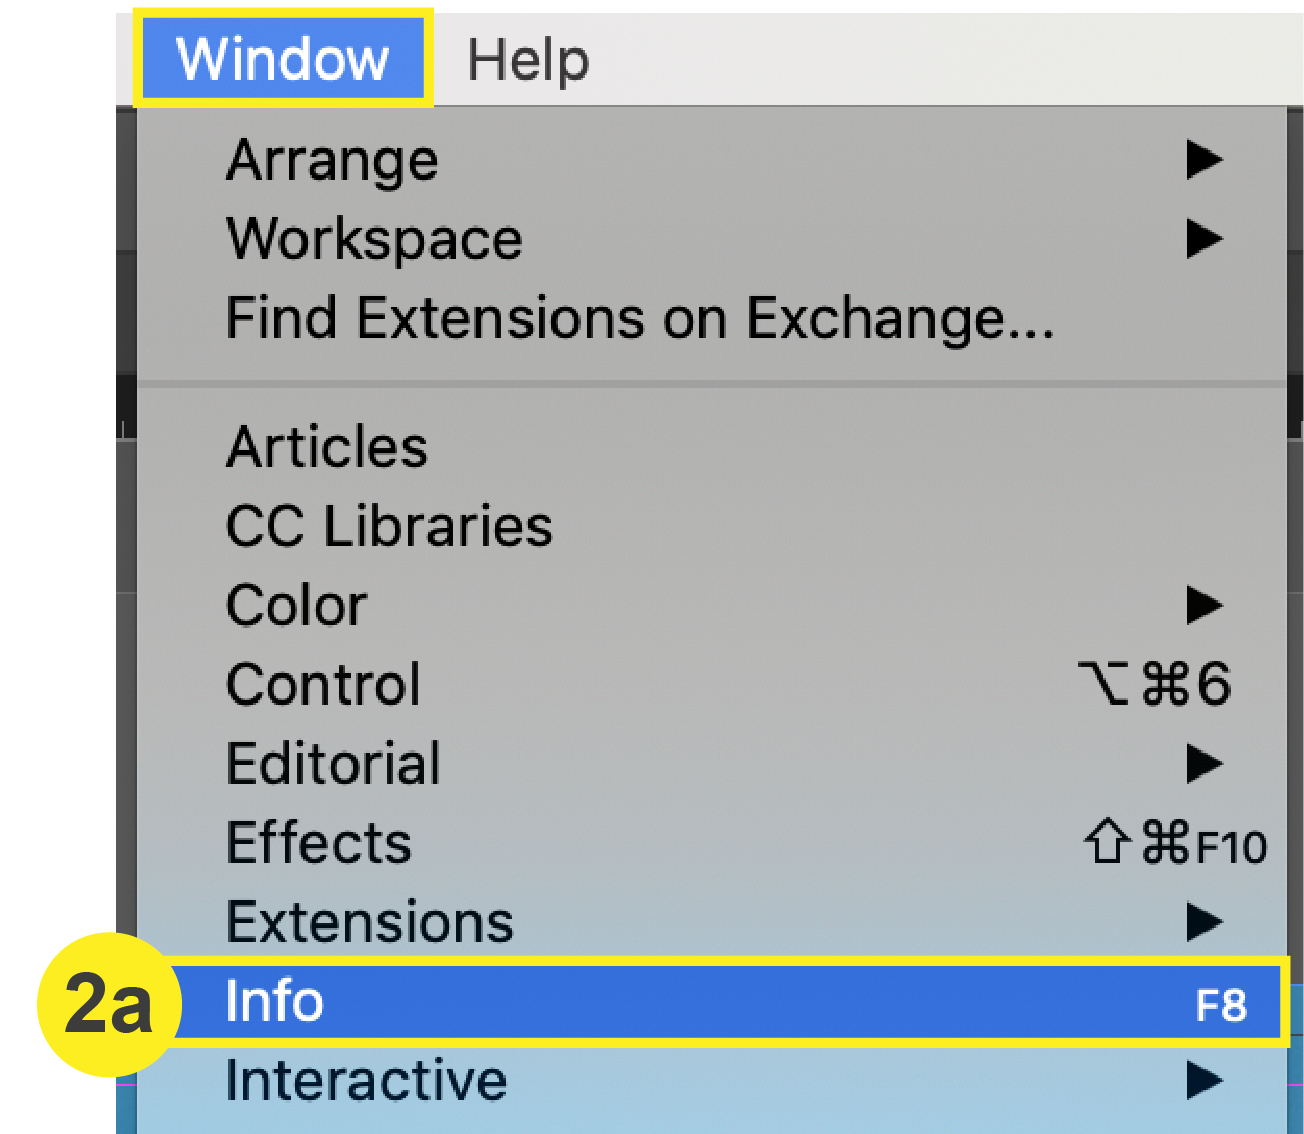
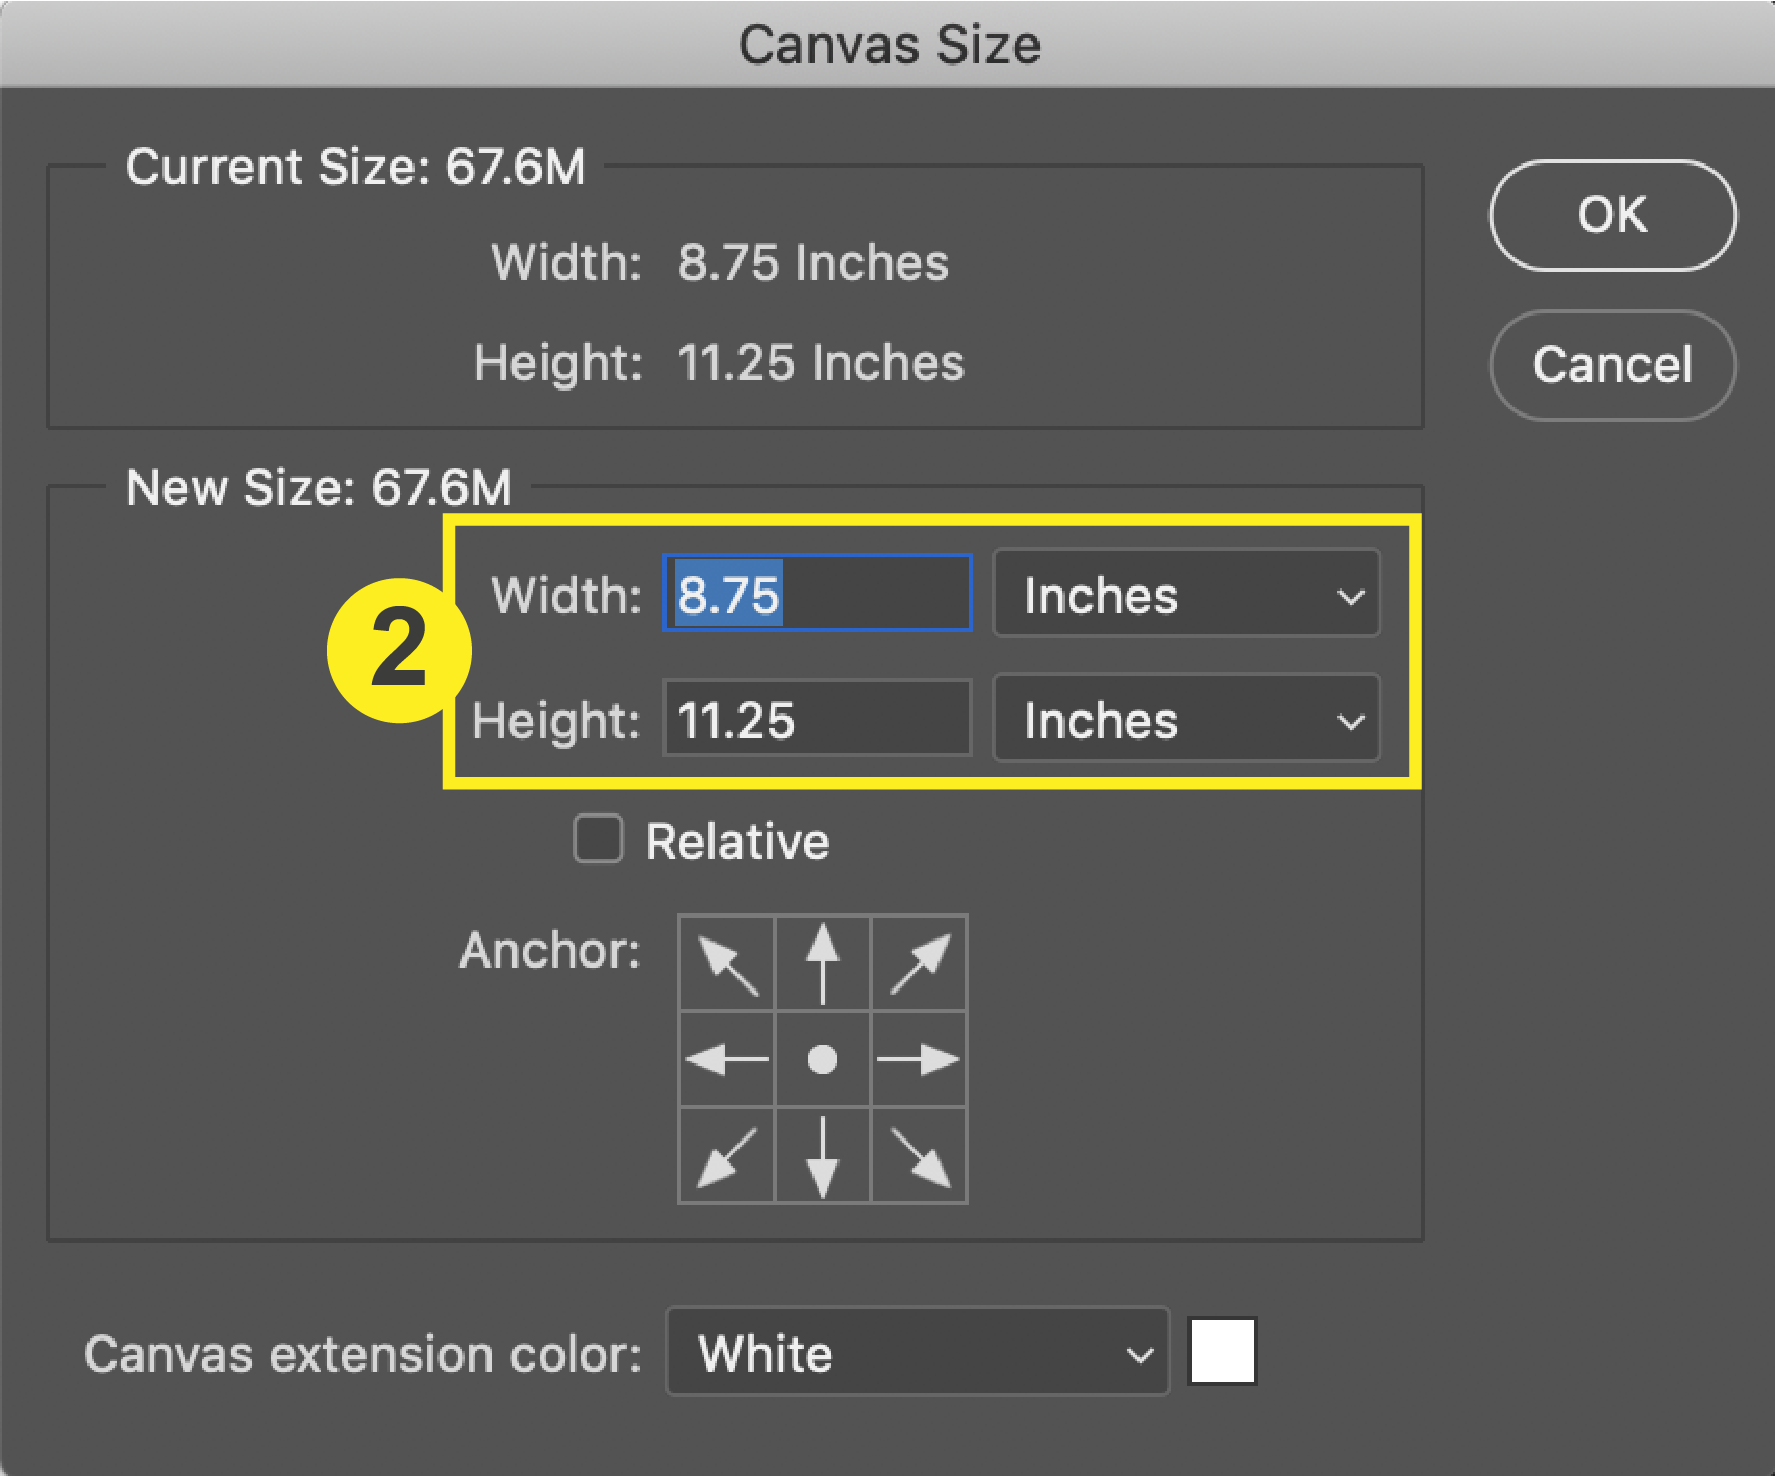
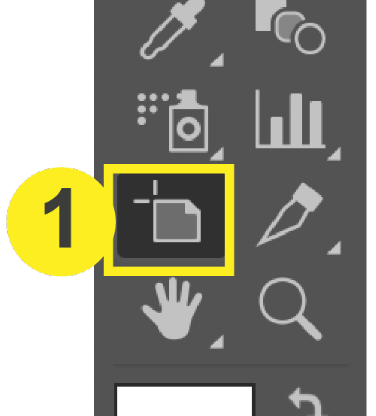
To check your images in your document, simply click on the image you are wanting to check. In the top navigation of Illustrator, your image’s name, dimension, and file size will appear. If your image is not in CMYK, this will need to be changed.

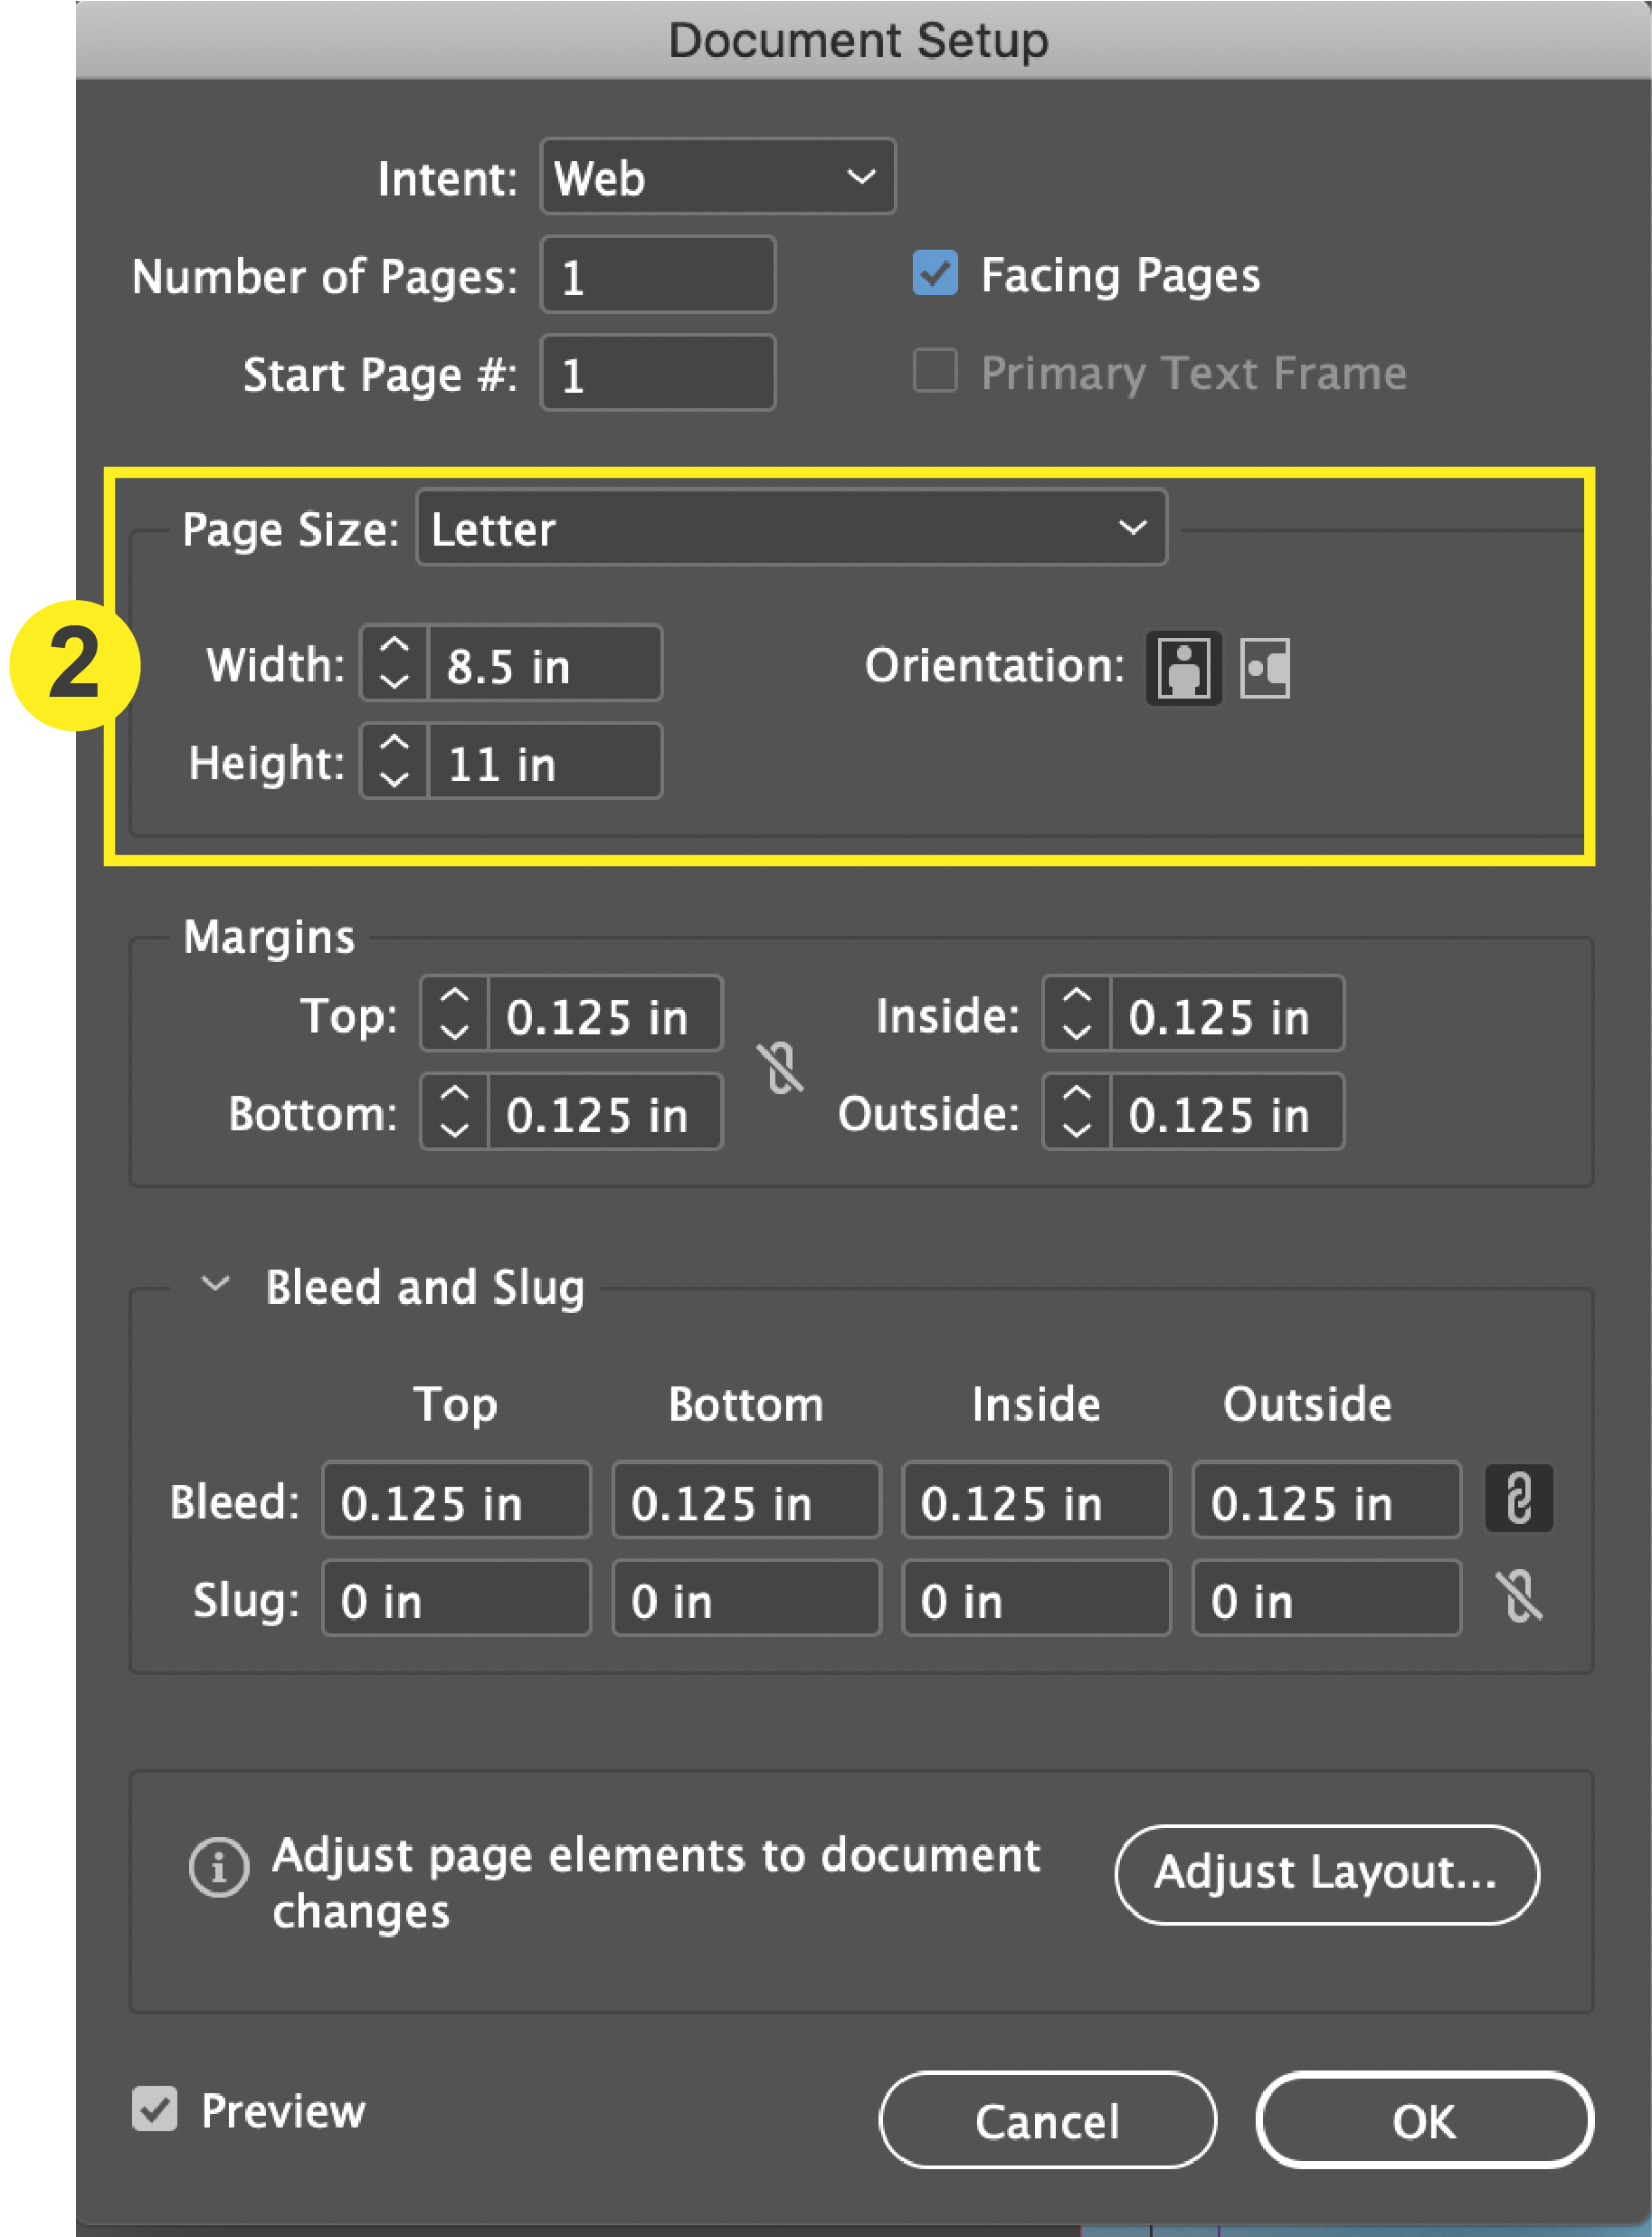
3. Check that your Document Color Mode is in CMYK
If you installed the PCUSA color settings in Step 1, then your documents color mode should already be in CMYK.