Publisher
Bleeds: Publisher
Checklist
- Open Page Setup
- Add Bleeds and Margins (Safety Lines)
- Use Rulers to Create a Trim Guide
- Utilizing the Bleed Line
- Utilizing the Margins (Safety Lines)
1. Open Page Setup
In the top menu, navigate to Page Design > Size > Page Setup.
This will prompt the Page Setup window to open where you will input your document settings.
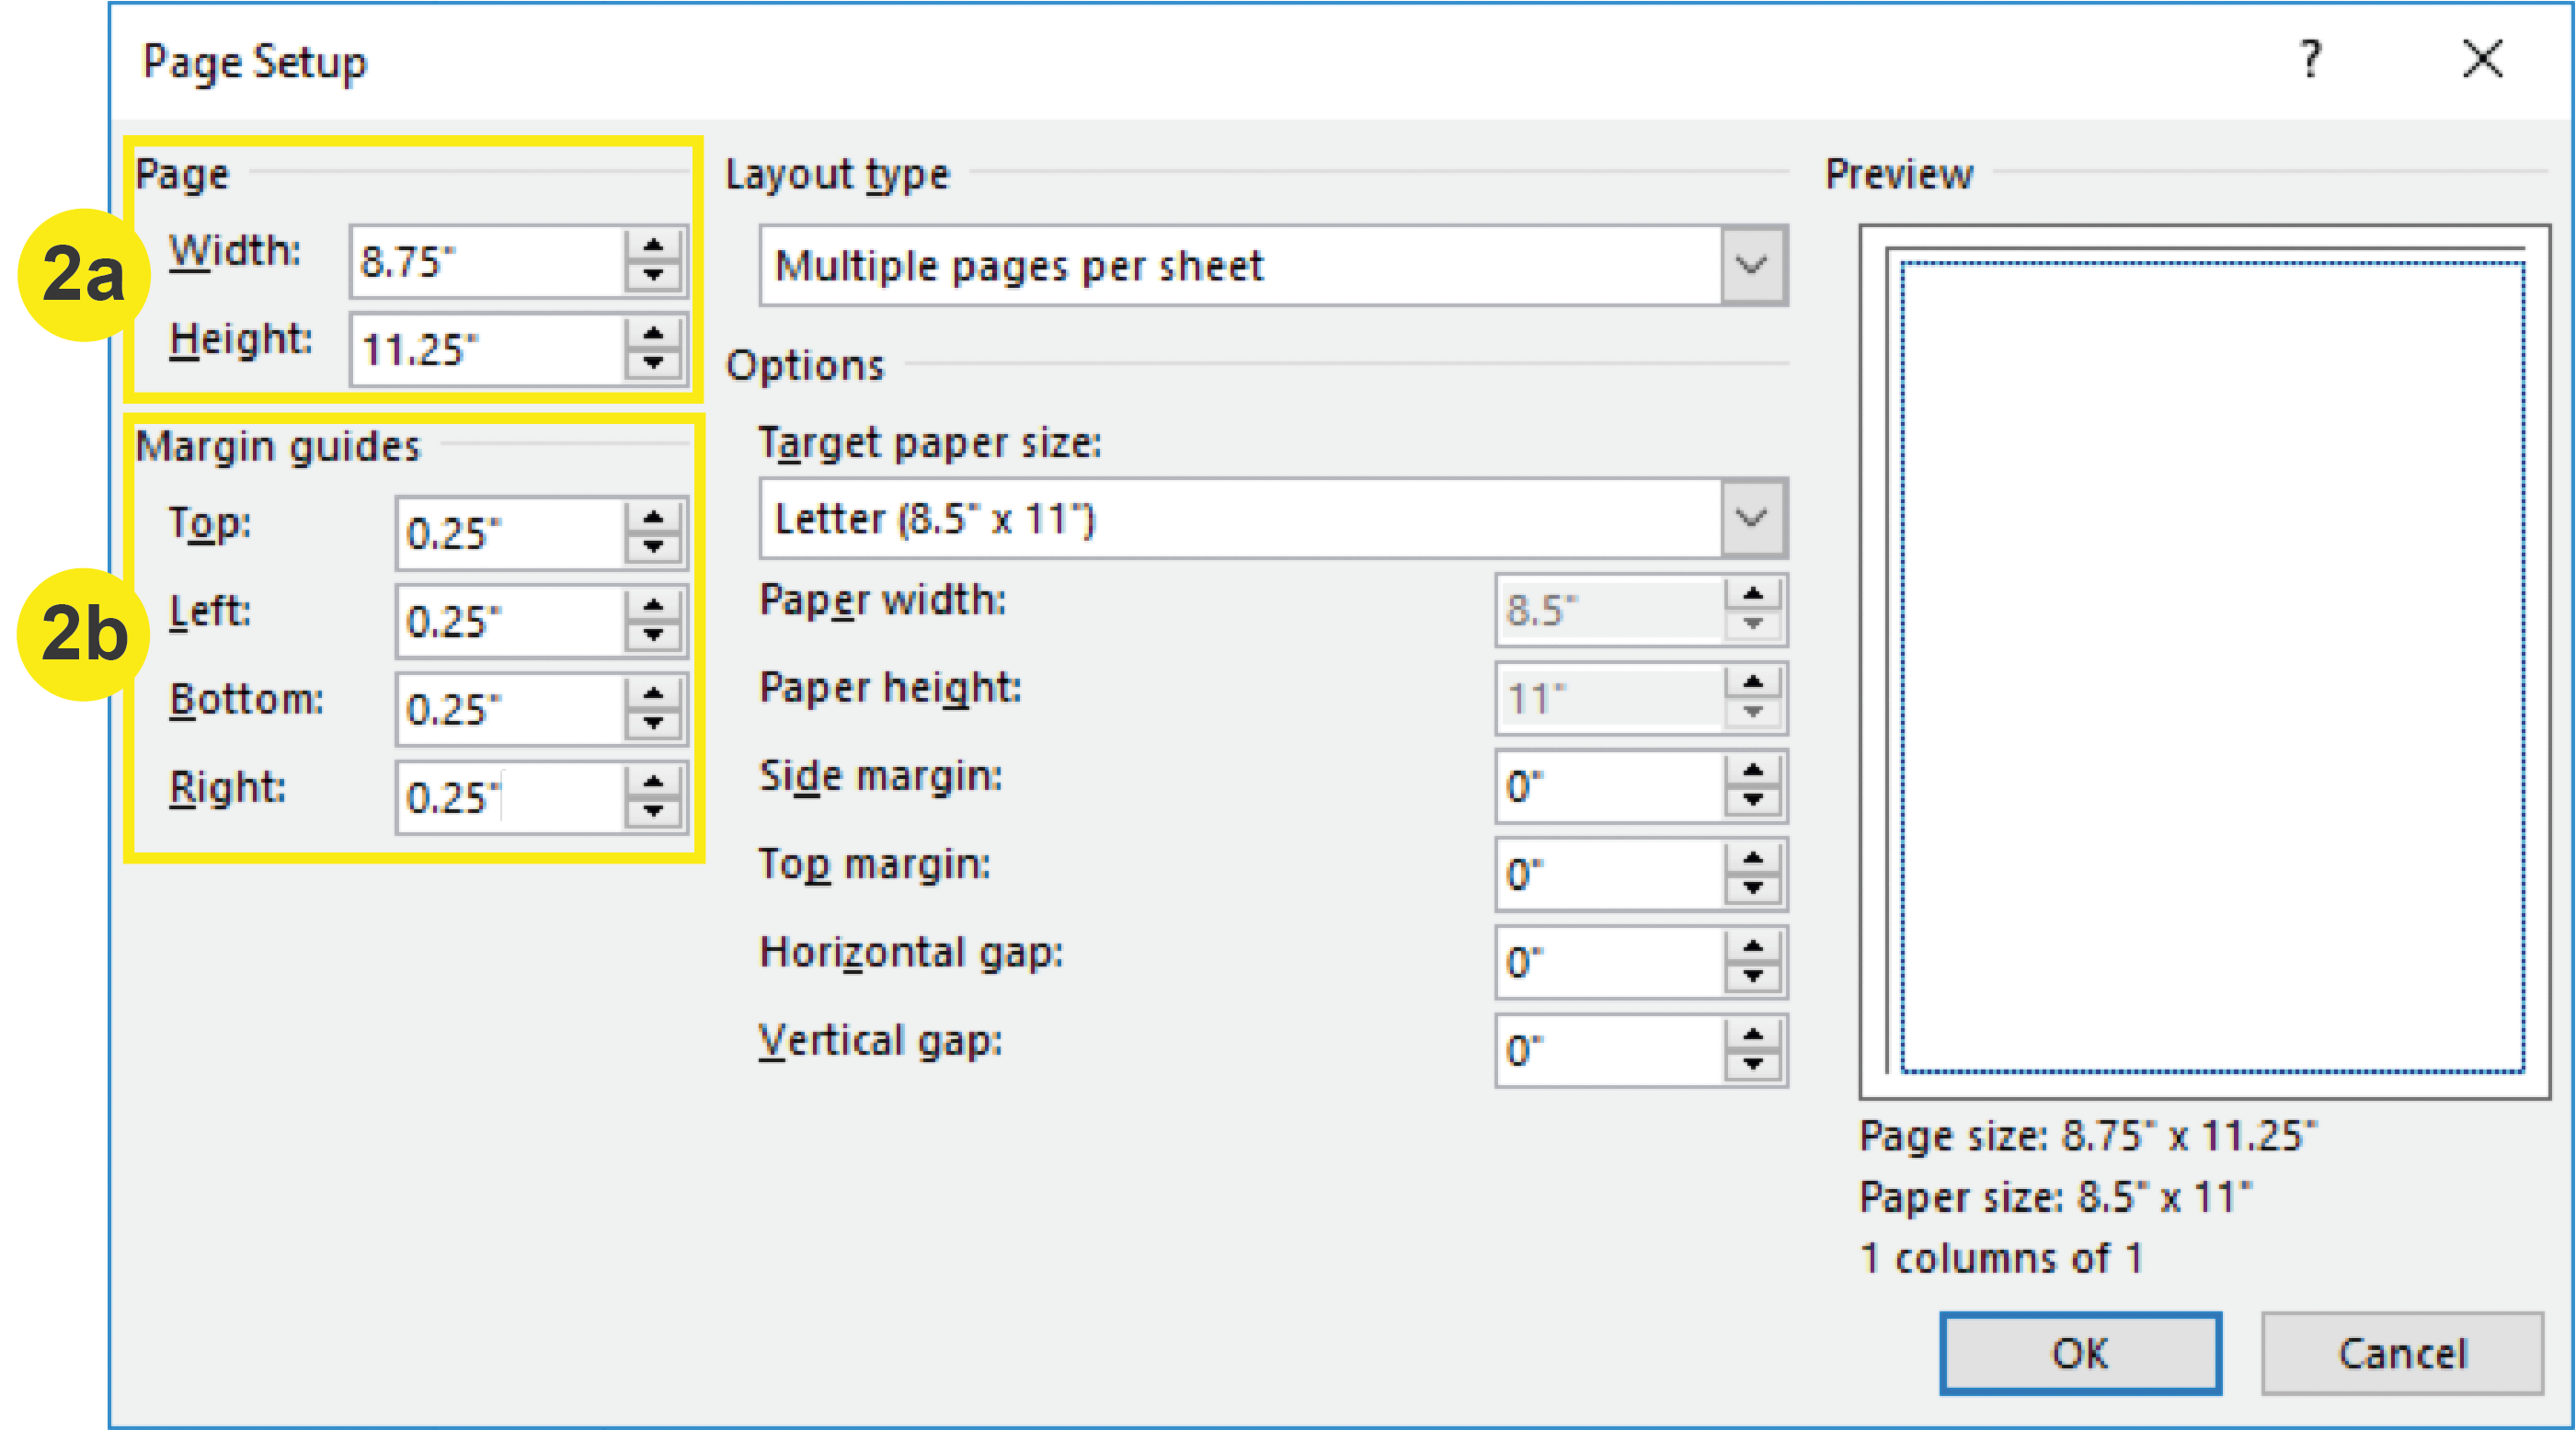
2. Add Bleeds and Margins (Safety Lines)
a. In the “Page” section, input the bleed size of your document. To determine the bleed size, add .25 inches to both the width and height. For Example: An 8.5” x 11” Letterhead plus bleed would be 8.75” x 11.25”
b. In the “Margin guides” section, change the value to .25 inches for each side (top, left, bottom, right). Click OK.
Note: Note that your Target Paper Size (Final Trim Size) remains 8.5” x 11”
3. Use Rulers to Create a Trim Guide
After adding bleed to and margins (safety lines) to your document, you still will not be able to see where your trim line will be. To add a Trim Guide to your document, Click + Drag your mouse from the rulers to create a .125 inch guide within the document. This should fall directly between the edge of the document and the innermost margins (safety lines).
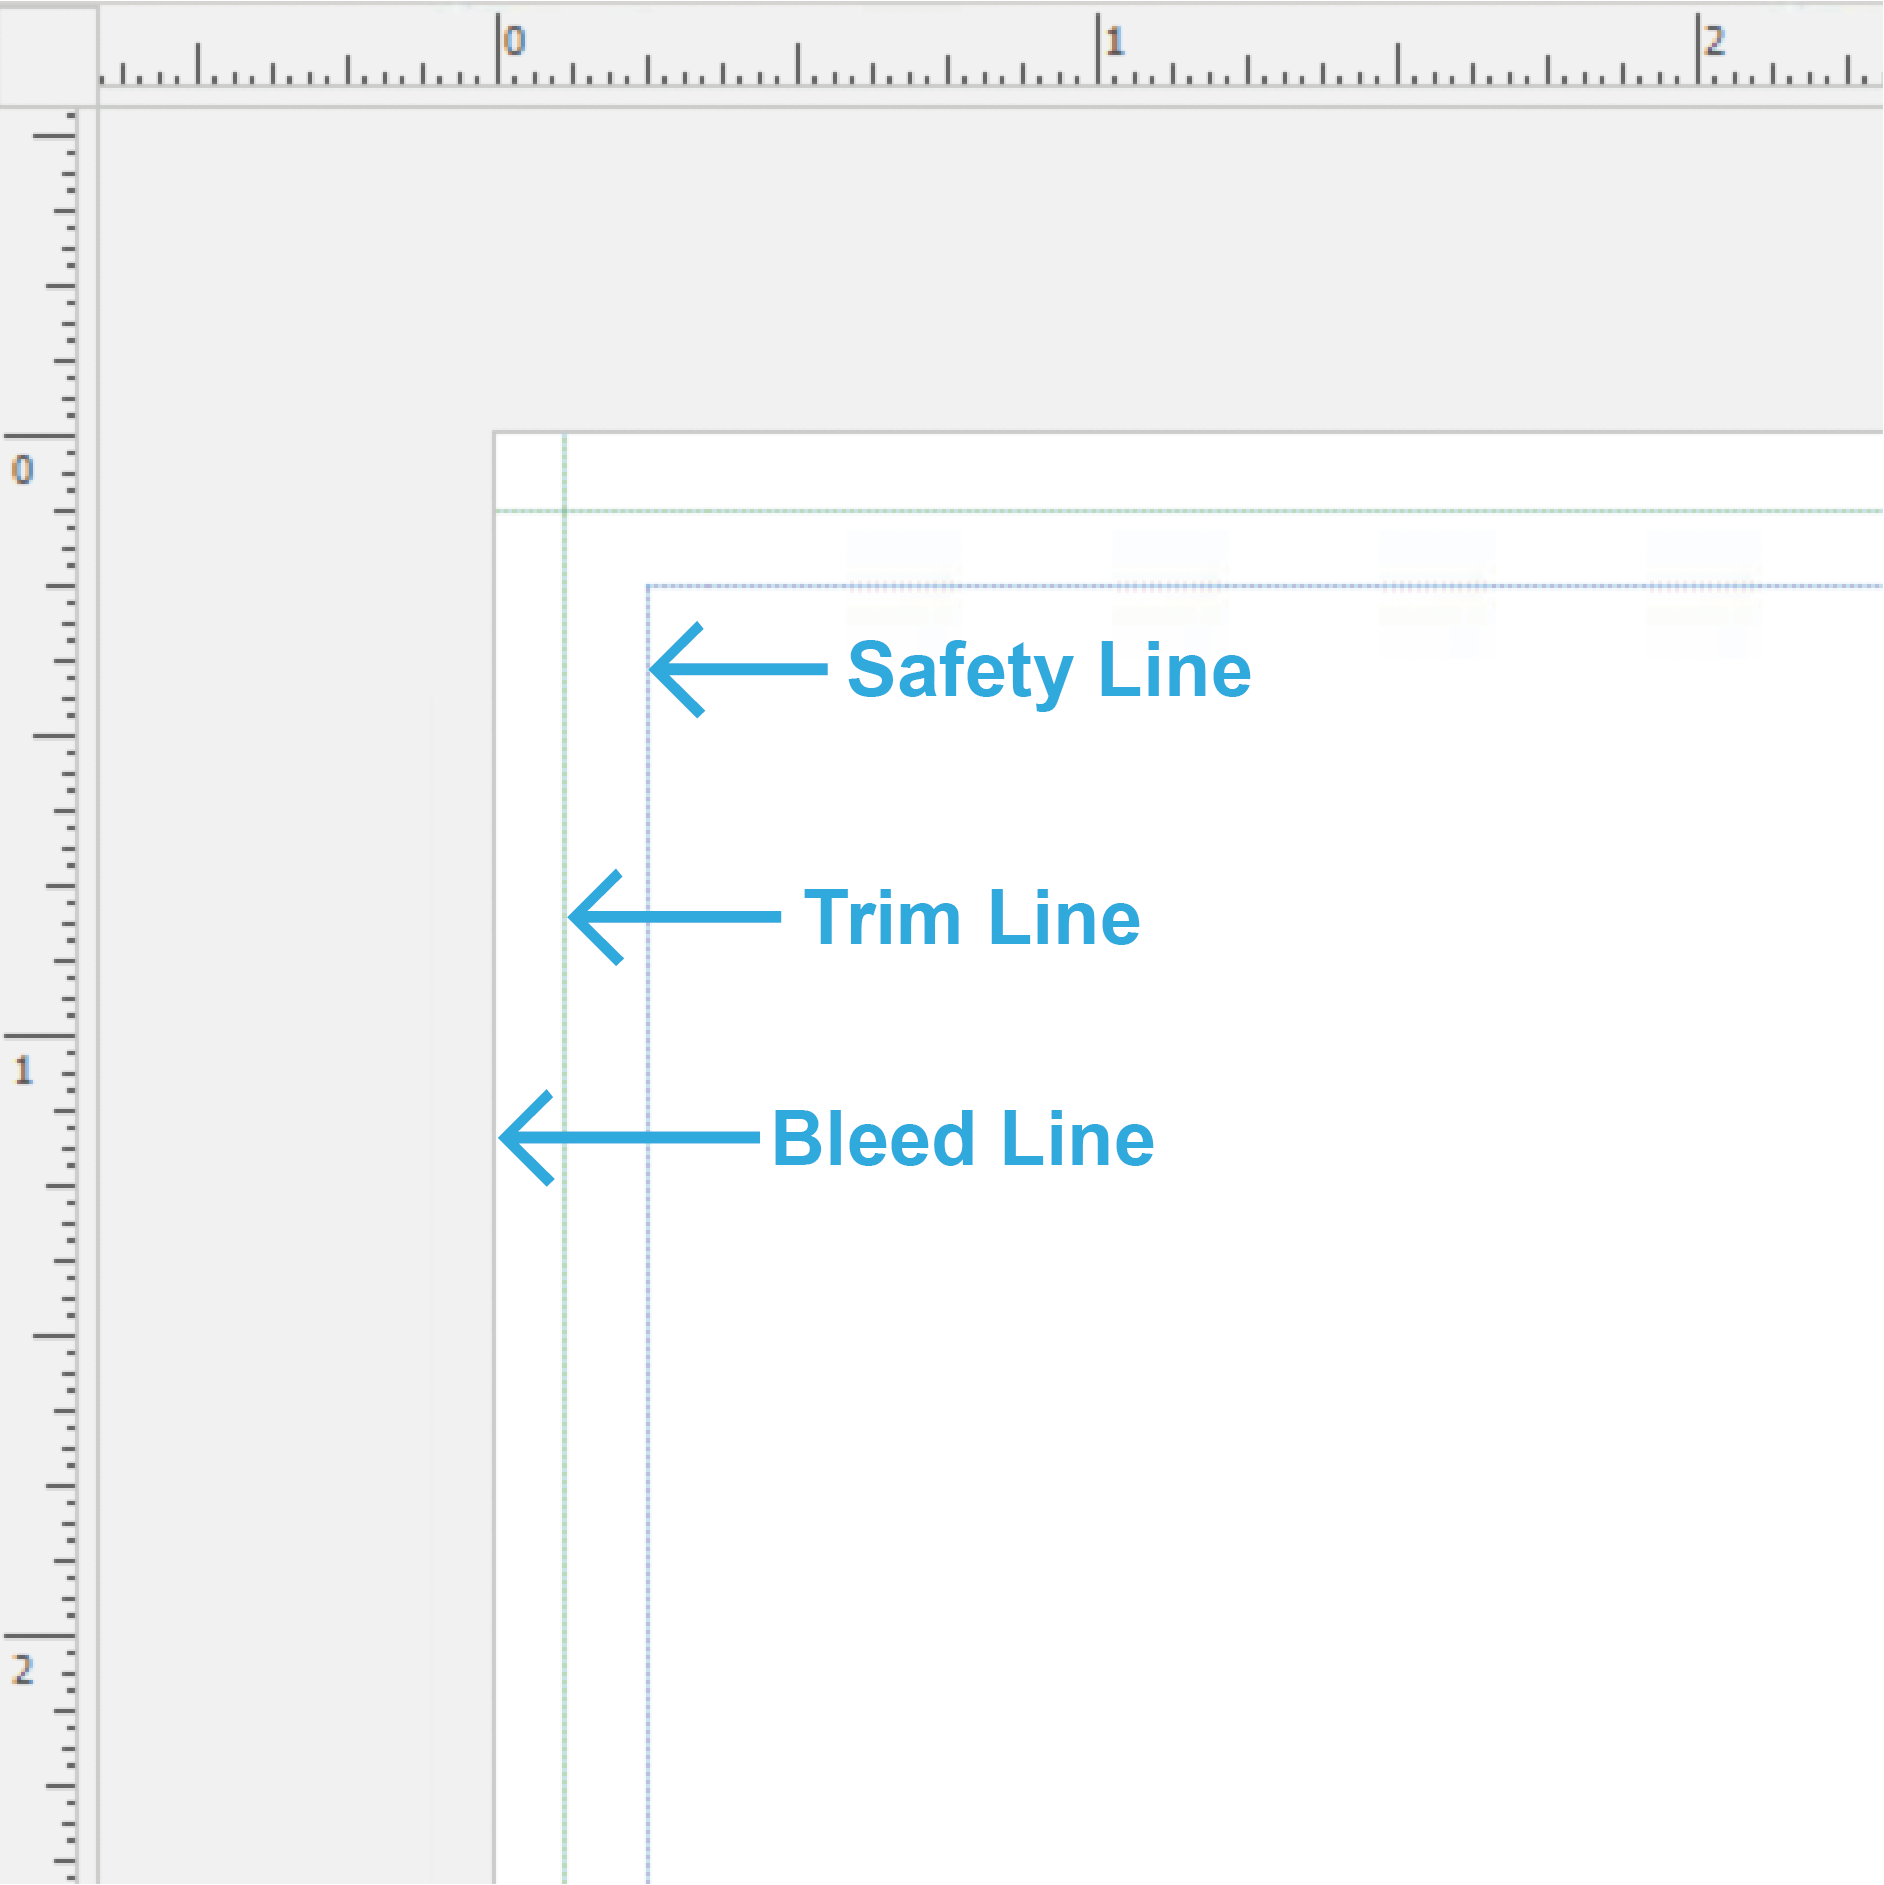
4. Utilizing the Bleed Line
To utilize your bleeds when designing, extend your graphics and/or images (that you want to print up to the edge) beyond the edge of the page to the bleed line.
Note: Your images when bleeding to the edge will cover up all of your Guides.

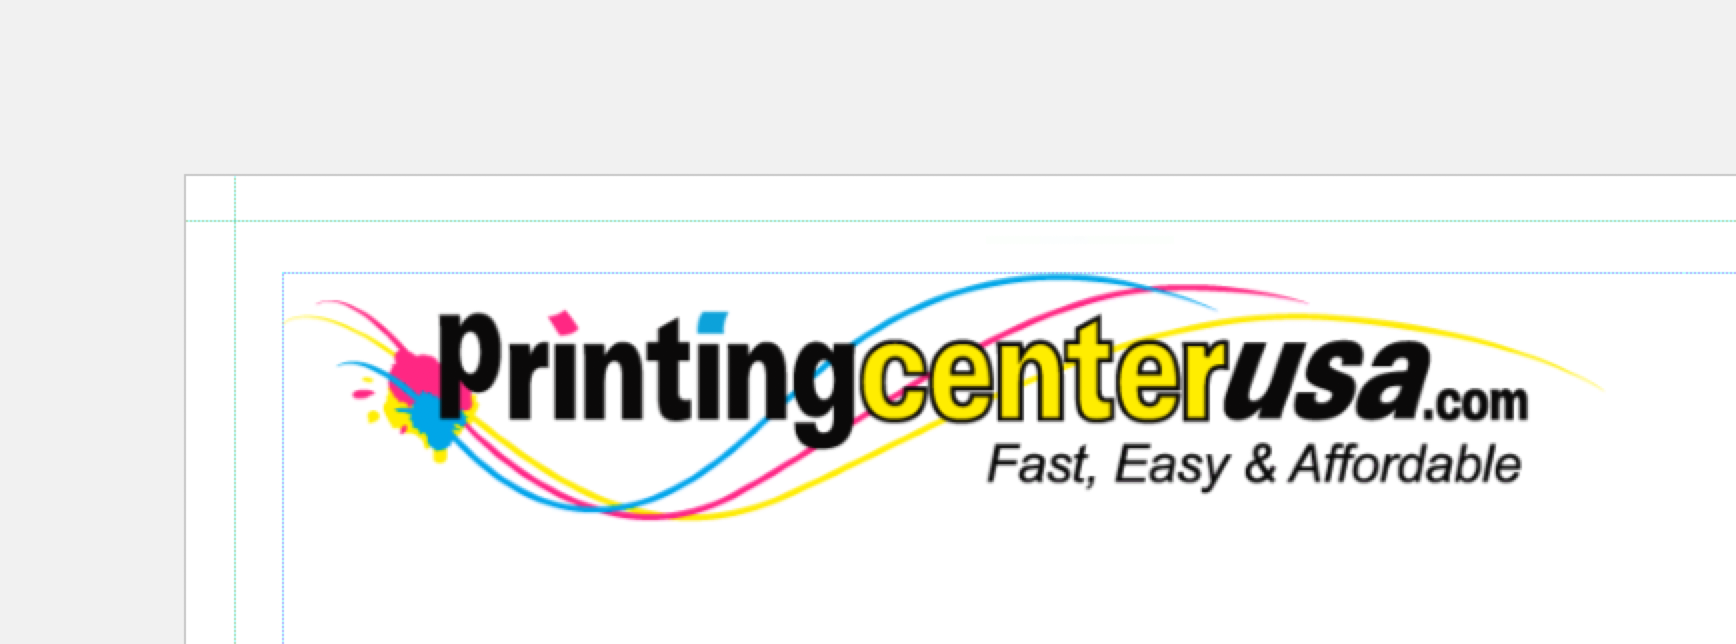
5. Utilizing the Margins (Safety Lines)
Place your important information (Page numbers, logos, text, etc.) within the safety line to ensure that you don’t lose any of it during the trimming process.