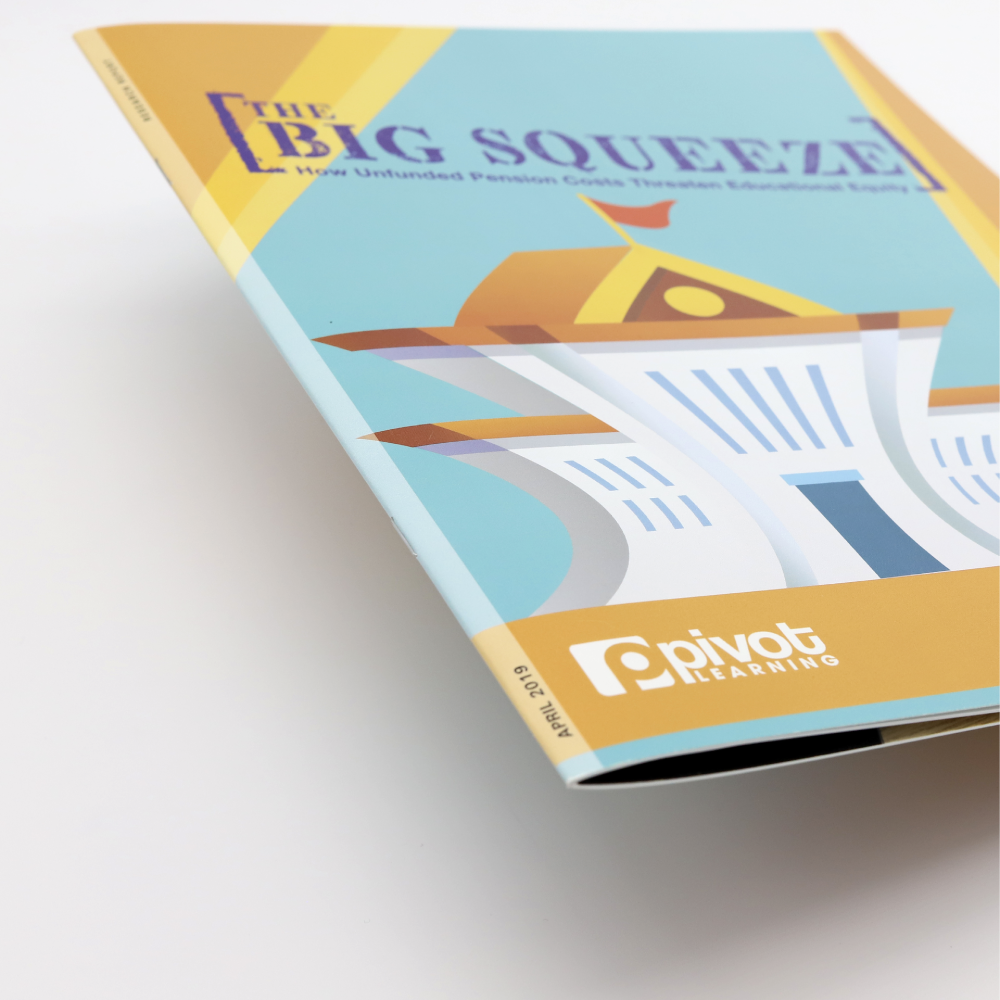
Page Count: Saddle Stitch Binding
Saddle stitching is the same binding that the catalogs and magazines you get in the mail tend to have. It is two staples nested in the spine of the folded piece, securing the sheets together. It can go along the left edge or on top depending on how the project is planned out. Saddle stitching is great for booklets, calendars, photo-books and programs.
Number of Pages Accepted
We can print saddle-stitch orders that have 8 pages – 92 pages, though we require them be in 4 page increments. In other words, your document (counting front and back cover) should be one of the following page counts:
8 | 12 | 16 | 20 | 24 | 28 | 32 | 36 40 | 44 | 48 | 52 | 56 | 60 | 64 | 68 | 72 | 76 | 80 | 84 | 88 | 92
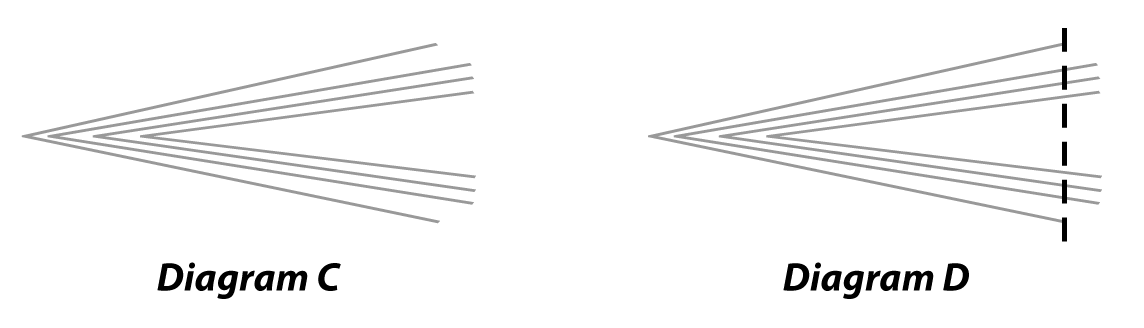
Page Creep
When saddle stitching, there is a term called “page creep,” which is when the inner pages stick out farther than the pages closer to the outer cover. This usually happens when there is a large number of pages or thicker paper. A booklet with fewer pages will most likely not have to worry about creep because the trimming may not be as noticeable as with higher page numbers.
Diagram C below shows how the pages stick out (creep) from the book and Diagram D shows how the pages are trimmed after being stitched.
Upload Pages in this Order

To calculate Page Count in a Document:
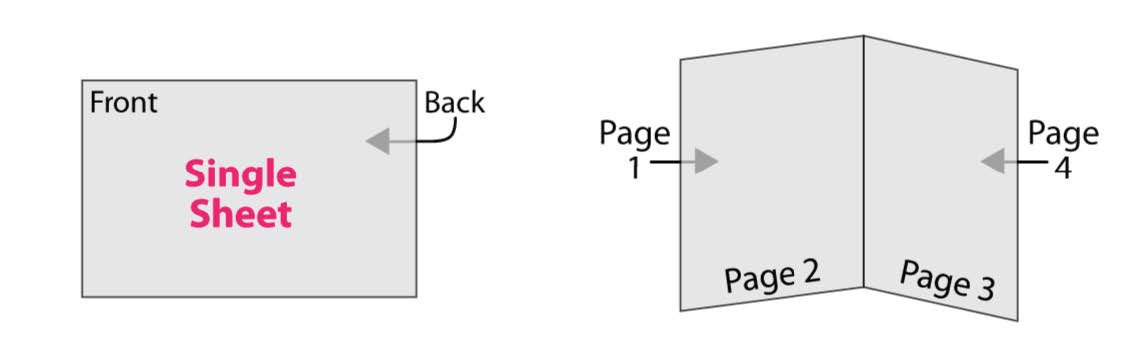
Set up numbered pages as single pages
- In the image above, Page 1 is the Front Cover
- Page 2 is Inside the Front Cover
- Pages 3-6 are all inside pages
- Page 7 is the Inside of the Back Cover
- Page 8 is the Back Cover